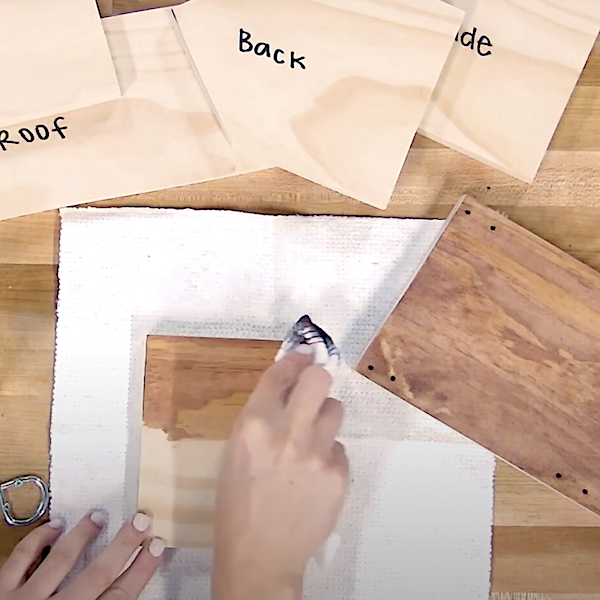
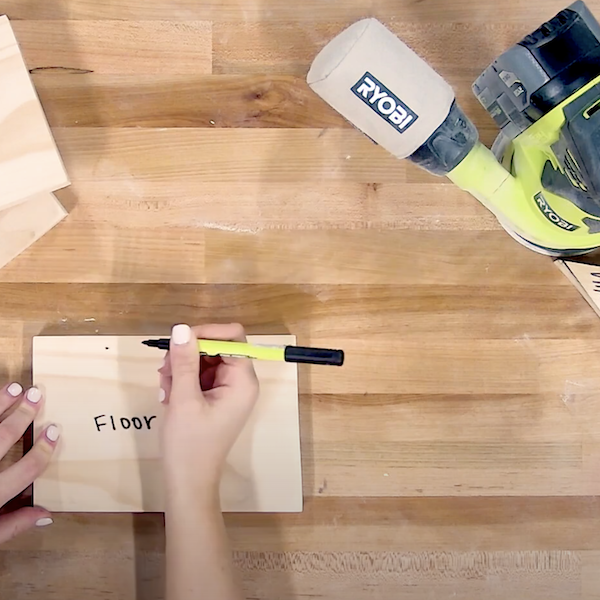
Steps
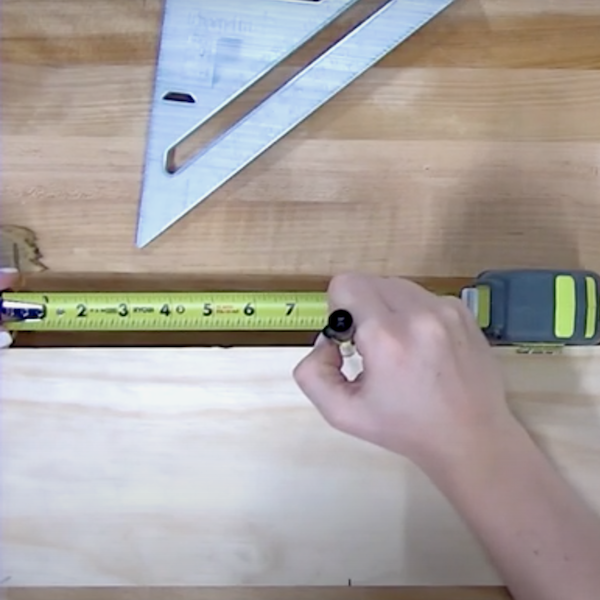
STEP 1
Using the above measurements, mark the points on the wood board where it will be cut and label each piece accordingly.
Tools
Materials
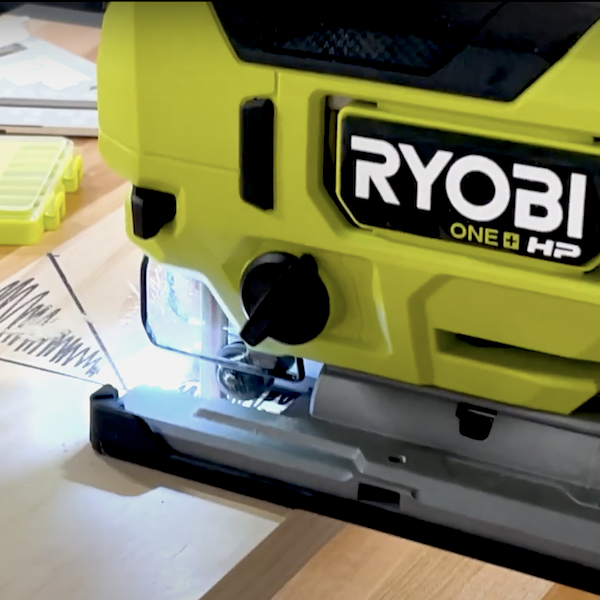
STEP 2
Using the 18V ONE+ Orbital Jigsaw with the 10 TPI wood cutting blade, carefully cut each piece out along the lines made in the previous step.
Tools
Materials
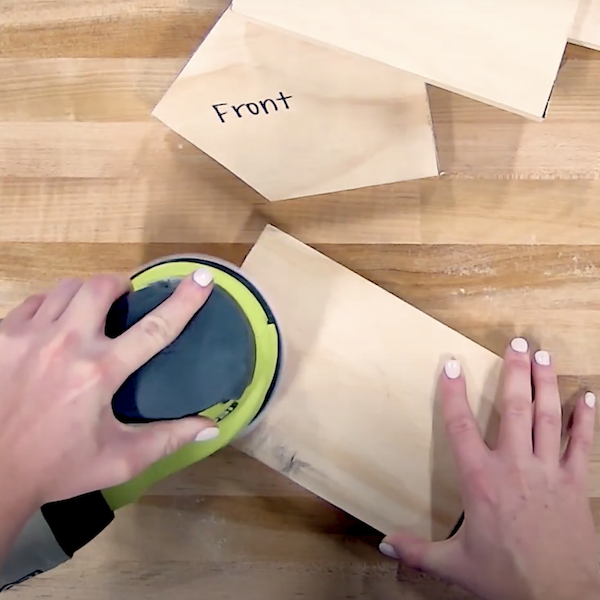
STEP 3
Once all of the pieces have been cut out, sand each piece as necessary.
Tools
Materials
STEP 4
Use the 1" Spade Bit to drill a hole in the middle of the front piece of the birdhouse.
Tools
Materials
STEP 5
Apply stain to pieces of the birdhouse and let dry.
Materials
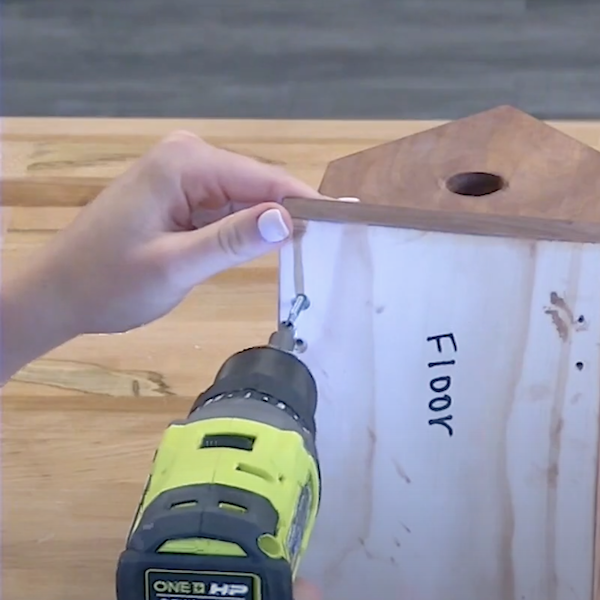
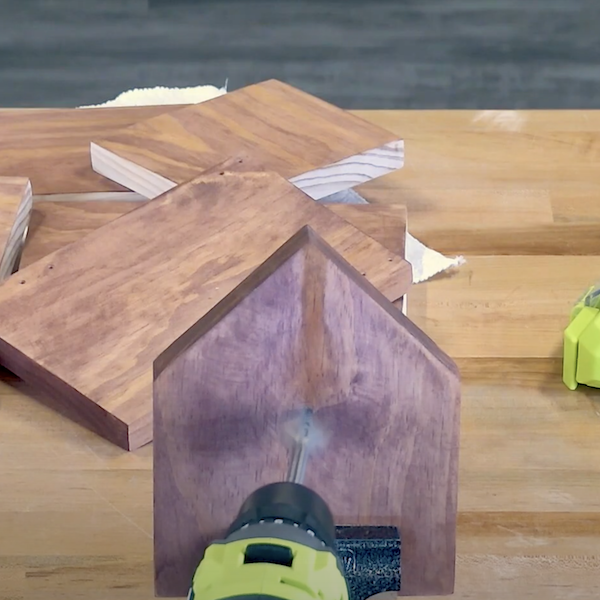
STEP 6
Mark dots where pilot holes will be drilled. Drill on marked spots with the 1/8" drill bit in the collet. If desired, adjoining pieces can be drilled into on top of each other to ensure drill holes line up.
Tools
Materials
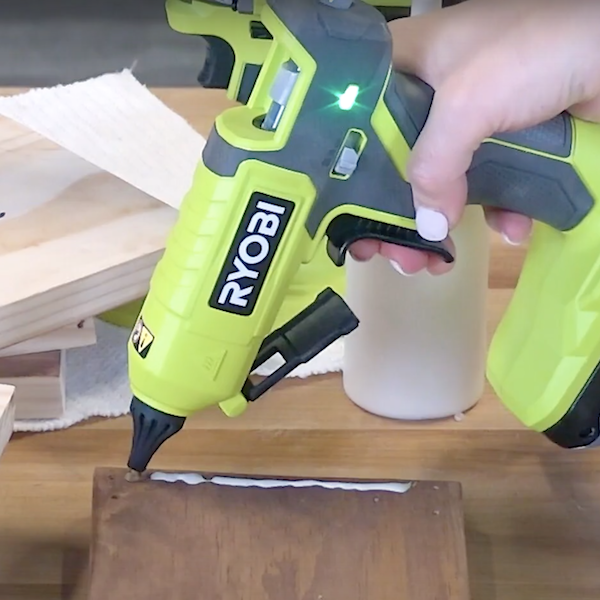
STEP 7
Use the 18V Glue Gun, along with wood glue to secure wooden pieces for stability before installing screws. Attach the walls to the base, followed by the roof. Allow wood glue to dry for 1-2 hours before inserting screws.
Tools
Materials
STEP 8
Attach the floor to the side pieces using a few screws. Repeat, attaching the front and back pieces and then with the two roof pieces.
Tools
Materials