Steps
STEP 1
Cut off the upper lip of a plastic bucket.
Tools

STEP 2
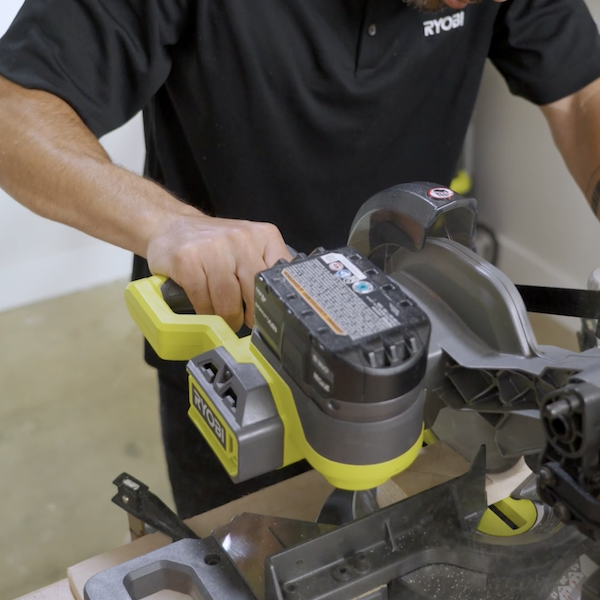
Cut a block to size based on the measurements of the battery pack for the clock component.
Tools
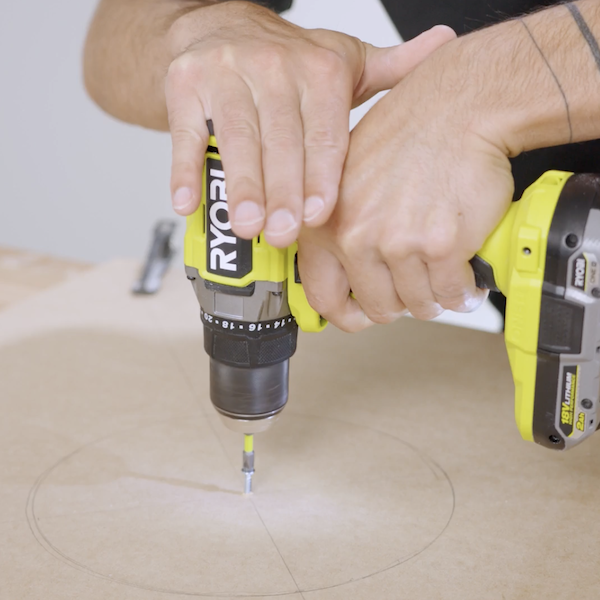
STEP 3
Trace the inside circle of the cut off piece of plastic bucket. Map out the center point of the circle on a piece of plywood, then drill a hole into the wood. This will allow the clock hands to be attached later on.
Tools
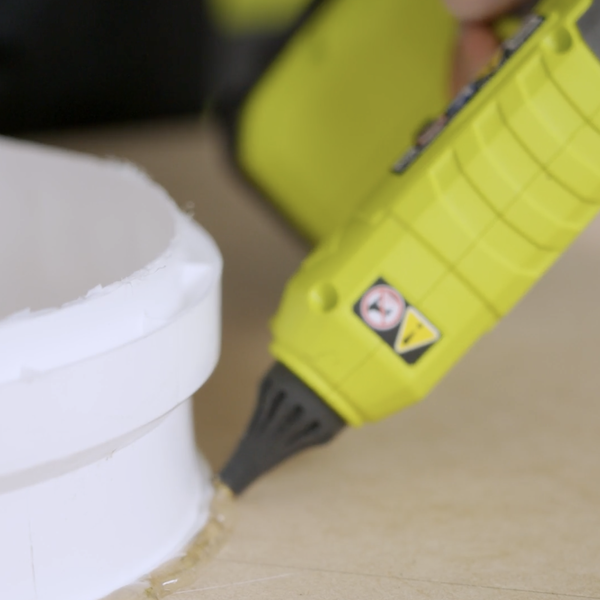
STEP 4
Hot glue the plastic mould to the plywood board.
Tools
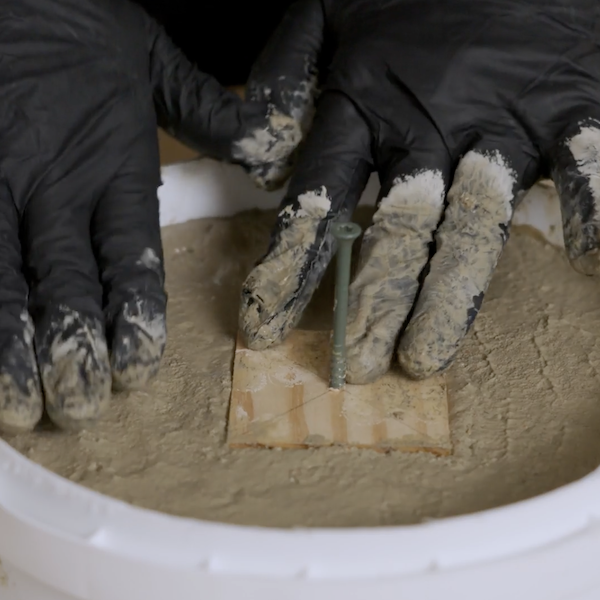
STEP 5
Mix a concrete mixture together. Pour the concrete into the the mould. Place the wooden piece from Step 2 into the middle of the concrete with a screw.
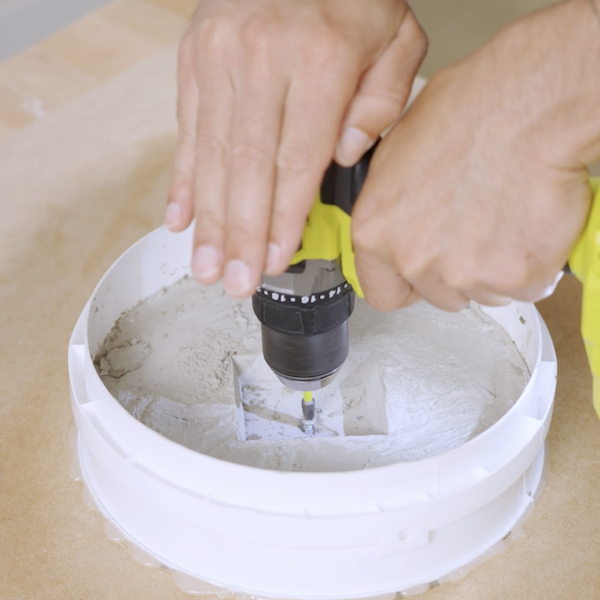
STEP 6
Once the concrete has cured, use the drill to remove the screw from the concrete.
Tools
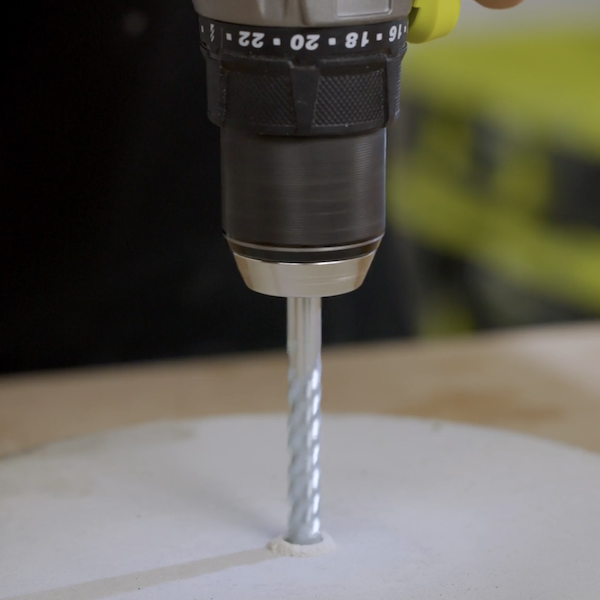
STEP 7
Drill all the way through the hole in the piece of concrete to create the space for the clock hands.
Tools
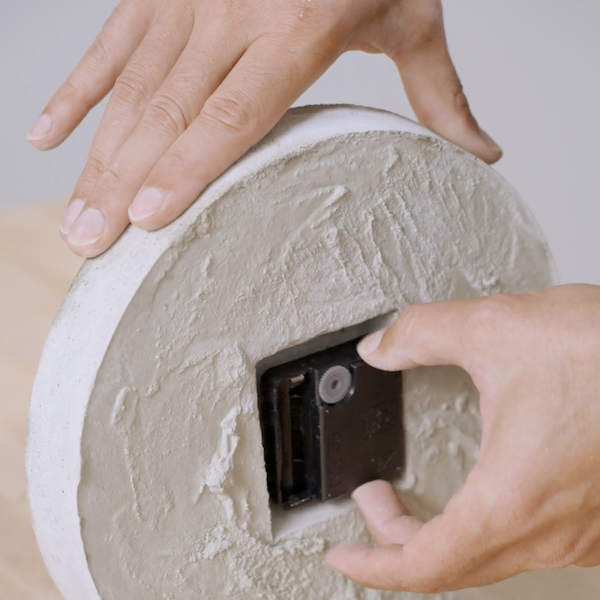
STEP 8
Place the battery pack for the clock in the back cutout in the clock piece.
STEP 9
Flip the clock over to the opposite side, then attach the clock hands.
