Steps
Step 1
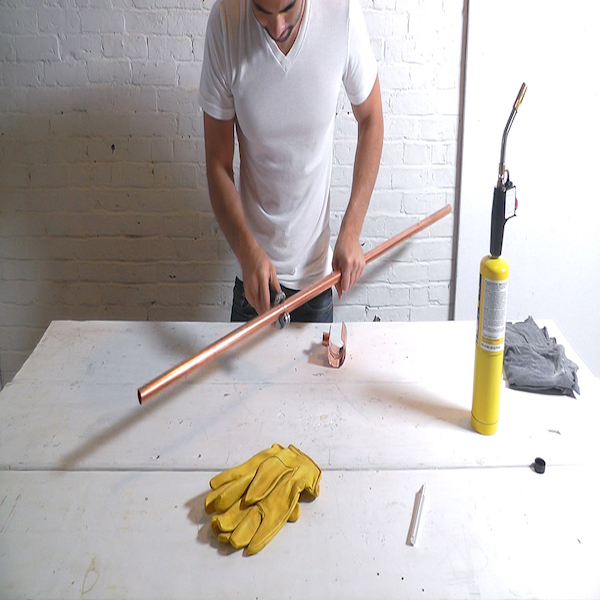
Cut the Copper Pipe I used my RIDGID Tube Cutter to cut the copper pipe.
Tools
Materials
Step 2
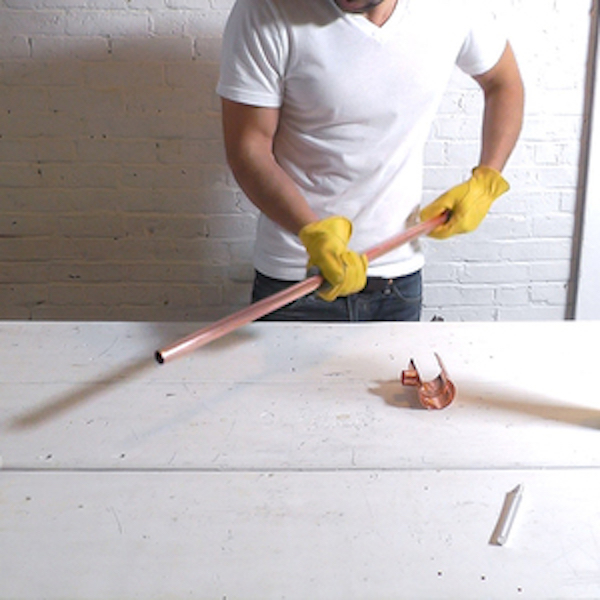
Mark the Cut Lines: I used a marker to mark two lines down the side of the 2” copper T. I made sure that the distance between the lines was wider than the diameter of the tubes that make the frame of my bike.
Tools
Step 3
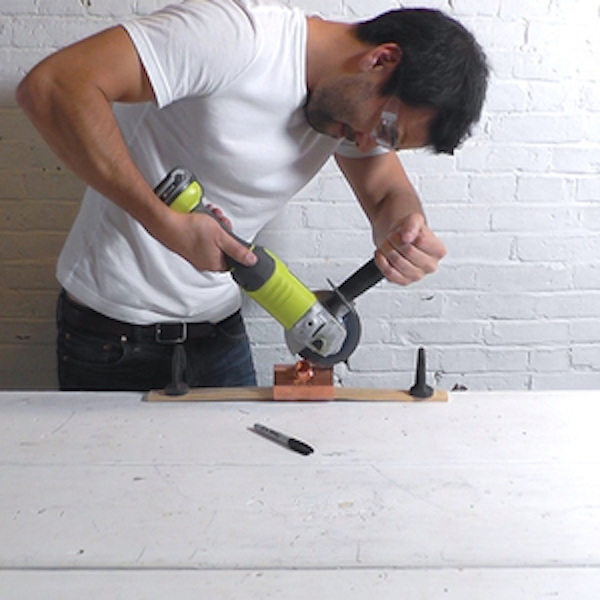
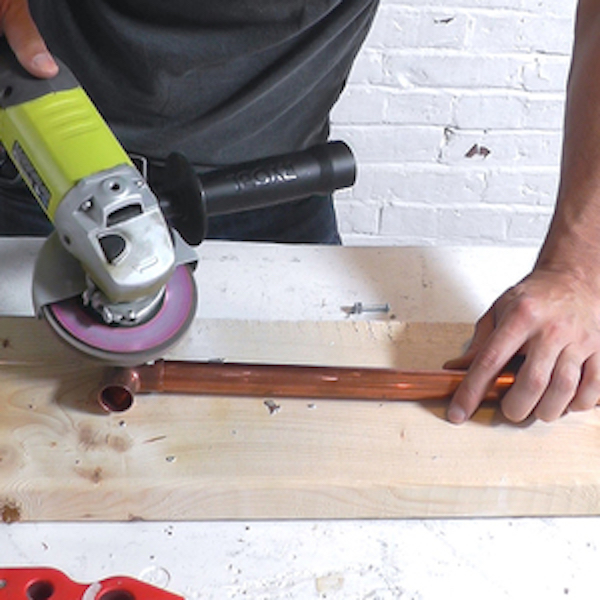
Cut the Copper T-Fitting: I used my angle grinder with a metal cutting blade to cut along the lines that I drew on the T-fitting. I cut a groove along the line at first and then went back and cut through it with a second pass.
Tools
Materials
Step 4
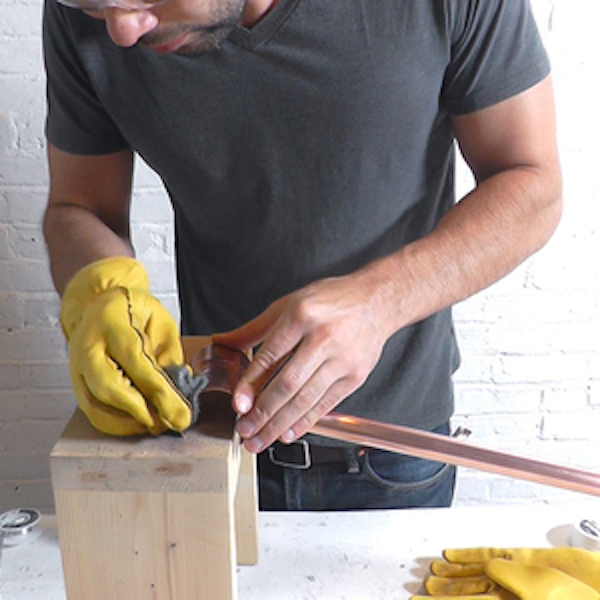
Clean + Prepare the Copper: I cleaned the copper with steel wool and used a wire brush to rough up the ends that are going to be soldered.
Materials
Step 5
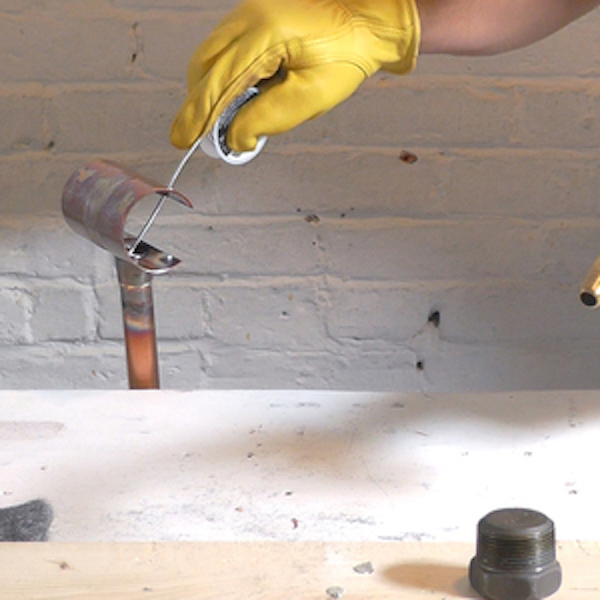
Solder the Fitting on to the Pipe I applied flux onto the joints of the pipe and then heated the copper with my torch. Once the copper was hot, I touched the solder to the joints. I soldered both sides of the joint.
Materials
Step 6
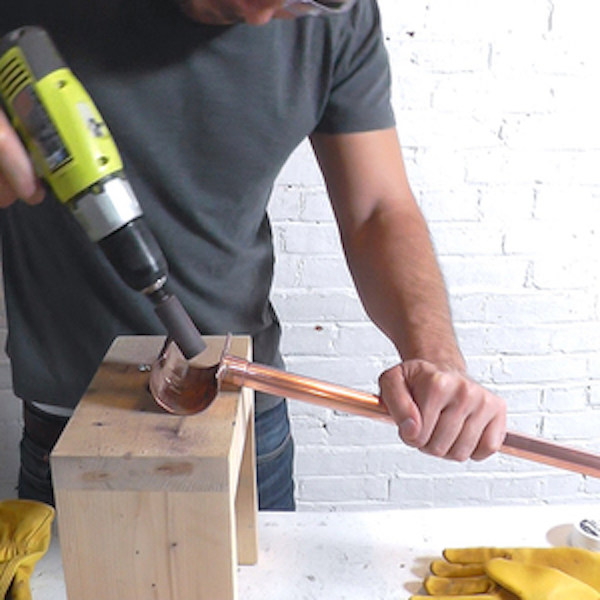
Sand the Cut Edges I used a sanding drum attachment on my cordless drill to smooth down the cut edges of the copper fitting.
Tools
Materials
Step 7
Clean the Copper I used steel wool to clean up the discoloration from the soldering.
Materials
Step 8
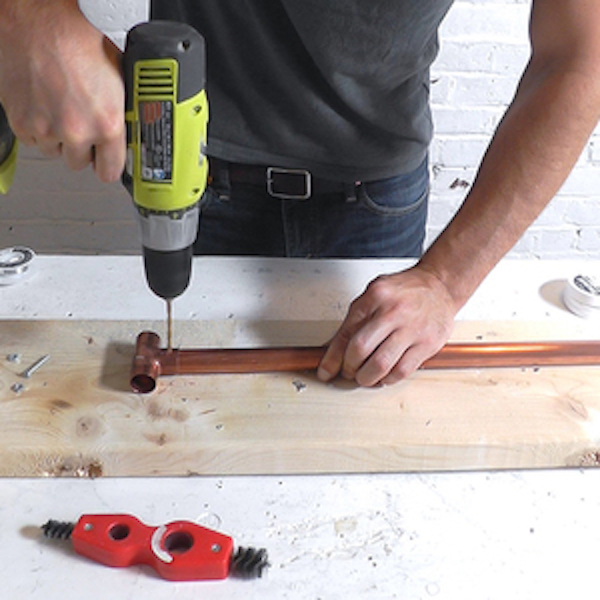
Attach the 3/4" T. I inserted the pipe into the fitting and then drilled a hole through both the T-fitting and the pipe. I pushed a bolt through the holes and fastened it with a nut.
Tools
Materials
Step 9
Grind Down the Bolt I used my angle grinder with a flap disc to grind the bolt down, flush to the surface of the nut.
Tools
Materials
Step 10
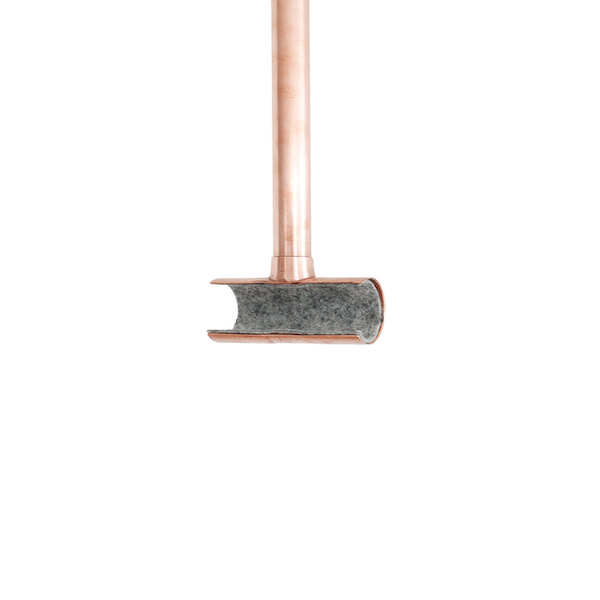
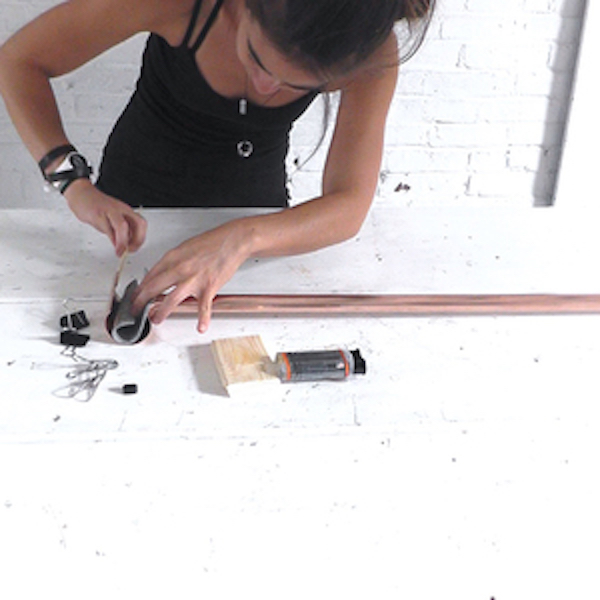
Line It with Felt. I had Jessie cut some felt and glue it to the inside of the copper fitting. She used 2-part epoxy and held it in place with paper clips while the epoxy cured.
Materials
Step 11
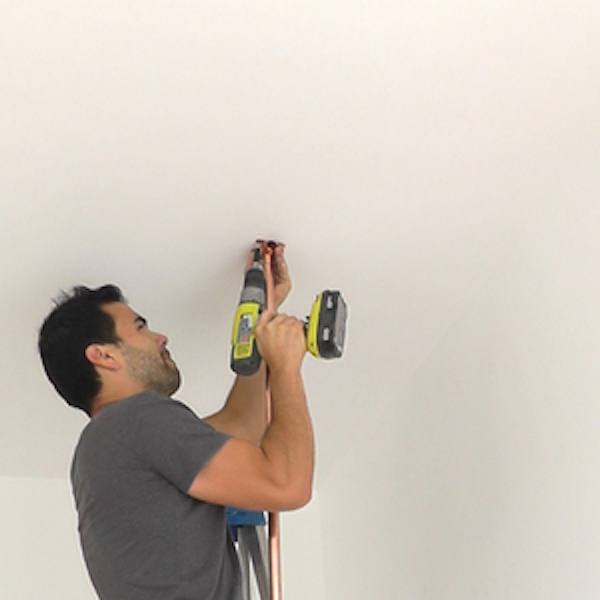
Install the Rack: I wanted to make sure that I was attaching the rack to one of the beams behind the drywall of my ceiling, so I used a stud finder to locate it. Then I screwed 3/4” copper loops on either side of the T-fitting.
Tools
Step 12
Hang the Bike: My Linus bike fits nicely in the rack and I really love how minimal this piece is.
Materials
