Steps
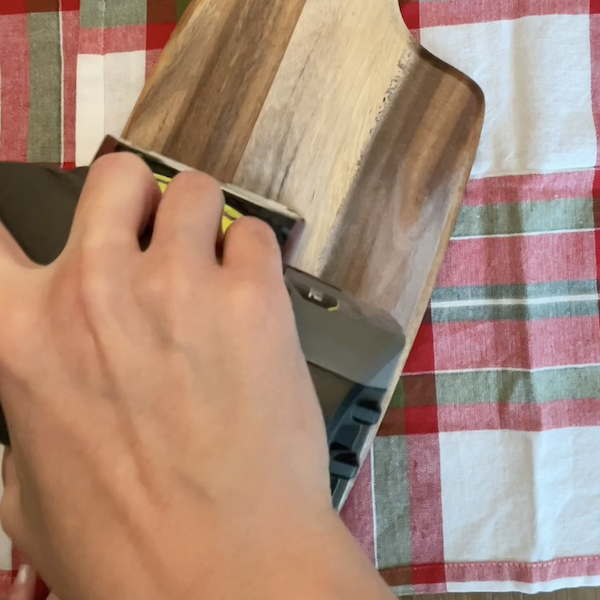
STEP 1
Sand the charcuterie board.
Tools
Sheet Sander
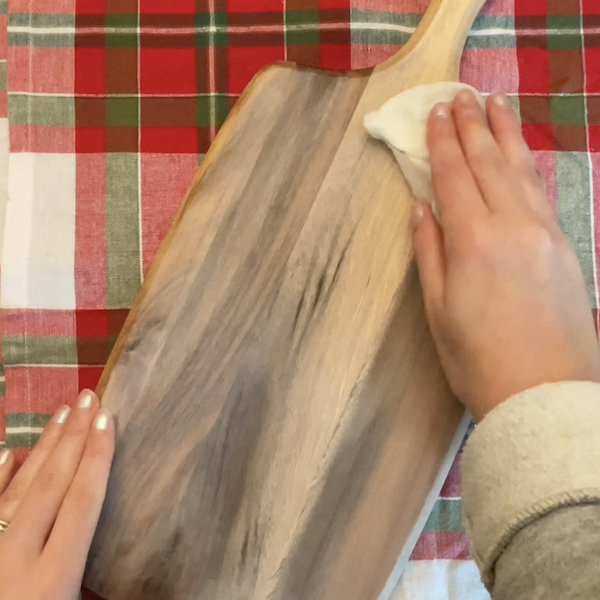
STEP 2
Rub danish oil onto the charcuterie board.
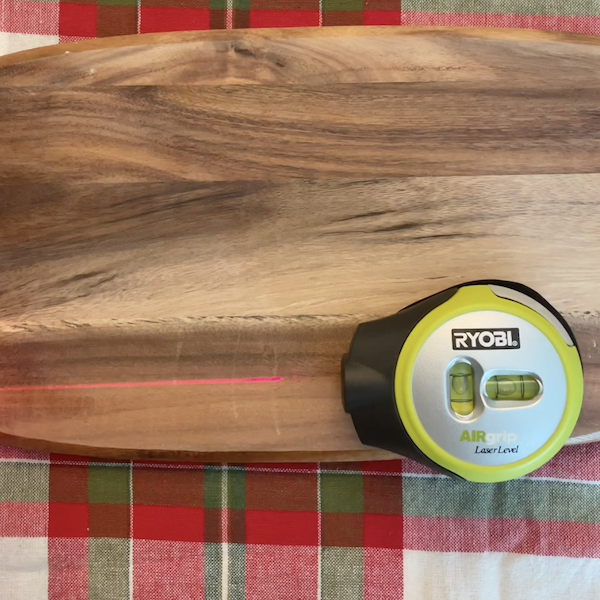
STEP 3
Line up the laser level to get a straight line on the charcuterie board. Use the line to figure out where the numbers or letters will go. Trace desired letters, numbers, or design onto the charcuterie board.
Tools
Laser Level
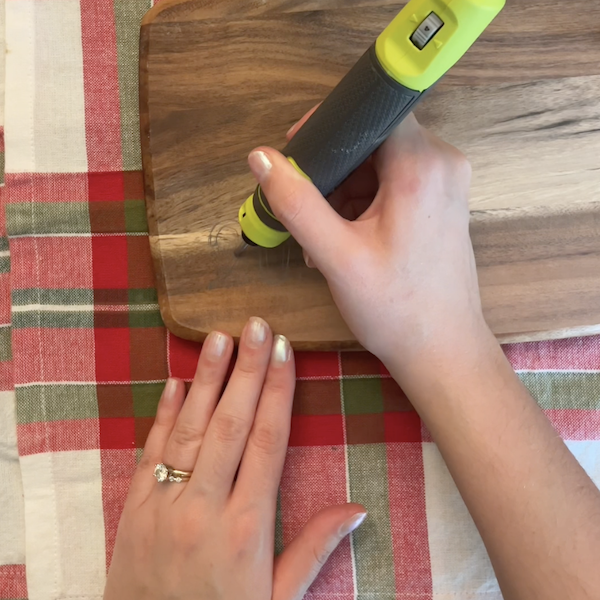
STEP 4
Engrave the design into the board.
Tools
Rotary Tool
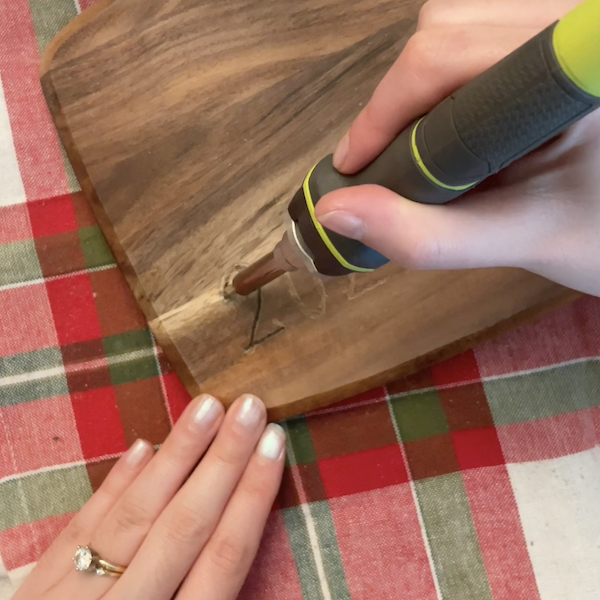
STEP 5
Use the the soldering iron to imprint the design into the wood.
Tools
Soldering Iron
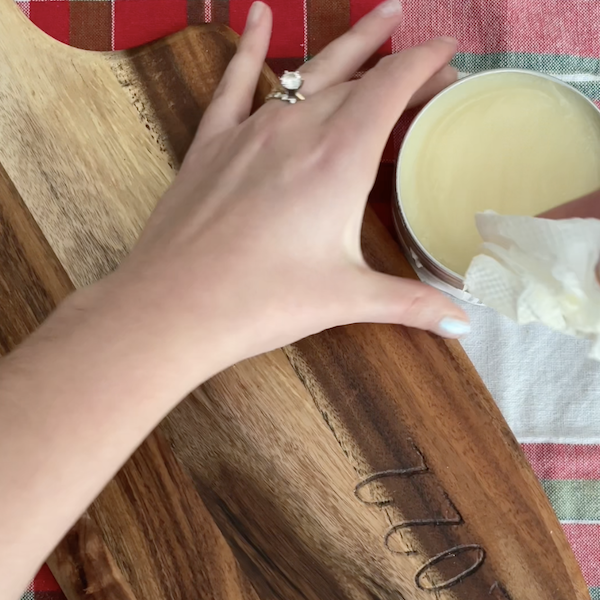
STEP 6
Apply beeswax to the board to finish.