Steps
Step 1
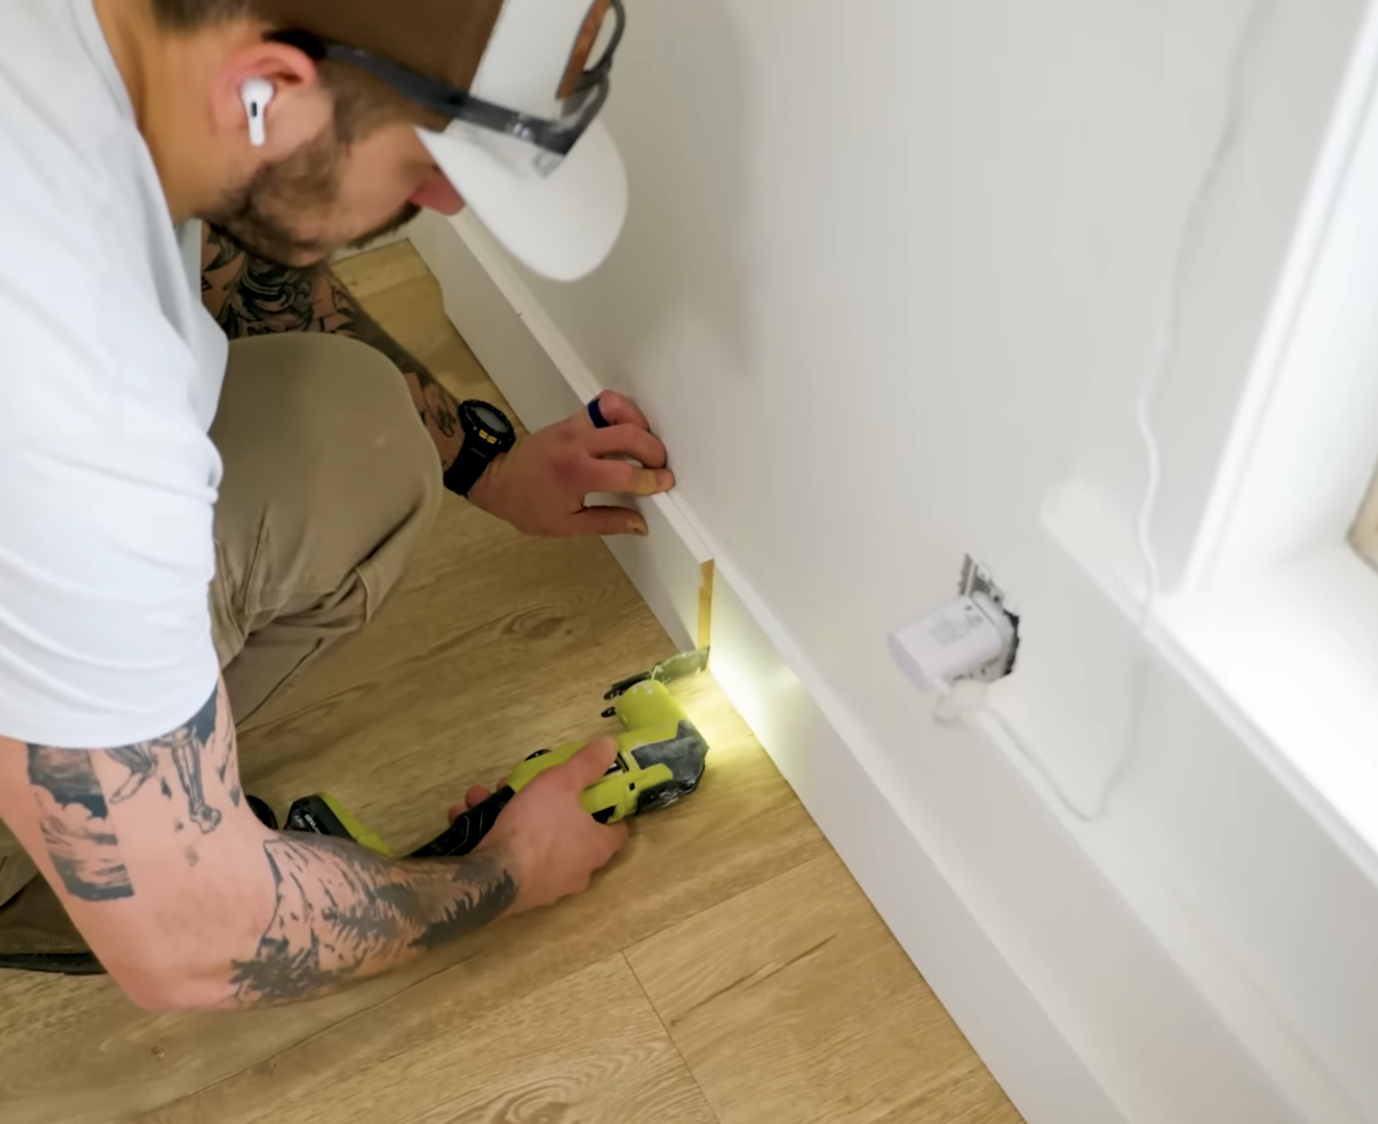
Using a multi tool, remove any trim that will prevent the frame sitting flush to the wall.
Tools
Step 2
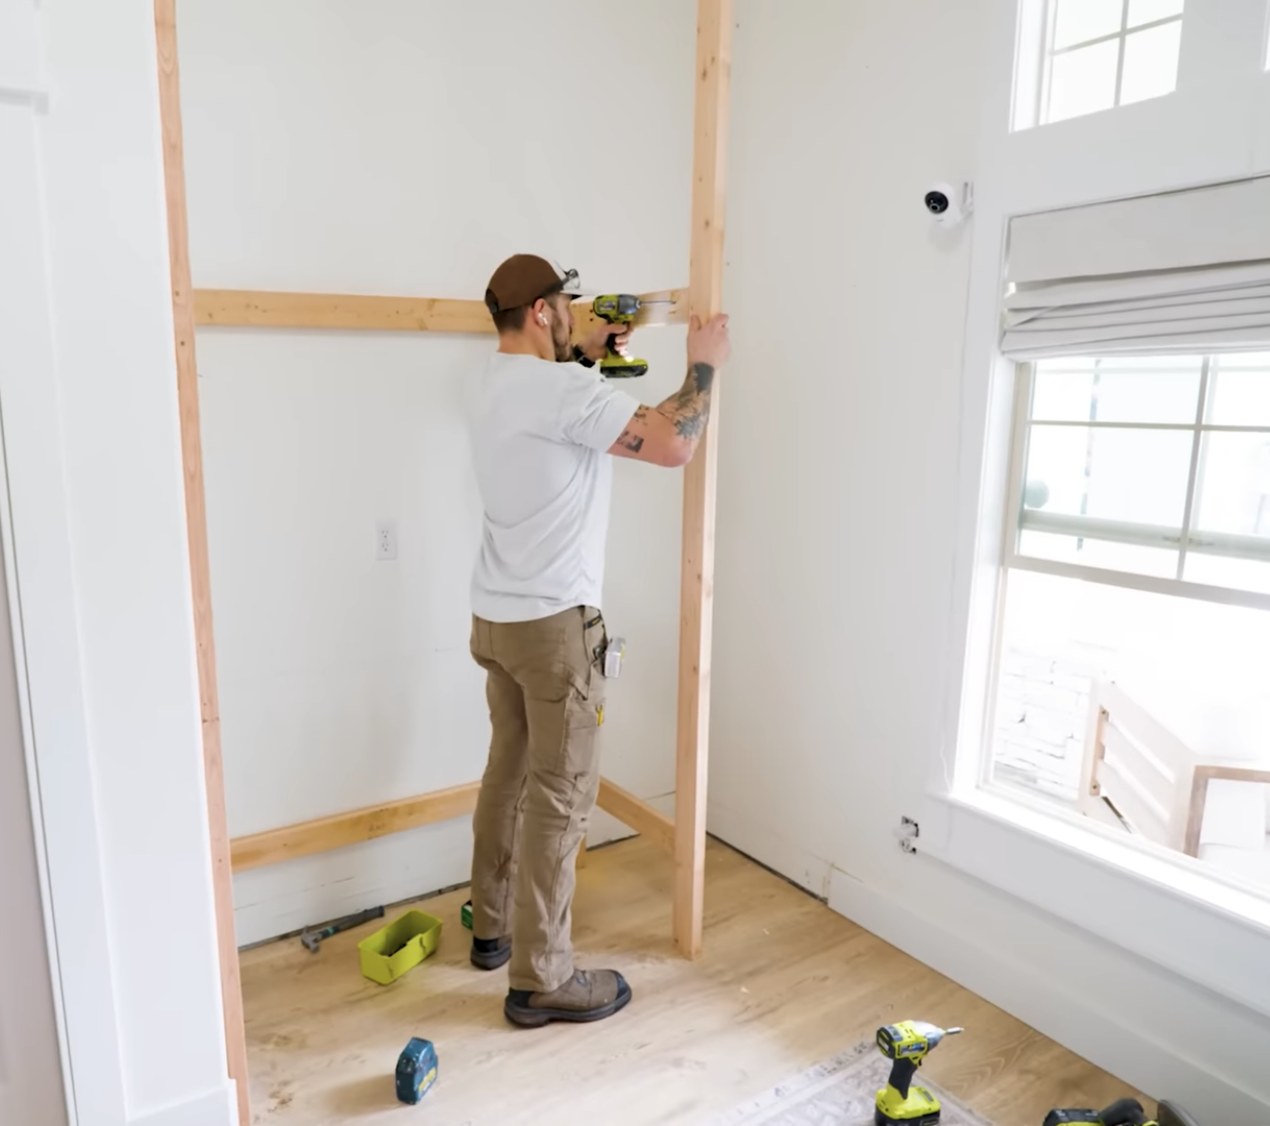
Cut 2”x4” boards to the lengths that will fit your space. Create a sturdy frame with these, leaving room for the staircase on one side. The horizontal boards should be at the height you would like each mattress/platform to rest.
Tools
Materials
Step 3
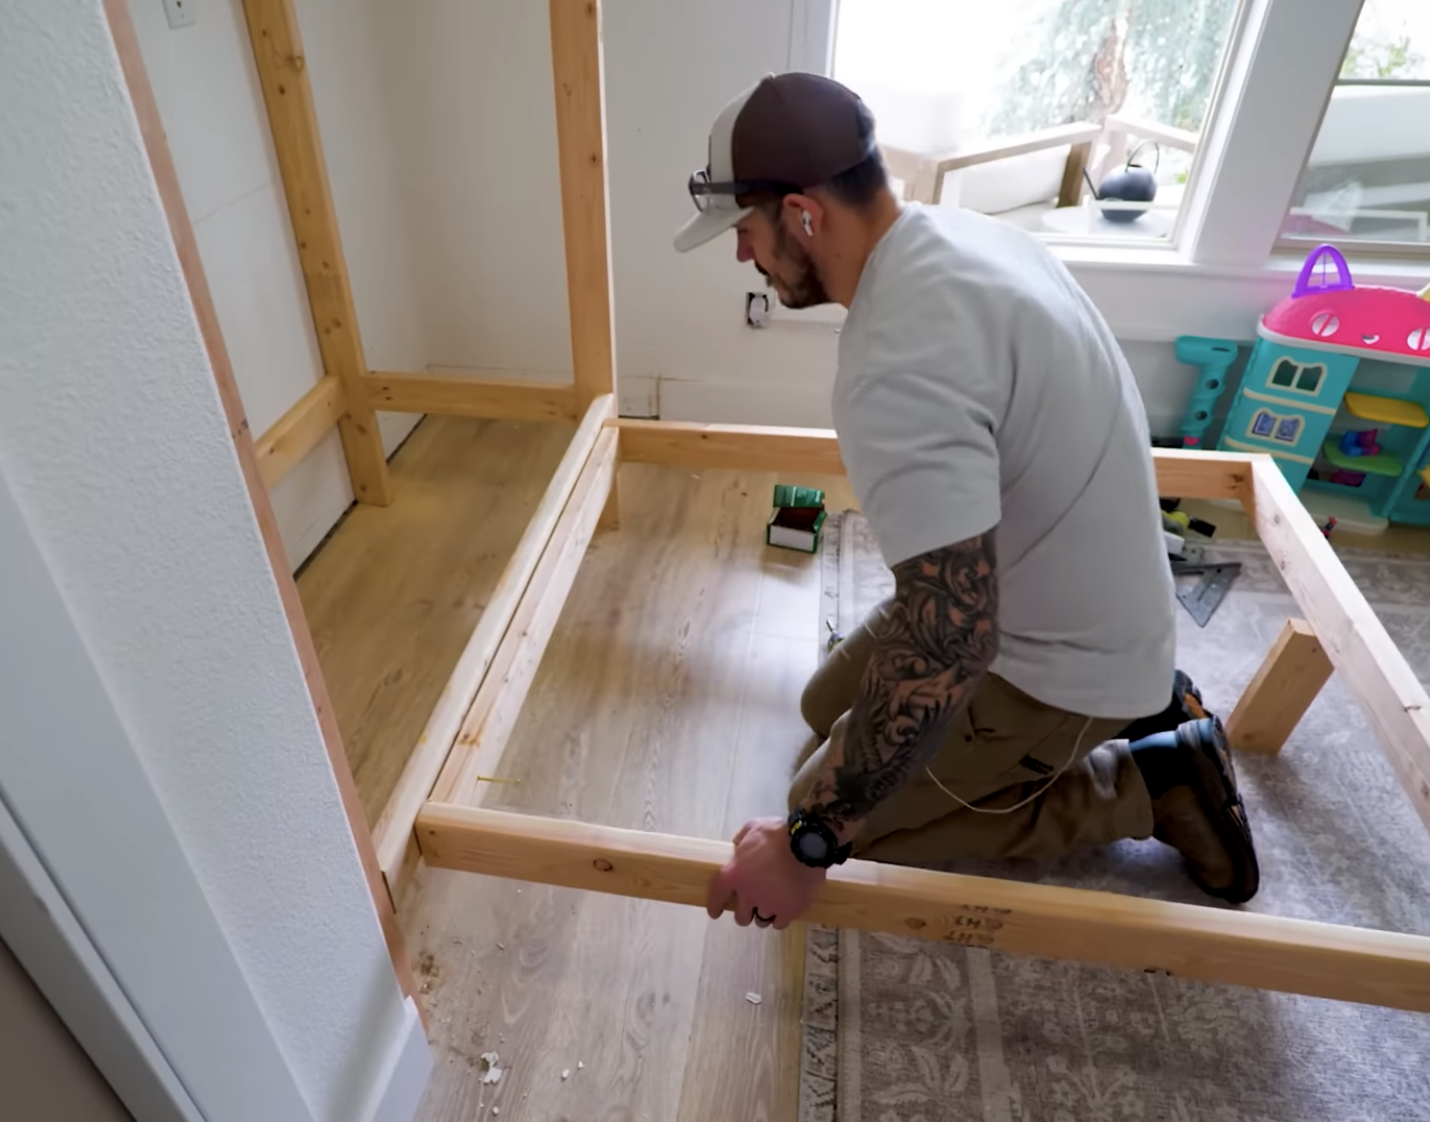
Using 2”x4” boards, create a box frame consistent with the dimensions of the mattress you will be using. Attach to main frame.
Tools
Materials
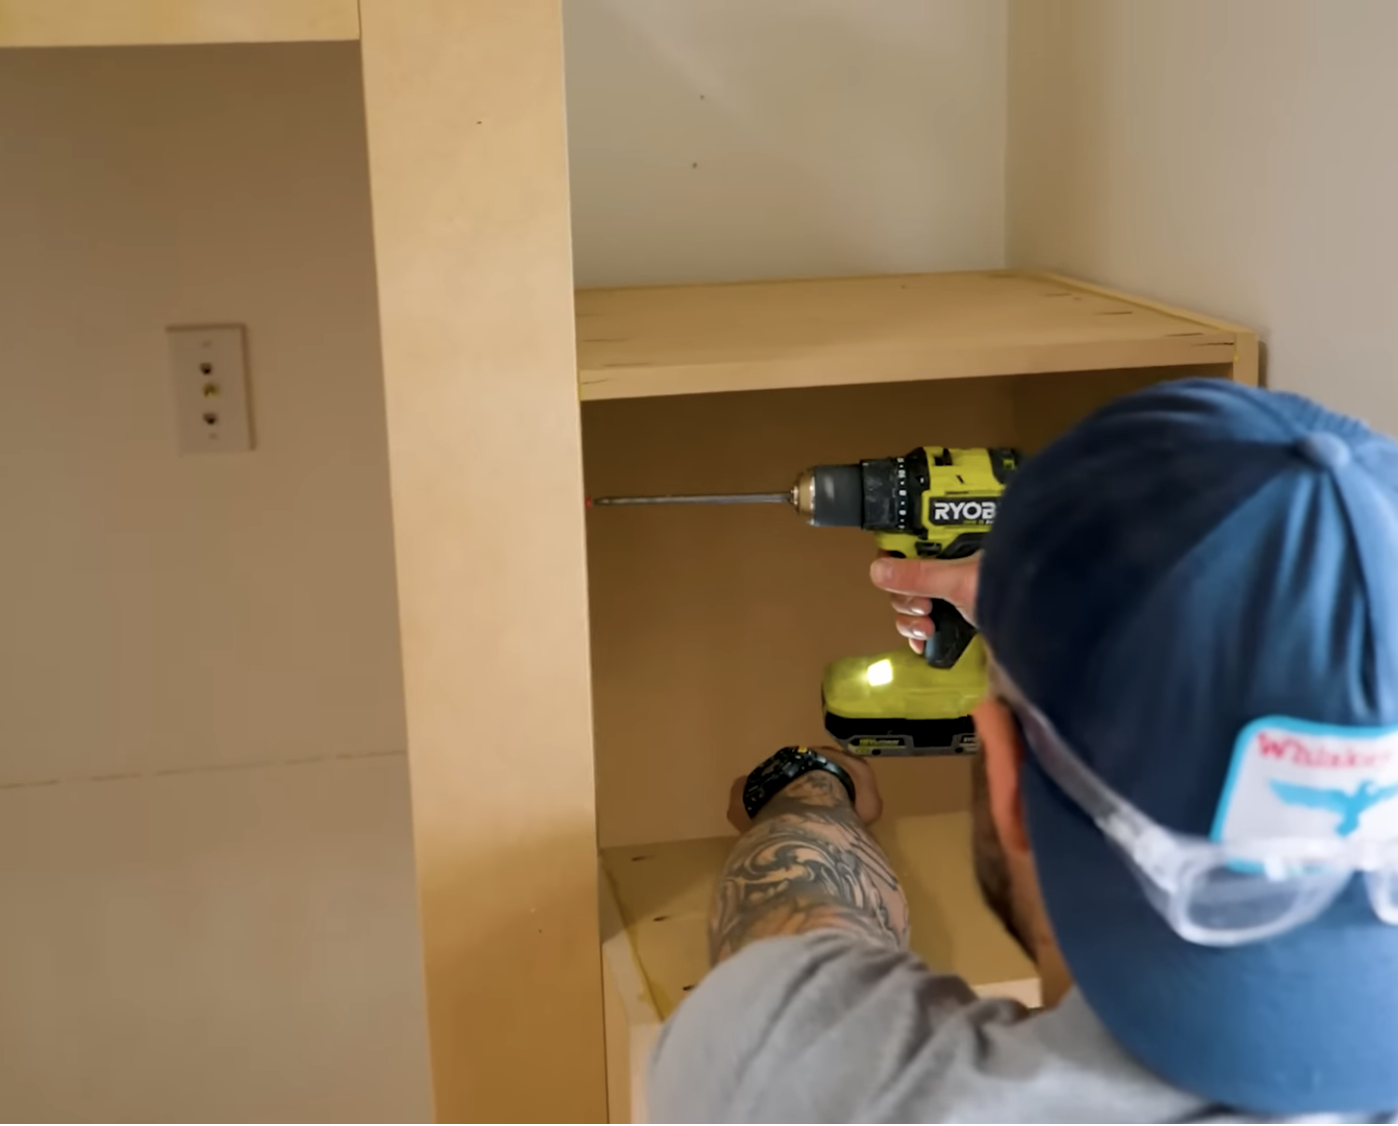
Step 4
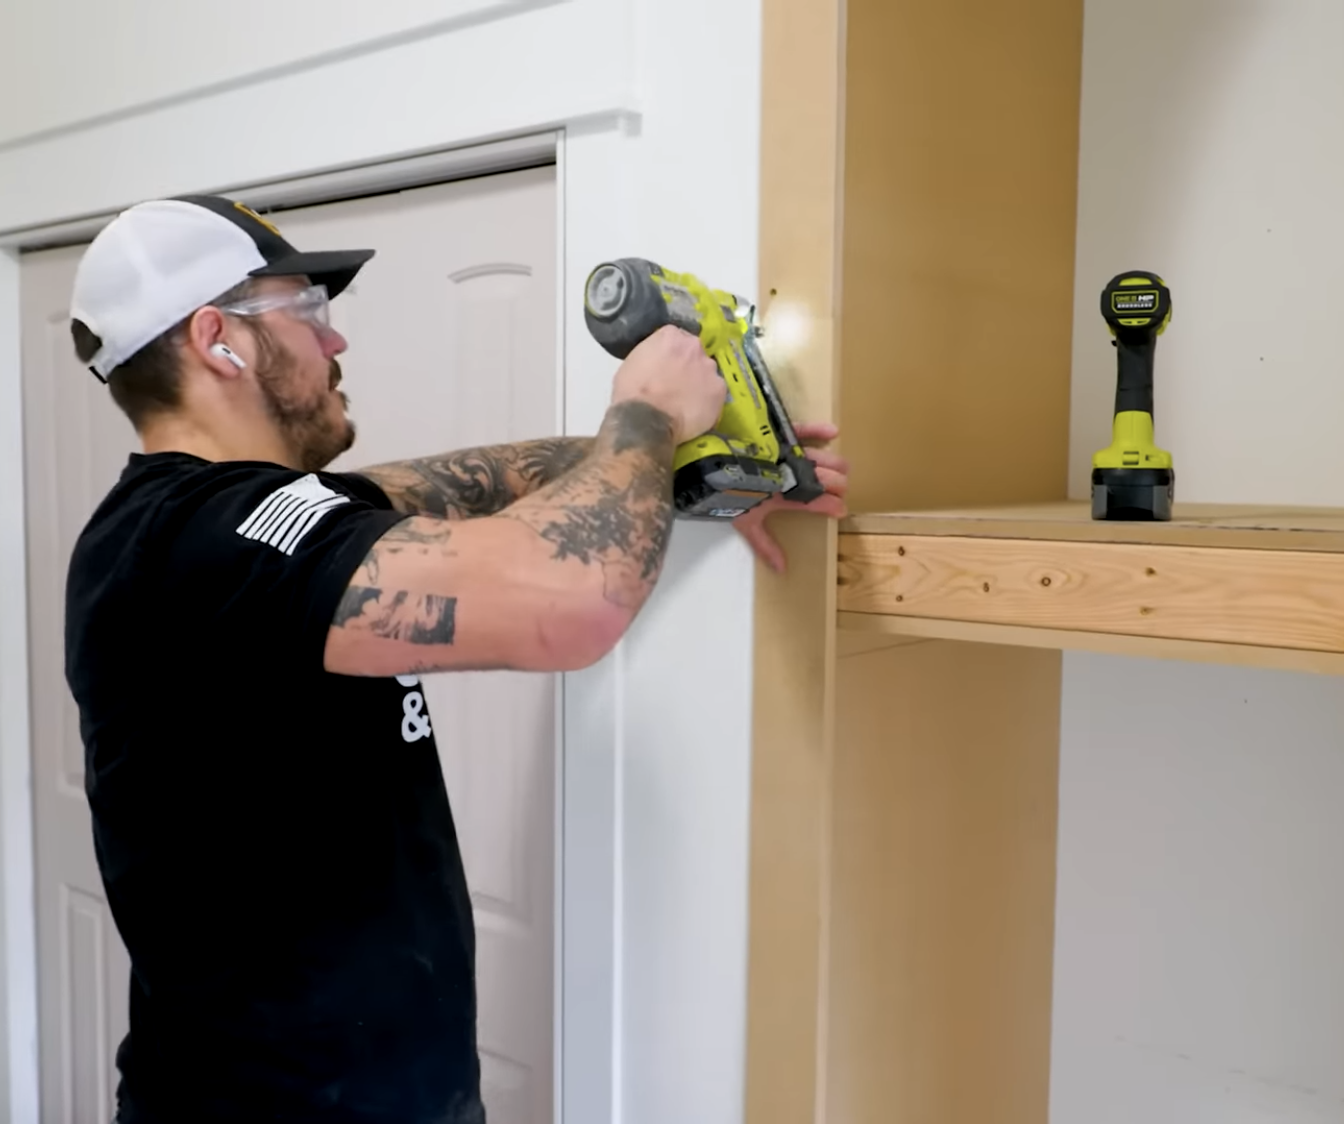
Cut 3/4” plywood to the dimensions of your frame. Using a brad nailer, attach these to the frame in all places you desire a wall. Use screws for the weight-bearing pieces.
Tools
Materials
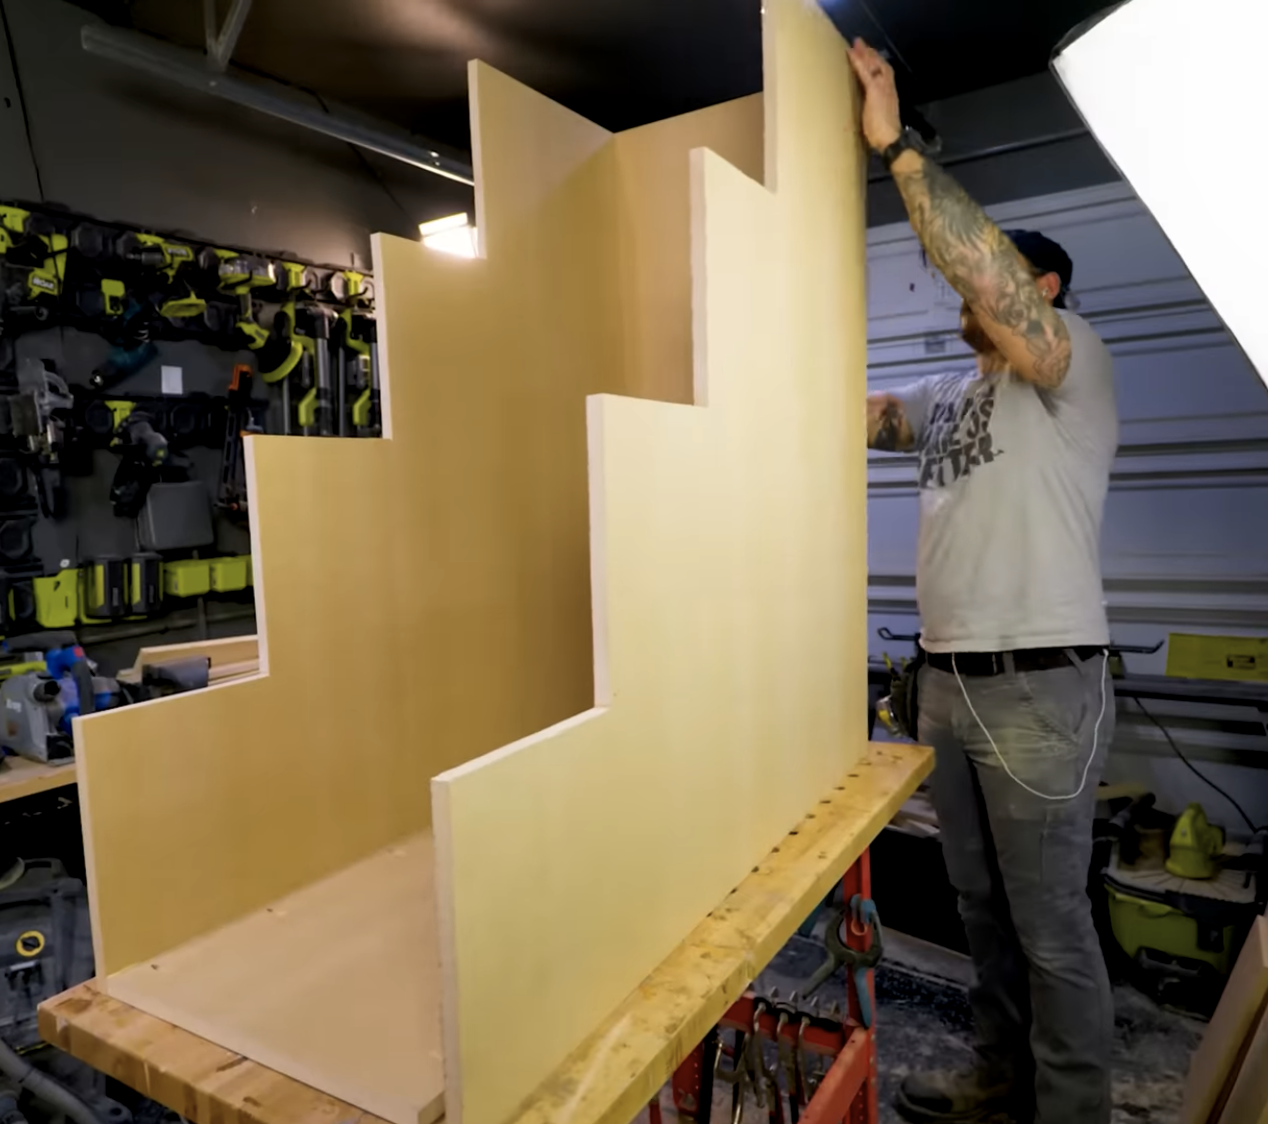
Step 5
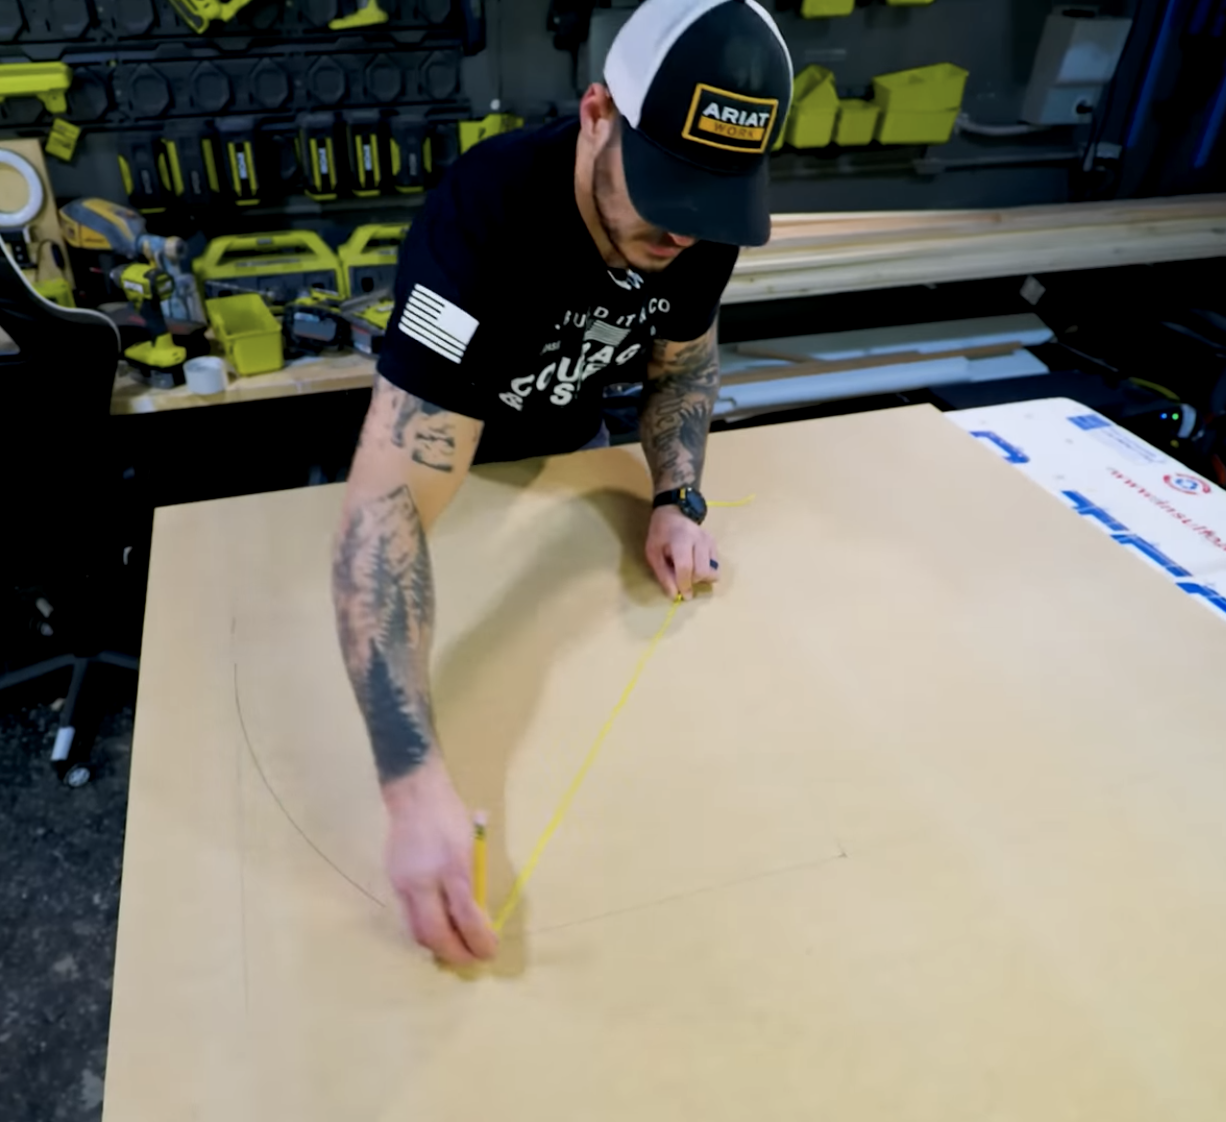
Using the plywood, create the arch for the top bunk. Place a small screw in the center of the board, attach a string, and attach a pencil to the other end of the string. This should be the length of the radius of the arch.
Tools
Materials
Step 6
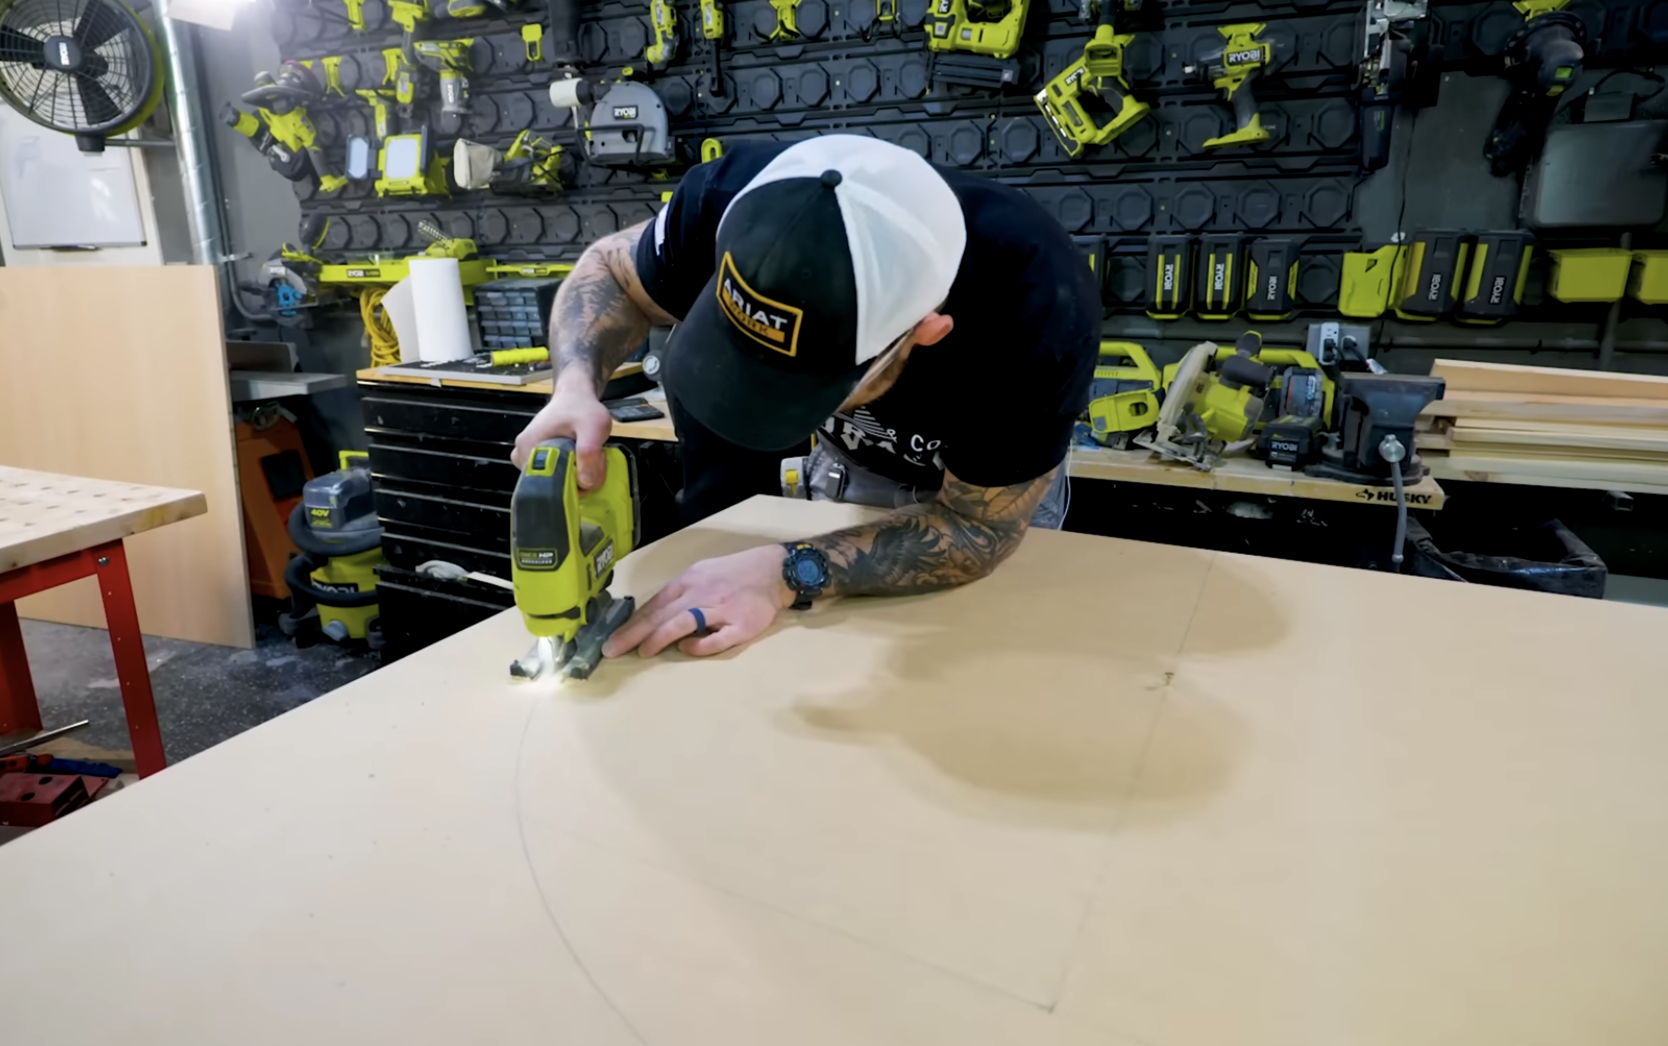
Use a circular saw to cut the straight edges/legs of the arch. Cut from the edge of the board to the edges of the circle. Ensure that the total height of this board fits your space. Use a jig saw to cut the rounded top. Sand for smoothness.
Tools
Step 7
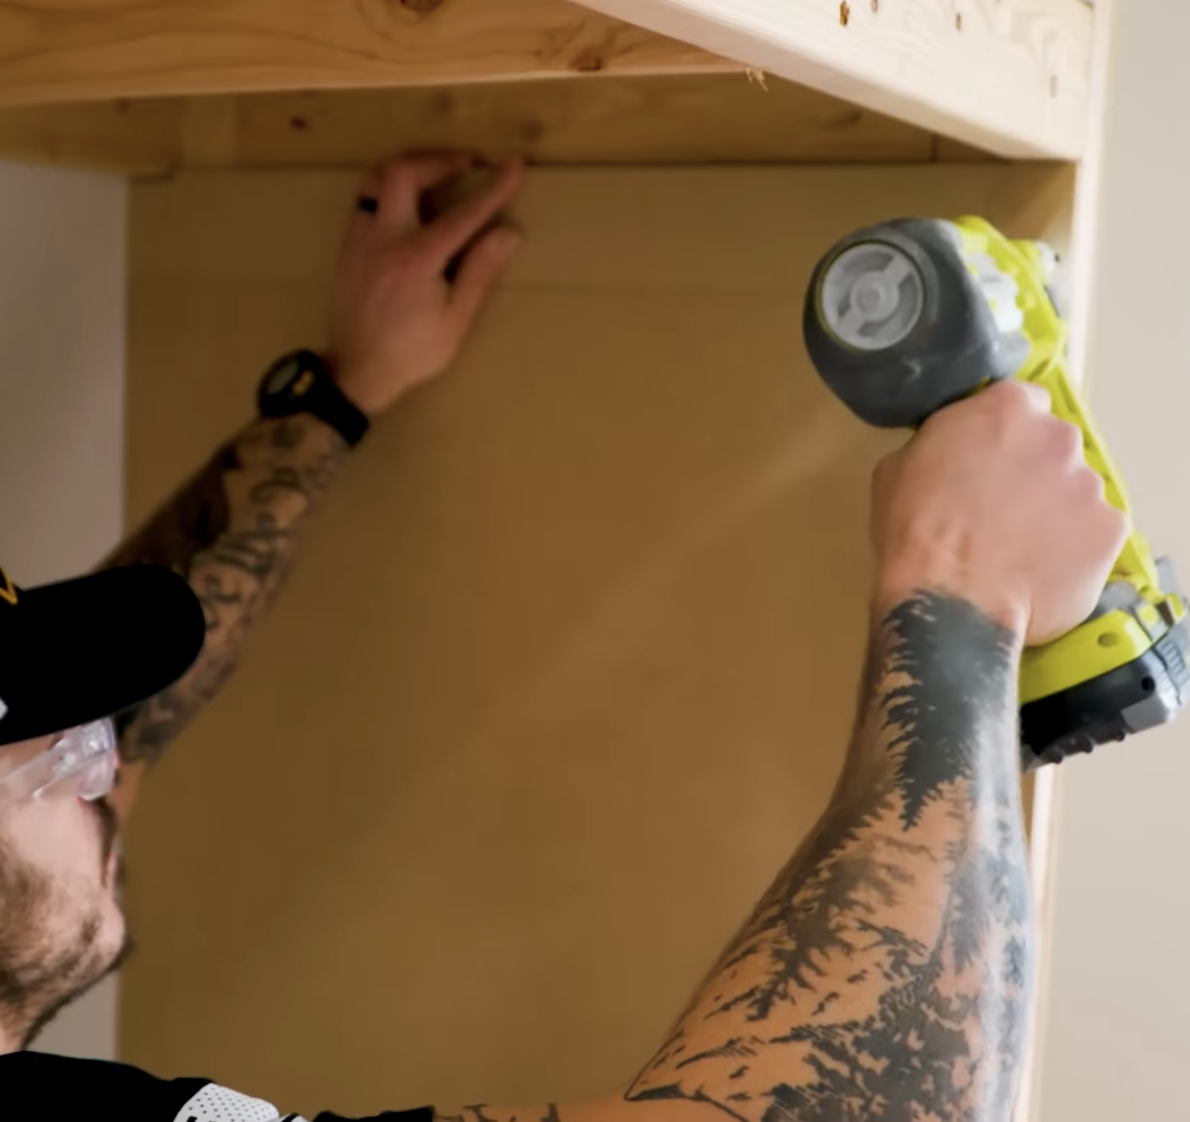
Attach the arch to the front of the top bunk using screws and a brad nailer, and finish adding plywood to cover any open spots on the frame.
Tools
Materials
Step 8
Using plywood, create the side frames of the stairs to fit your space. Use a circular saw to cut these out, then drill pocket holes to attach sides to base and back panels.
Tools
Materials
Step 9
Attach stairs to side of bed using screws.
Tools
Materials
Step 10
Using sturdy boards (1”-by or 2”-by) create support slats. Attach these to the frame using screws.
Tools
Materials

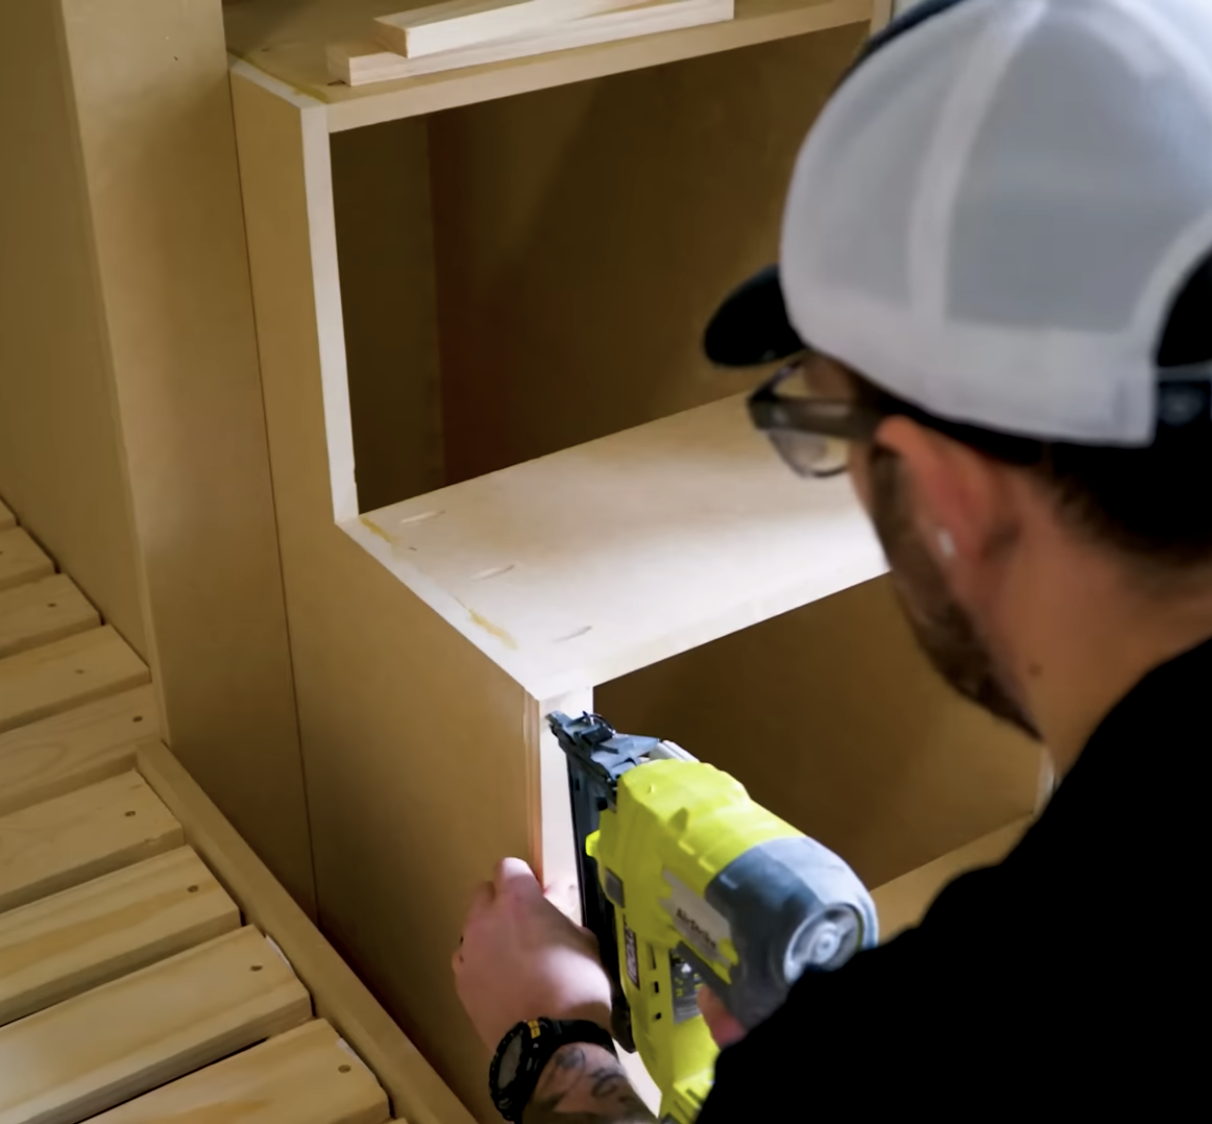
Step 11
Create face-frames for each step where you will put a drawer.
Tools
Materials
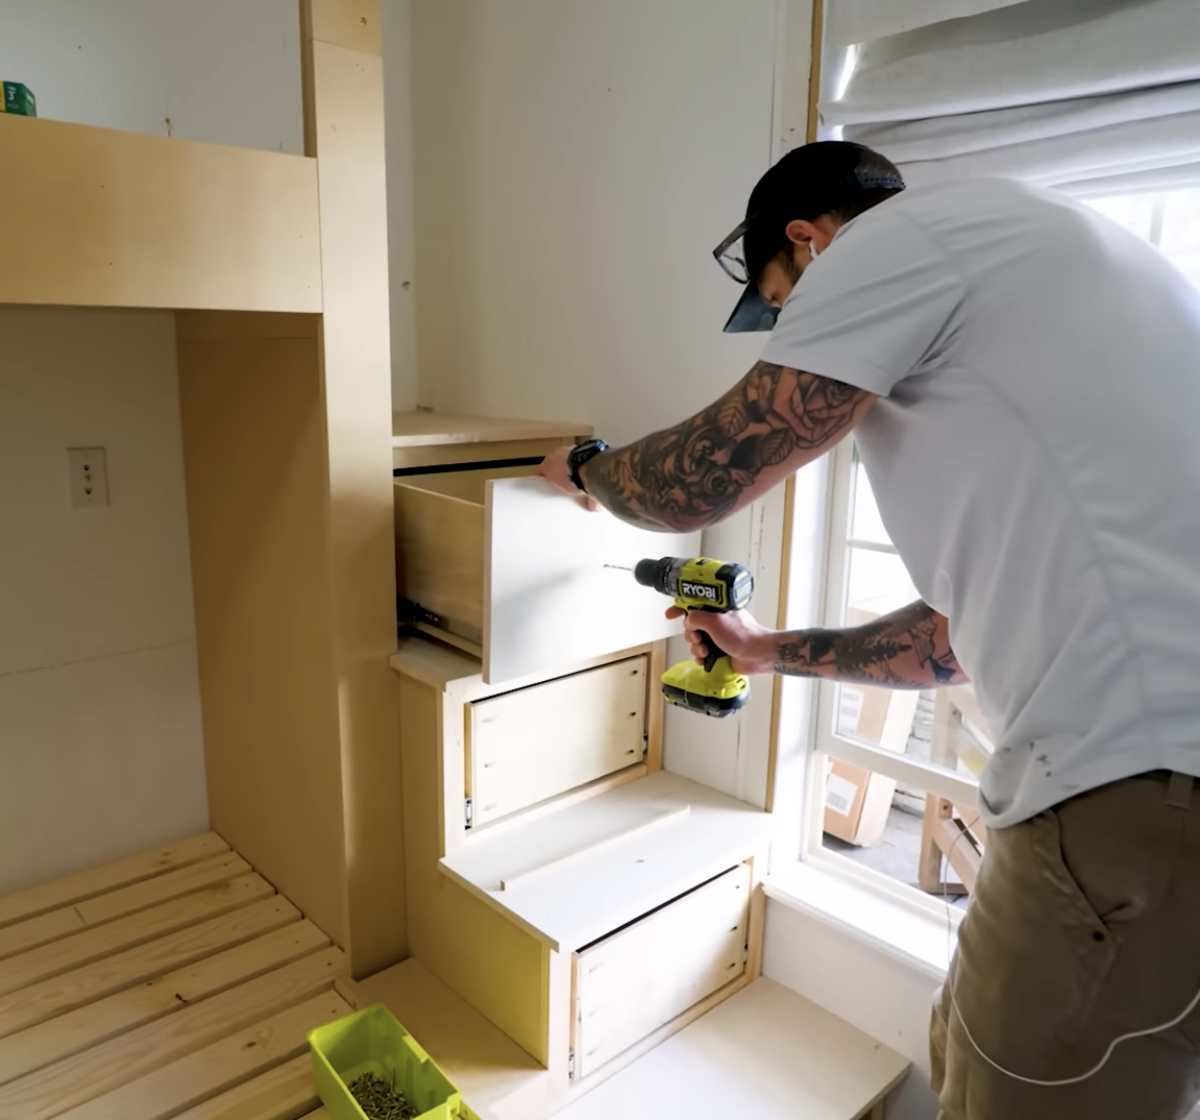
Step 12
Build out boxes for drawers using plywood.
Tools
Materials
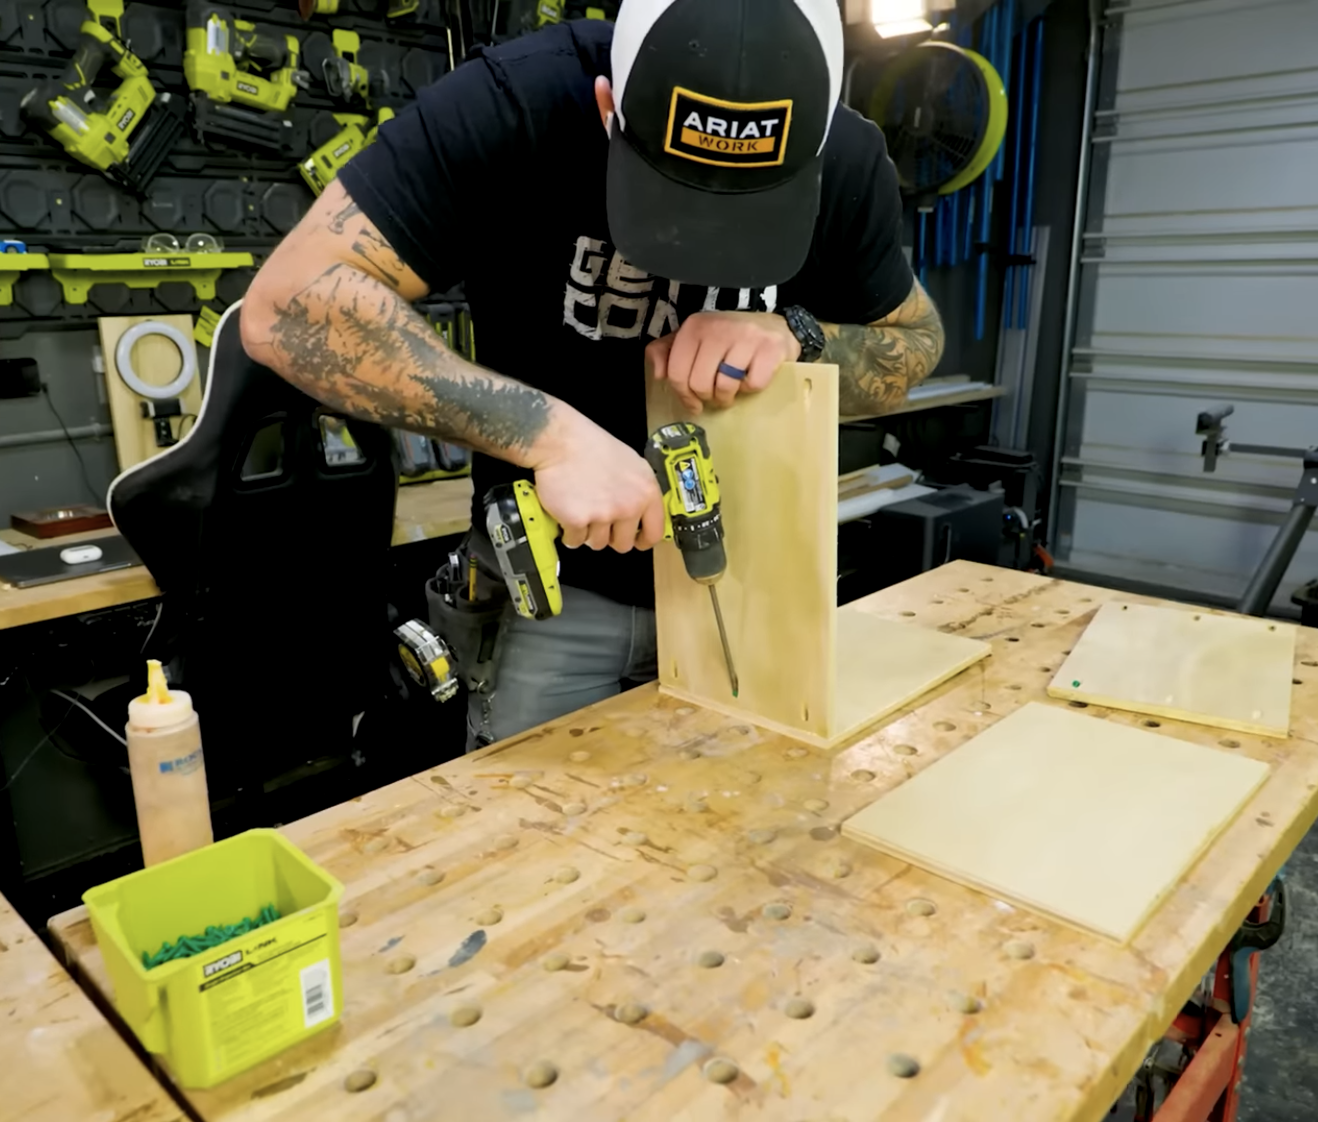
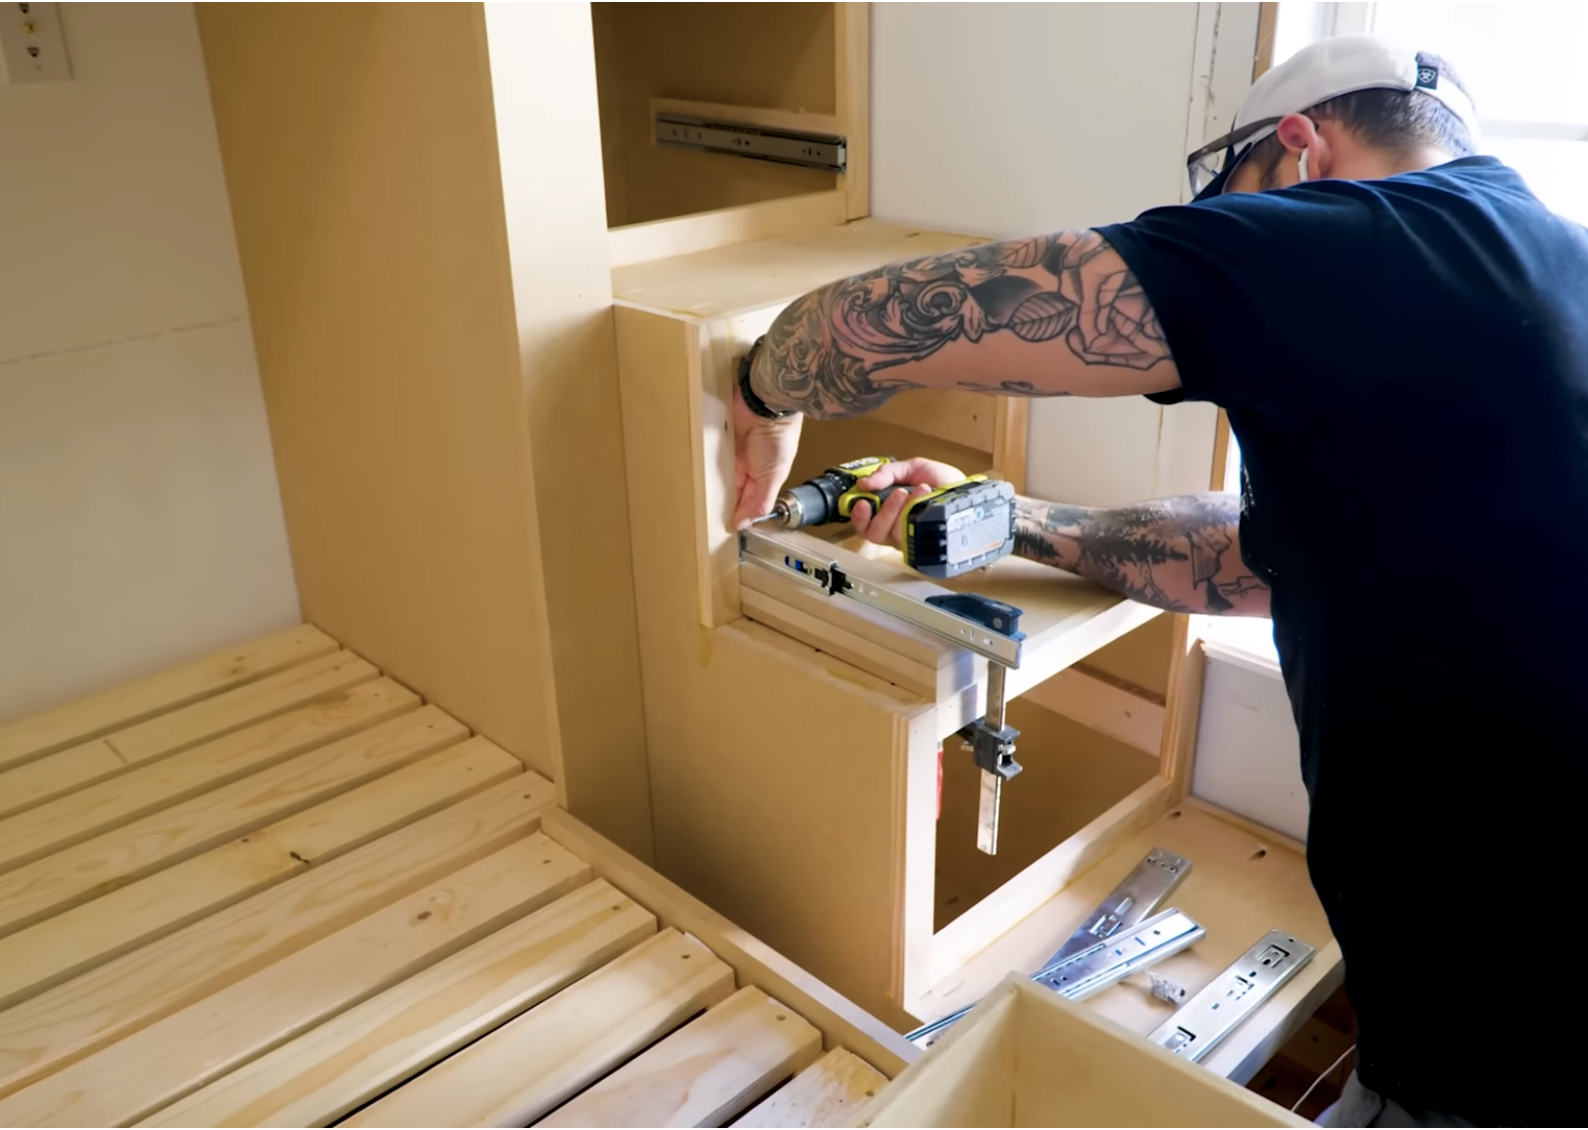
Step 13
Attach drawer slides to inside of stair frame and to outside of drawer boxes.
Tools
Materials
Step 14
Attach top of stair to staircase frame.
Tools
Materials
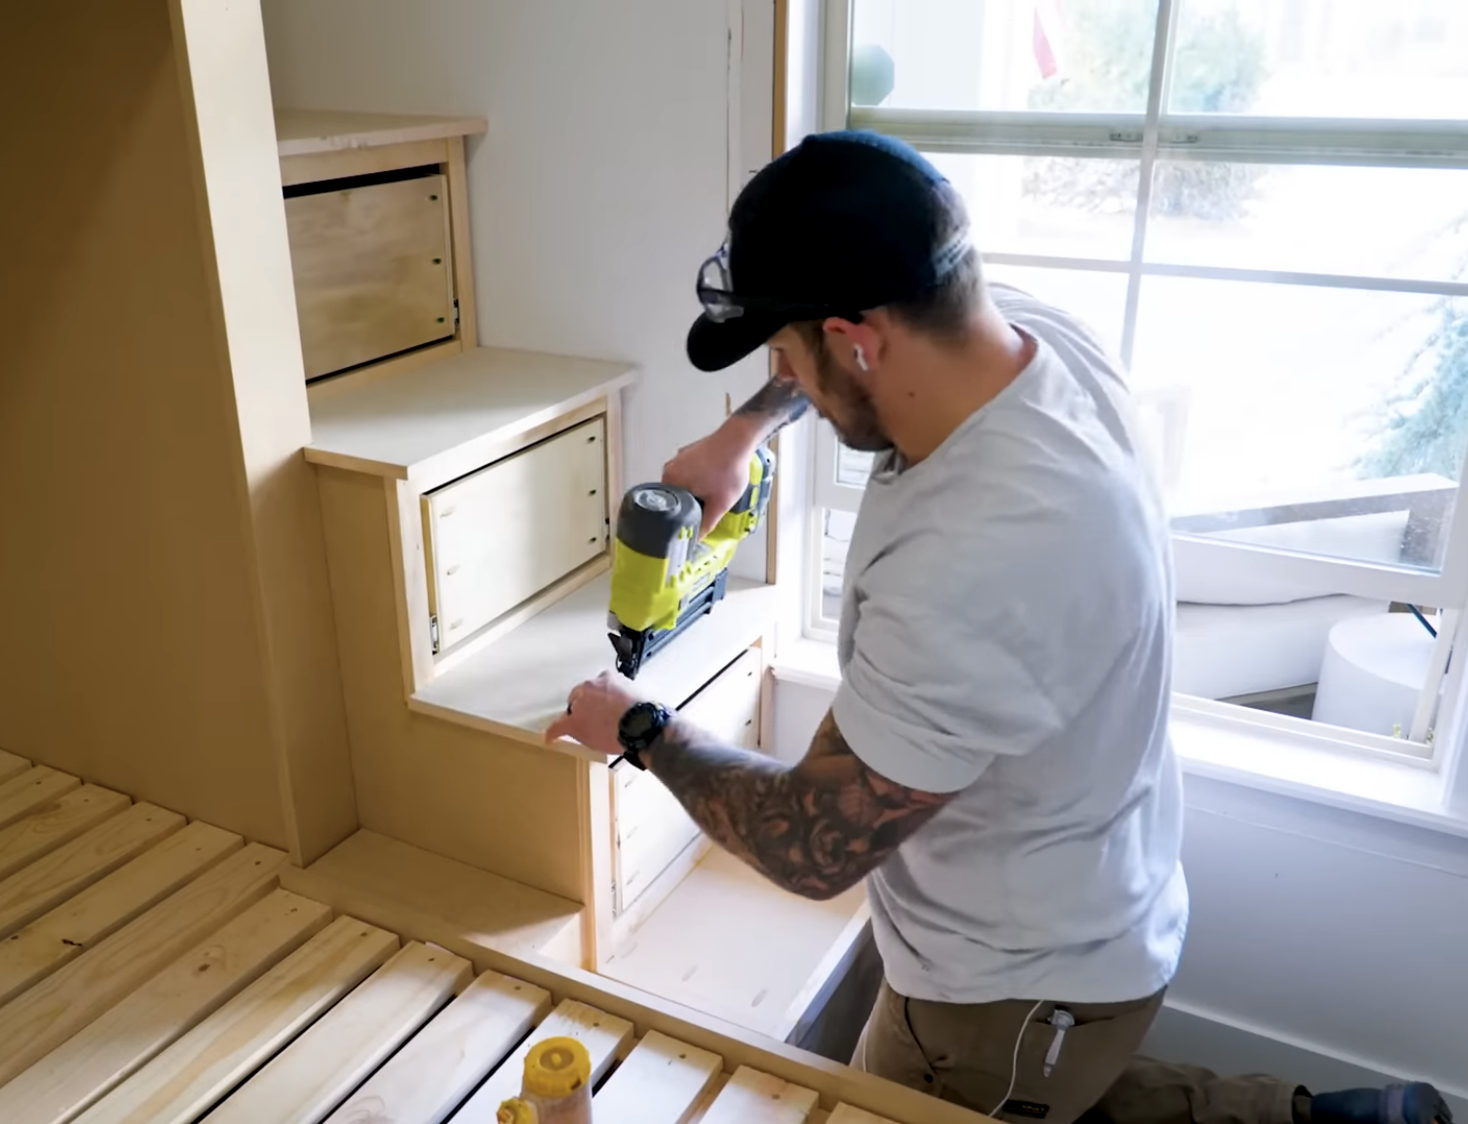
Step 15
Attach drawer faces and drawer handles.
Tools
Materials
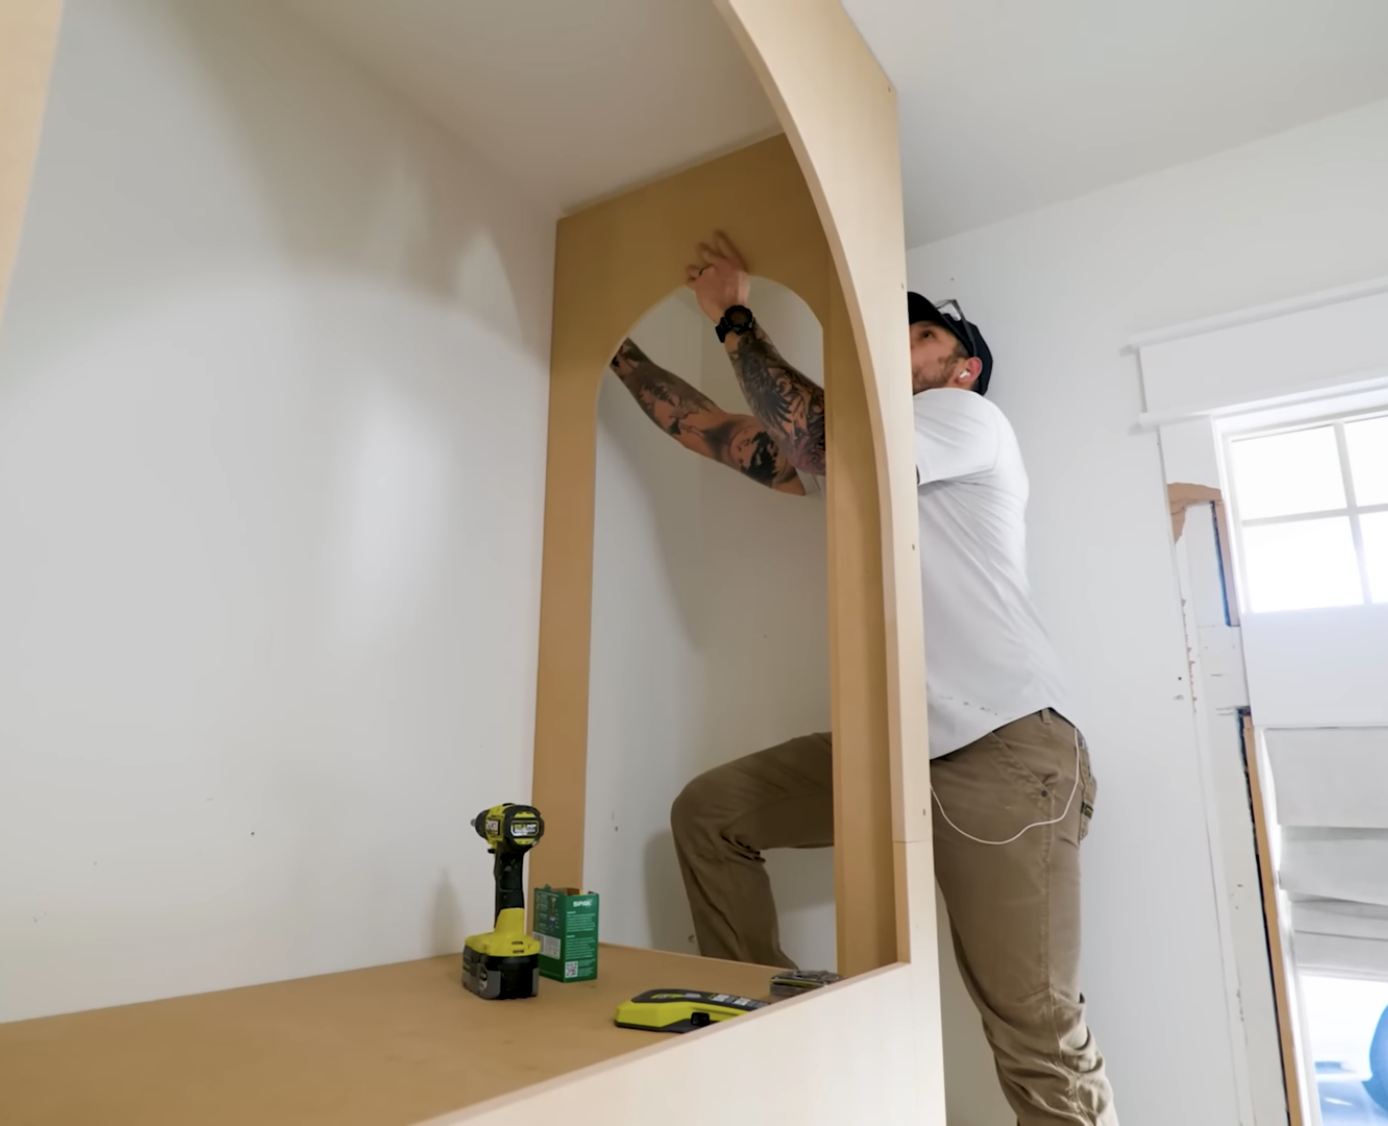
Step 16
Create and attach smaller arch for doorway using plywood.
Tools
Materials
Step 17
Using trim, add any desired trim around your base and bedframe.
Tools
Materials
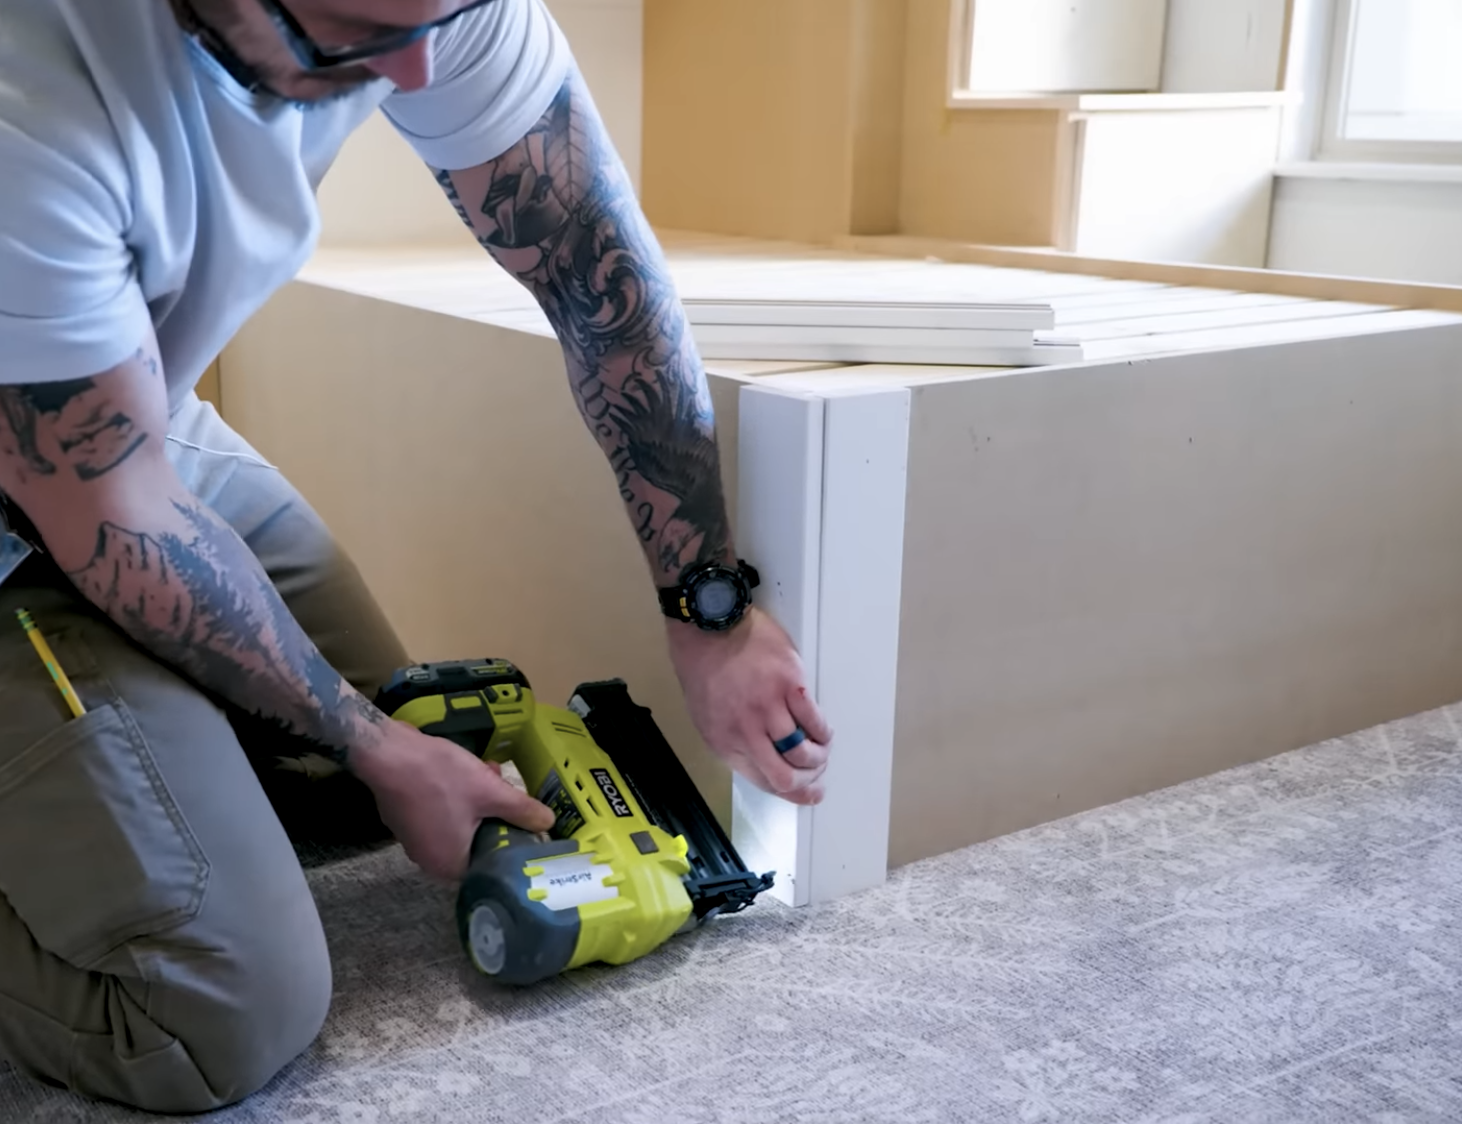
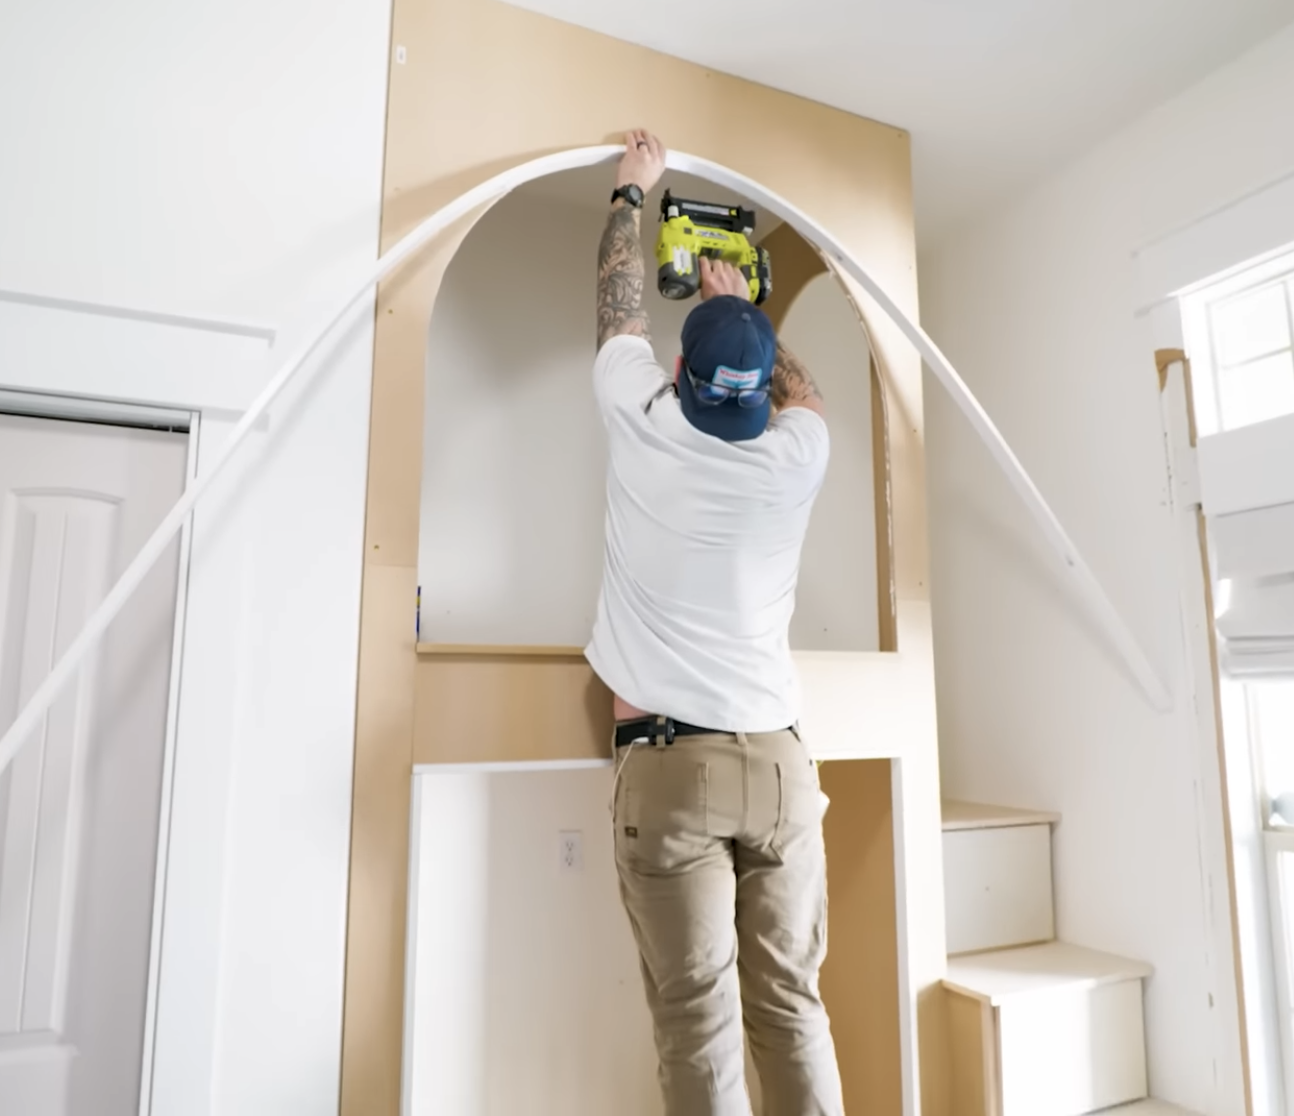
Step 18
Using 1”x2” PVC trim and a heat gun, heat the material so it bends to the shape of your arches. Attach to underside of arches using a brad nailer.
Tools
Materials
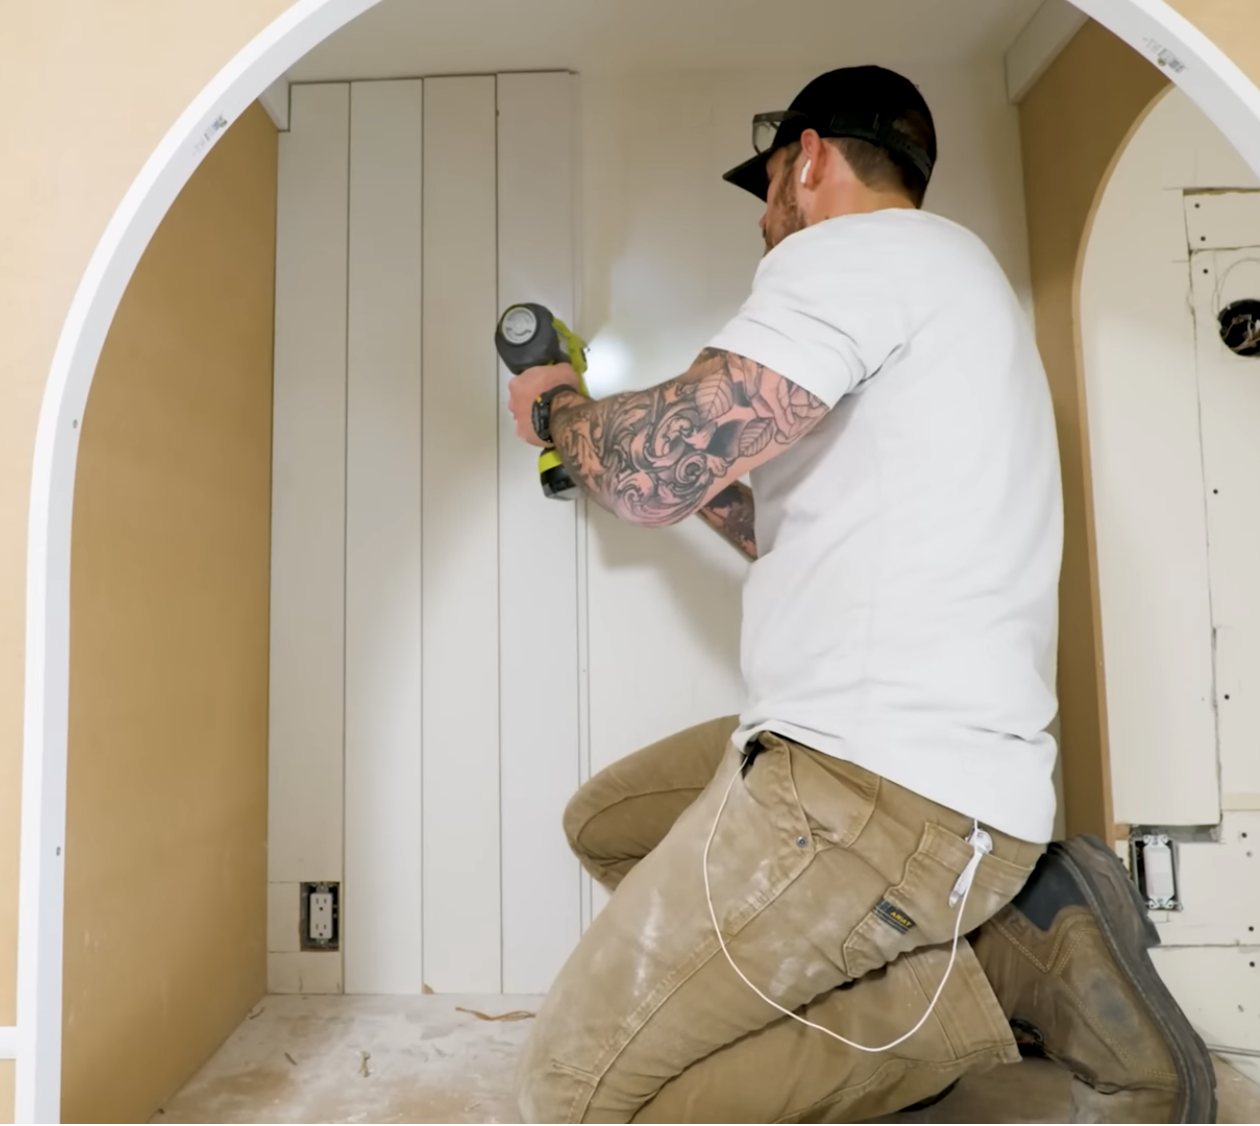
Step 19
Cut shiplap to lengths that will fit your space, and attach to back wall. Place nails on the tongues of the shiplap boards to hide them from view.
Tools
Materials
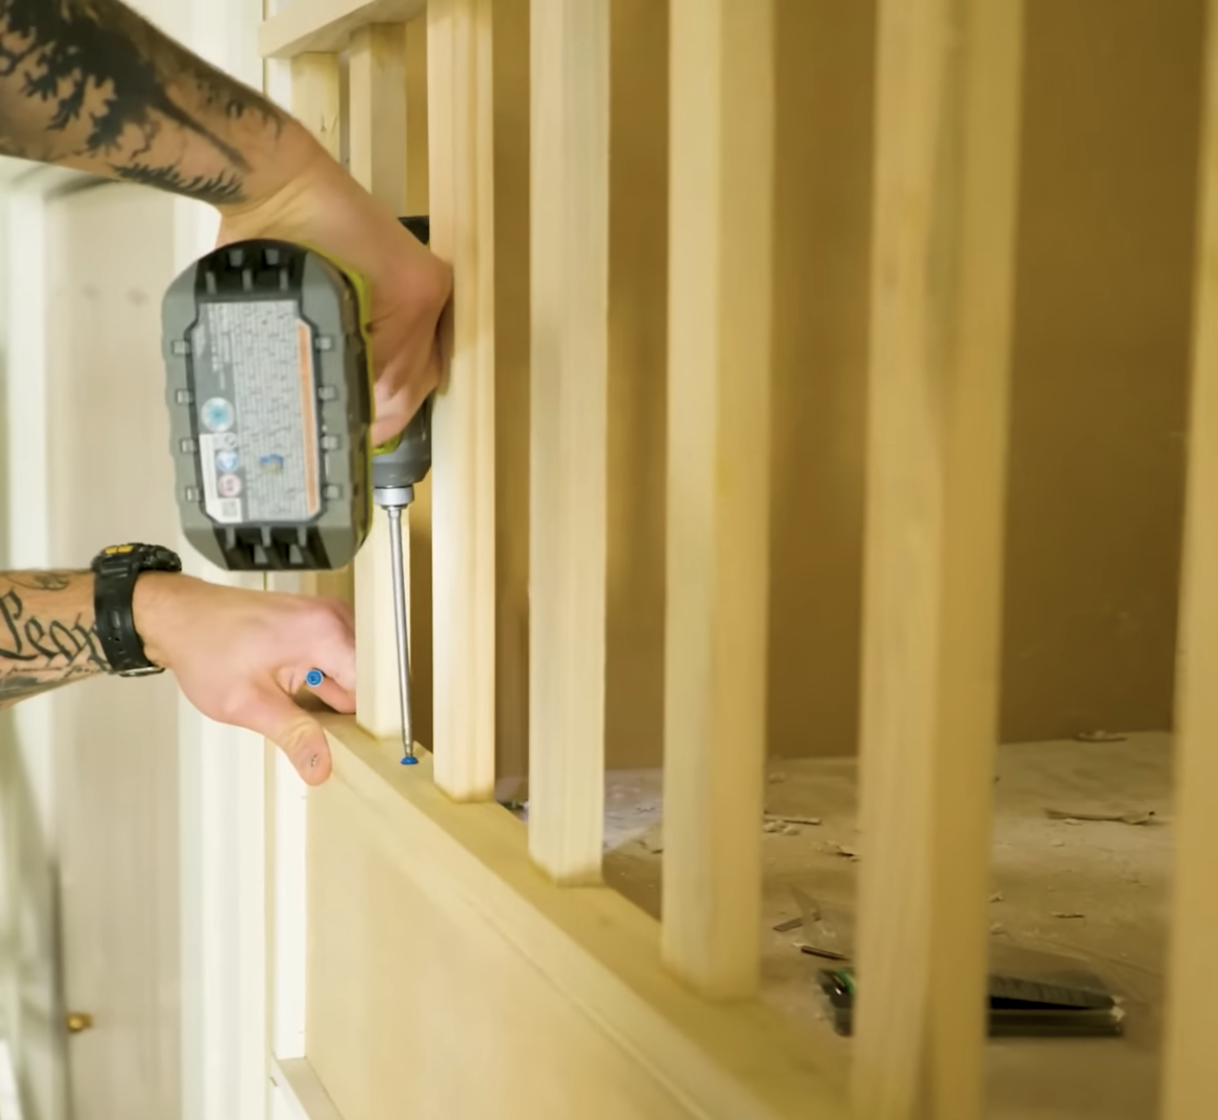
Step 20
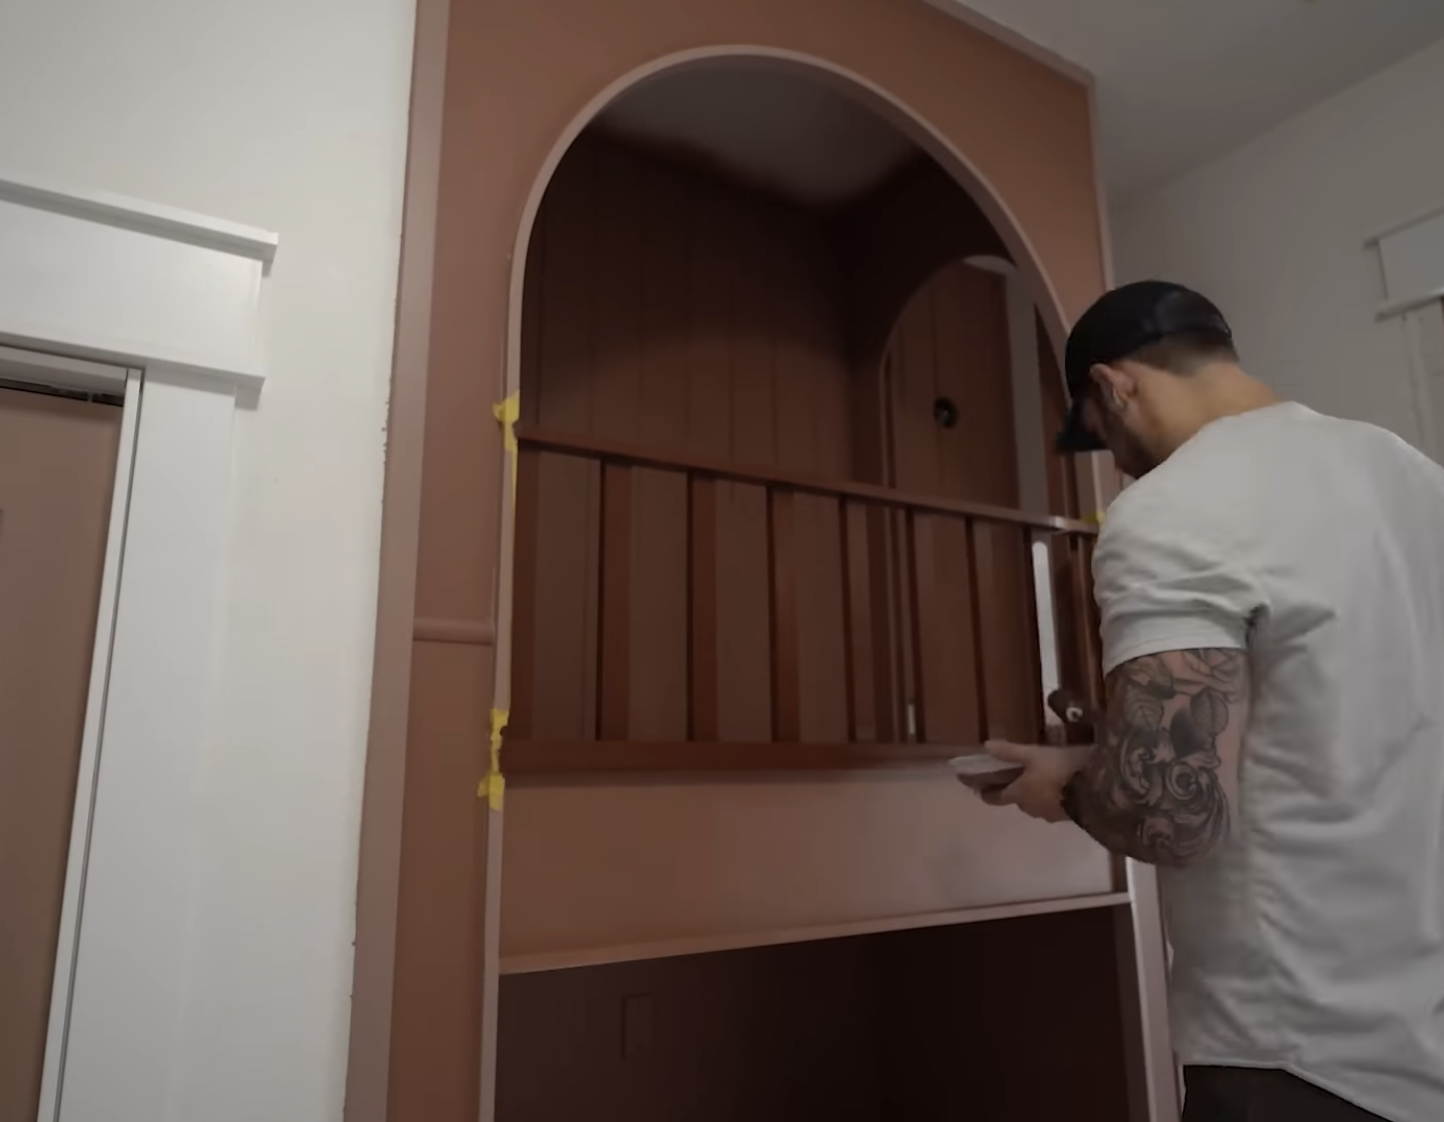
Using 1”-by boards, create a guard rail to fit the opening of the top bunk. Attach under the arch.
Tools
Materials
Step 21
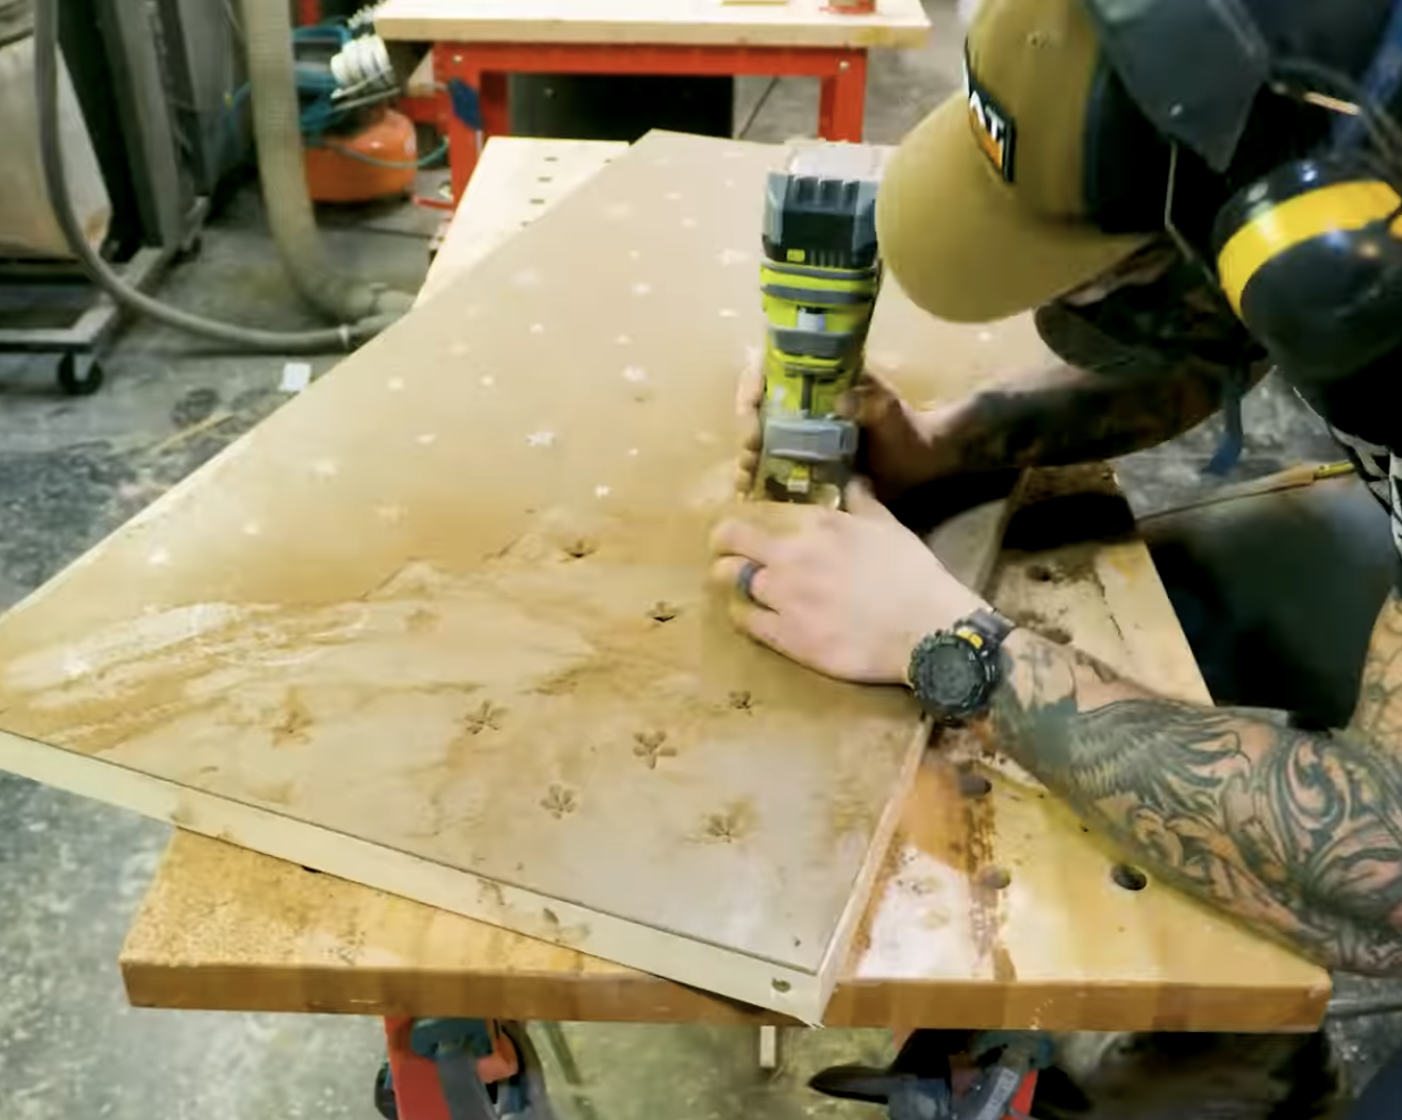
Using 2”x2” boards create a basic frame and attach bead board. Using a router, carve out any desired shapes.
Tools
Materials
Step 22
Paint bunk beds as desired.
Materials
Step 23
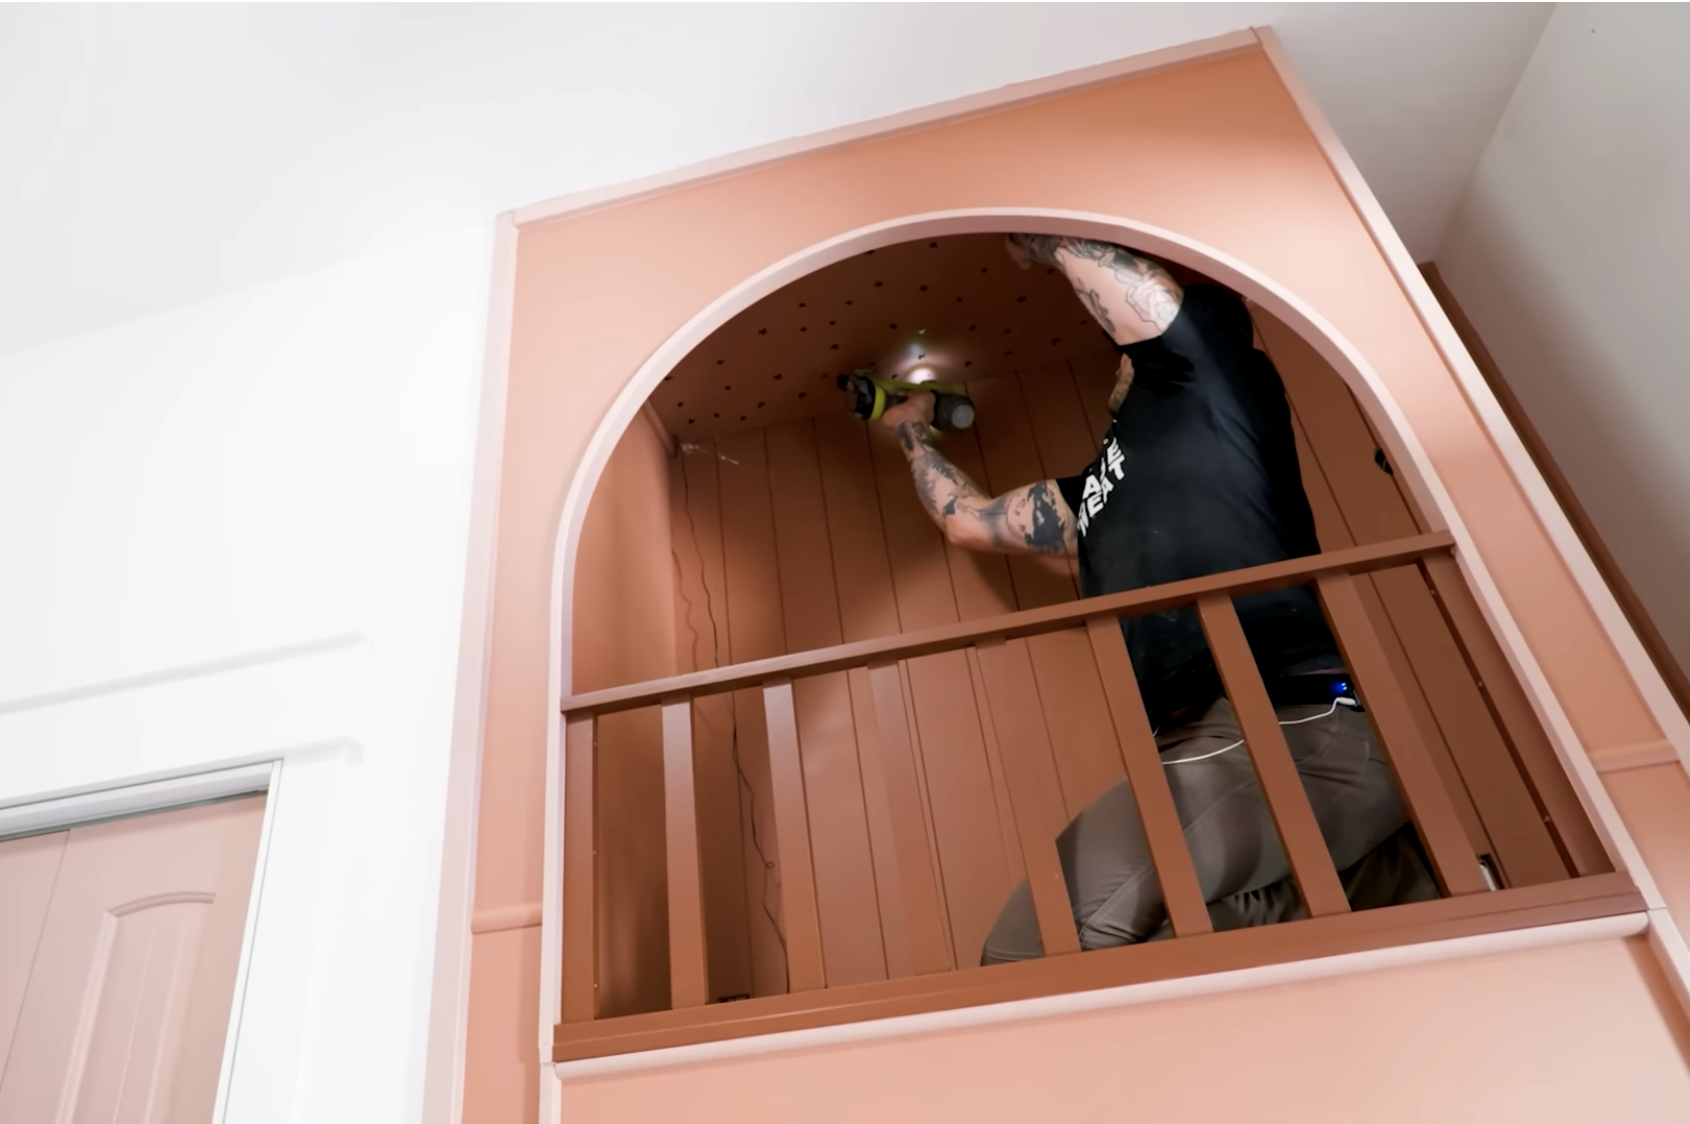
Attach LED light strip to back of bead board so light will show through the cut-out shapes. Attach bead board to roof of top bunk. Ensure the power cord can fall back through to reach an outlet. Add any desired trim.
Tools
Materials
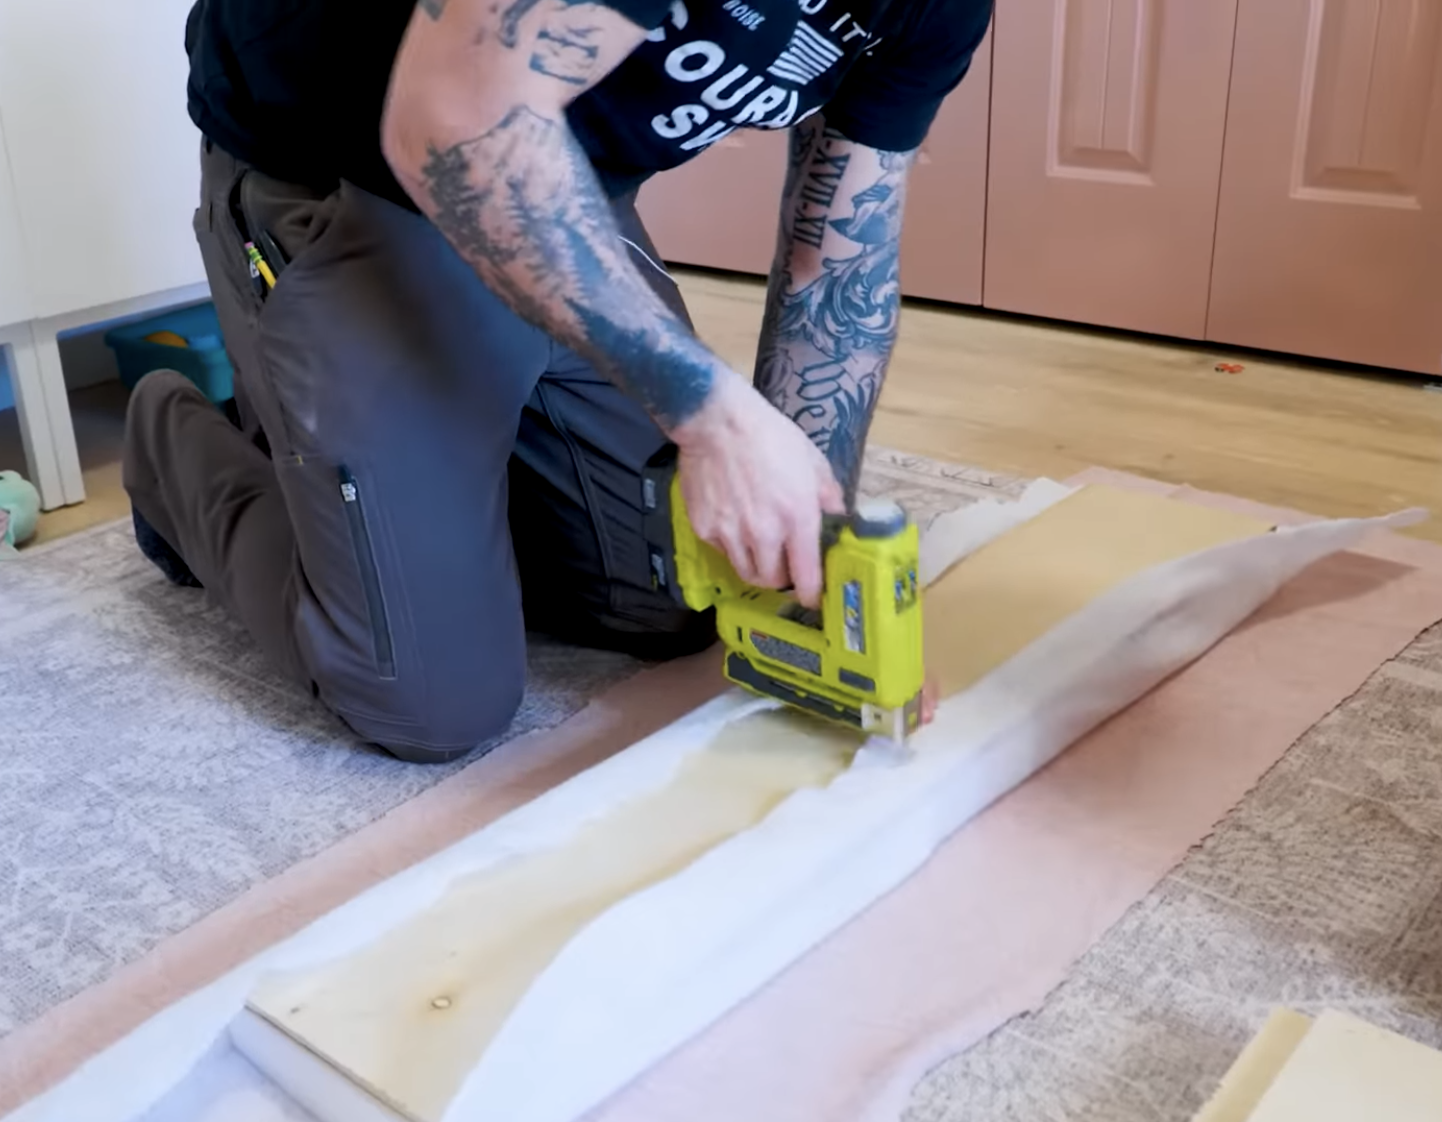
Step 24
Wrap plywood in foam, fabric, and batting. Staple tightly to back. Repeat for as many boards as needed to fit your space. Attach all to plywood, and attach plywood to back wall.
Tools
Materials