Steps
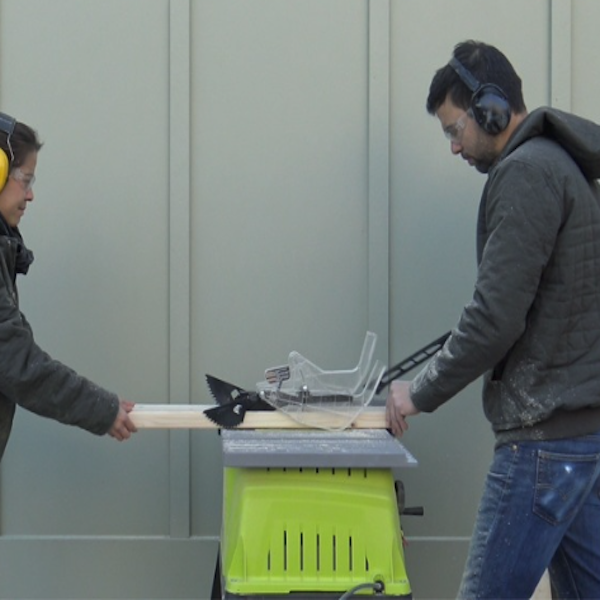
STEP 1
Cut the 2x4s.
Tools
Miter Saw, Table Saw, Tape Measure
Materials
2"x4" Wood Board
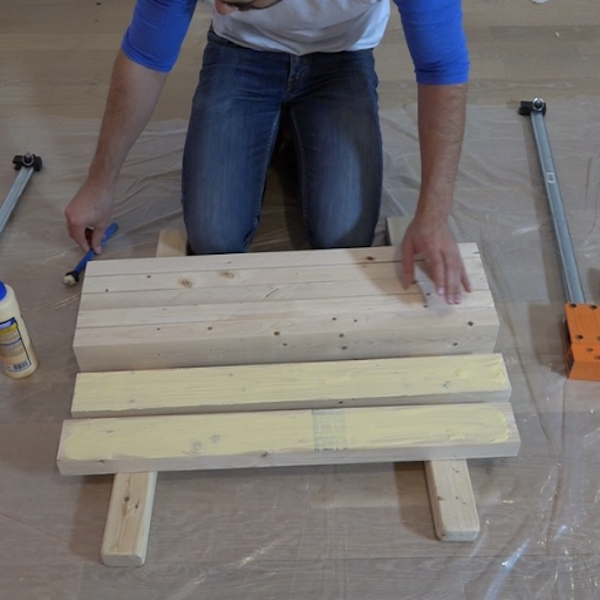
STEP 2
Glue the side panels together
Materials
Wood Glue, 2x4 Wood Boards
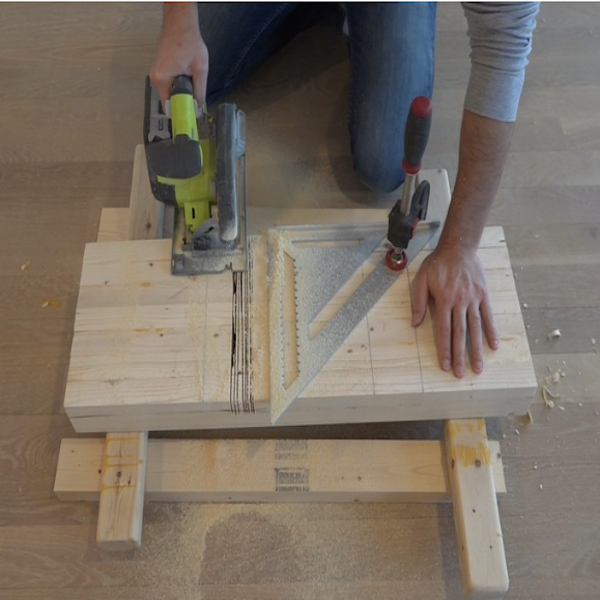
STEP 3
Cut recesses in the side panels
Tools
Circular Saw
Materials
2x4 Wood Board
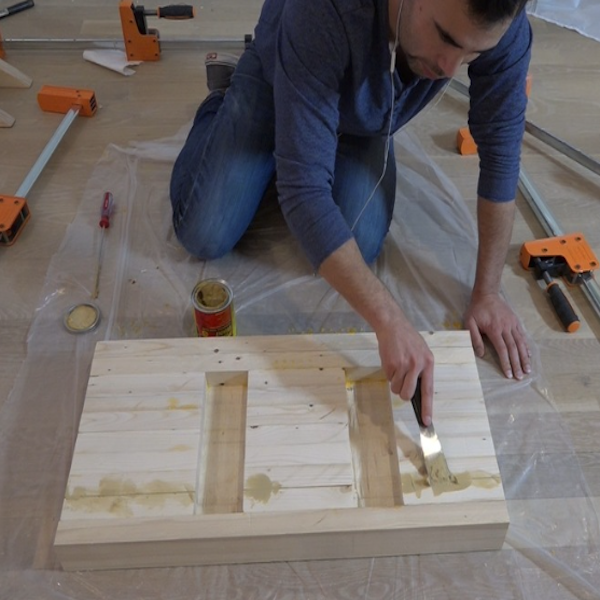
STEP 4
Glue on more 2x4s
Materials
Wood Glue, 2x4 Wood Boards
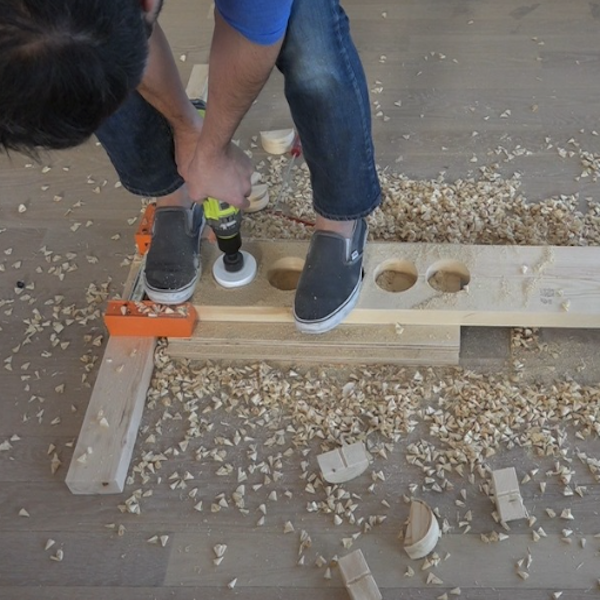
STEP 5
Clamp two 2x4 pieces together and drill the racks so each 2x4 has a row of half-circles. One set using the 3-1/2" Hole Saw and one set using the 1-1/2" Forstner Bit.
Tools
Drill, 1-1/2" Forstner Bit
Materials
3-1/2" Hole Saw, 2x4 Wood Boards
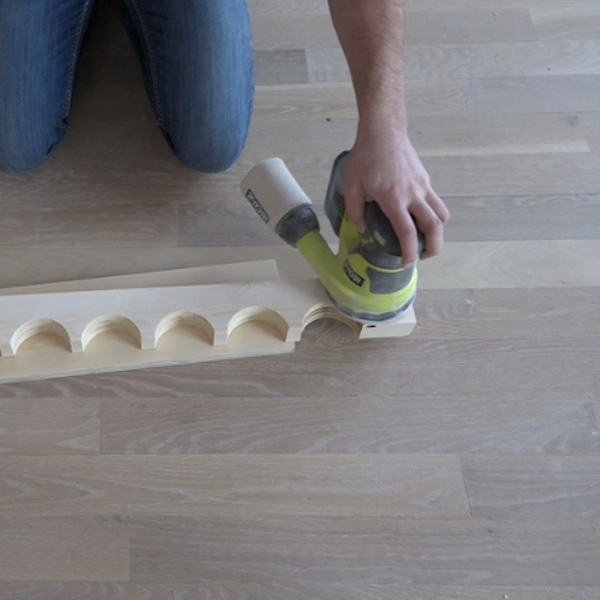
STEP 6
Sand the racks.
Tools
Sander
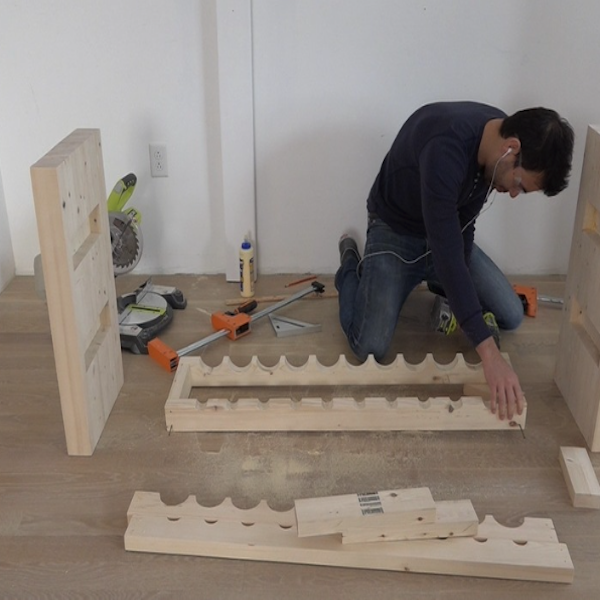
STEP 7
Assemble. Add short pieces of 2x4 in between the ends of the racks to help hold form.
Tools
Drill
Materials
Wood Screws, 2x4 Wood Boards.
STEP 8
Make a template for the countertop.
Tools
Drill
Materials
Wood Screws
STEP 9
Make the plywood core of the countertop.
Tools
Drill
Materials
3/4" x 24" x 48' Sanded Project Plywood, Steel Mesh

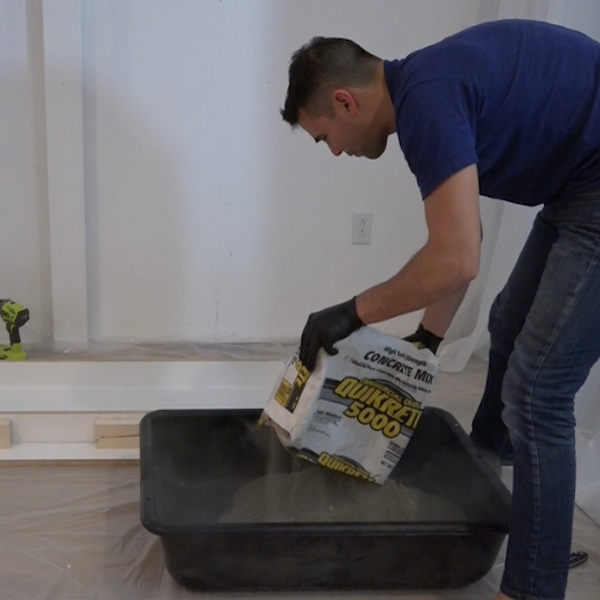
STEP 10
Mix and pour the concrete into the template. Place the plywood core into the middle.
Materials
Quikrete 5000
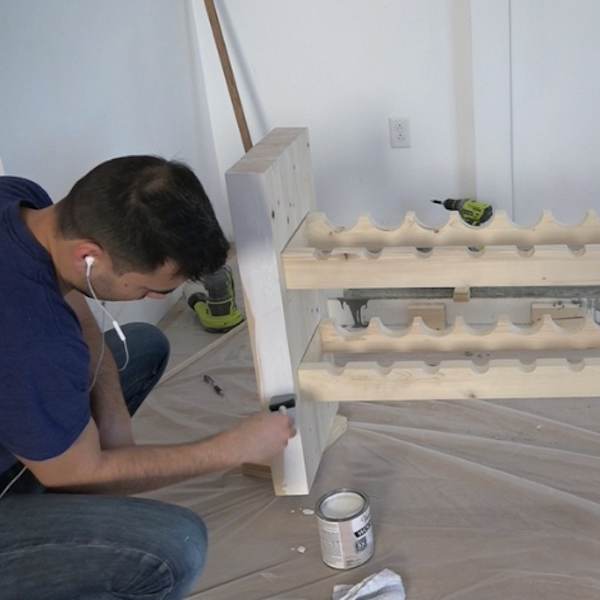
STEP 11
Stain the base.
Materials
Varathane Wood Stain "Antique White", Minwax Polycrylic
STEP 12
Remove the concrete mould and attach to the base.
