Steps
STEP 1
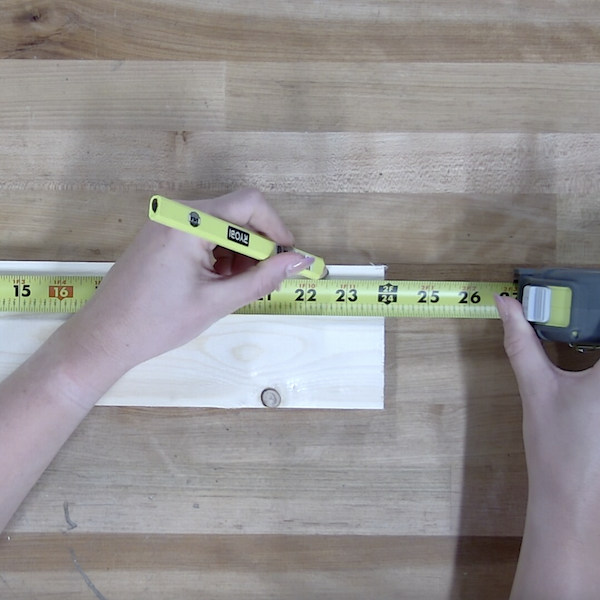
Measure and mark cuts on the 1"x4"x8' wood. First, measure out (4) 4' for the long vertical pieces. Next, mark (8) 22-1/2" for the horizontal pieces.
Materials
STEP 2
After that, mark (2) 20-3/4" for the cup holder pieces. Lastly, mark (4) 13" pieces for the legs. Mark the dowel at 21-1/2."
Tools
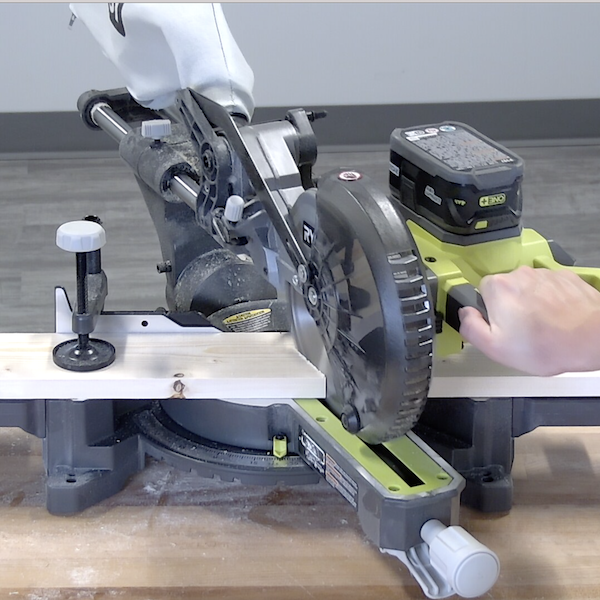
STEP 3
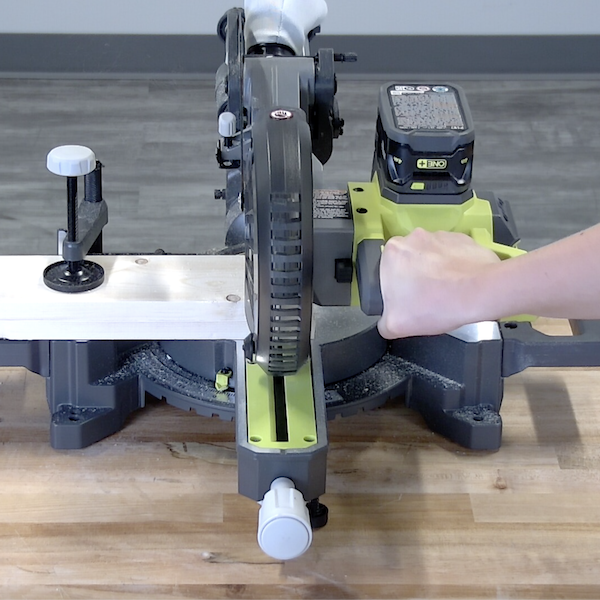
Cut the wood according to the measurements made in the previous step, except for the (4) 13" for the legs.
Tools
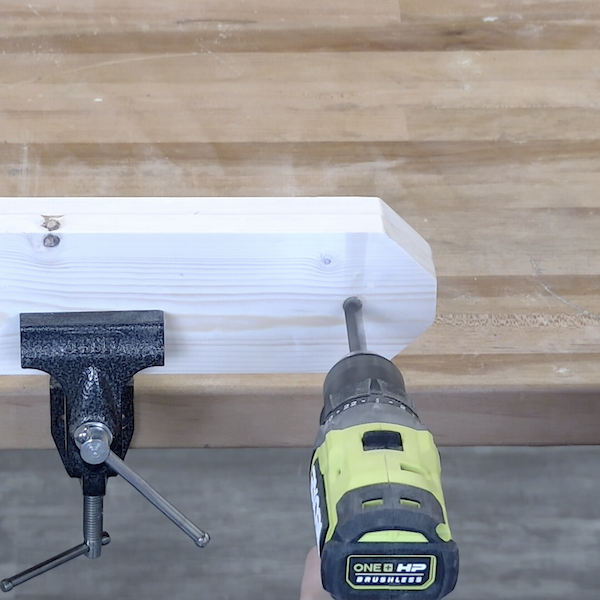
STEP 4
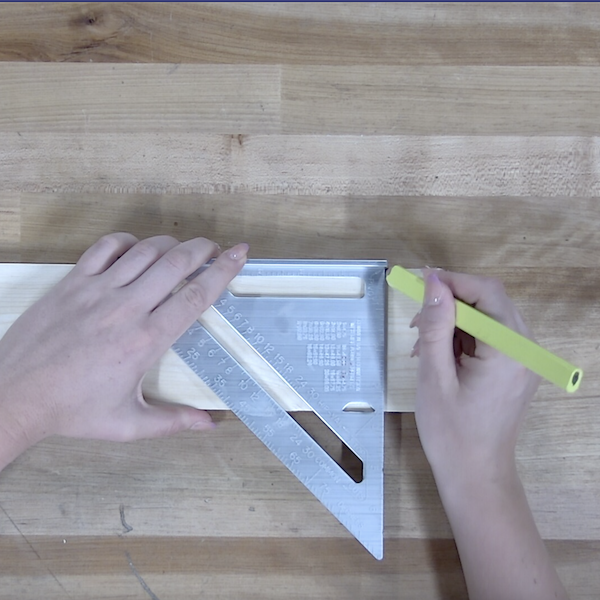
Cut each 13" leg piece at a 25° angle on one side. On the opposite side, cut 45° angles from each corner, leaving 1-1/2" in the middle.
Tools
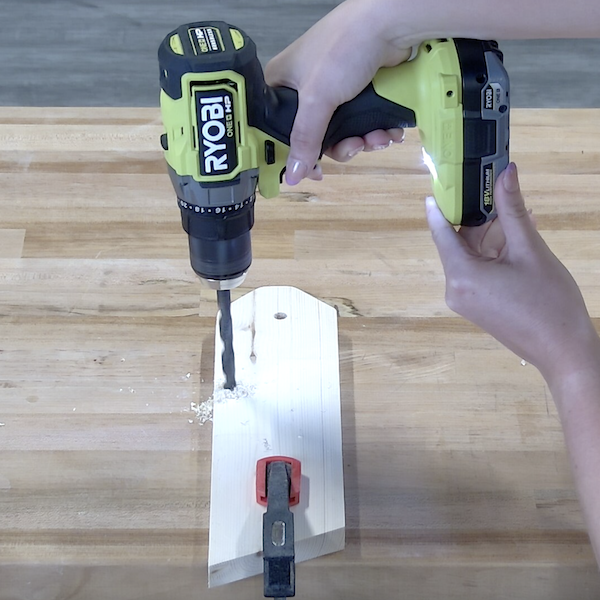
STEP 5
Drill a hole 1-3/4" down, in the middle of the piece of wood from the top of the side with the 45° angles. Repeat on all four 13" leg pieces.
Tools
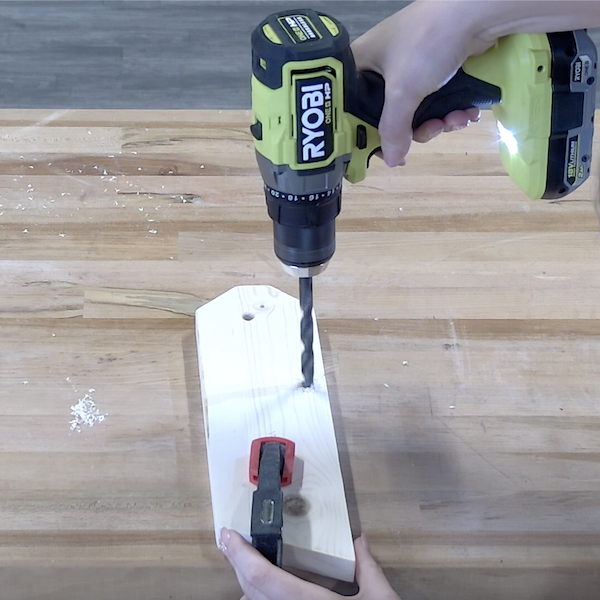
STEP 6
Drill another set of holes on the 13" leg pieces using the 3/8" drill bit, going 1/2" deep. Place each hole 8" from the bottom and 1/2" from the edge.
STEP 7
With two pieces from the last step, drill the holes from the right edge of the wood and with the other two pieces drill holes from the left.
Tools
STEP 8
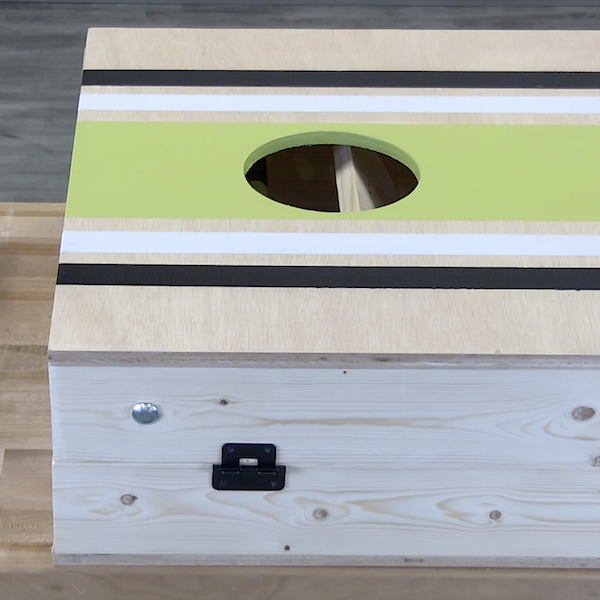
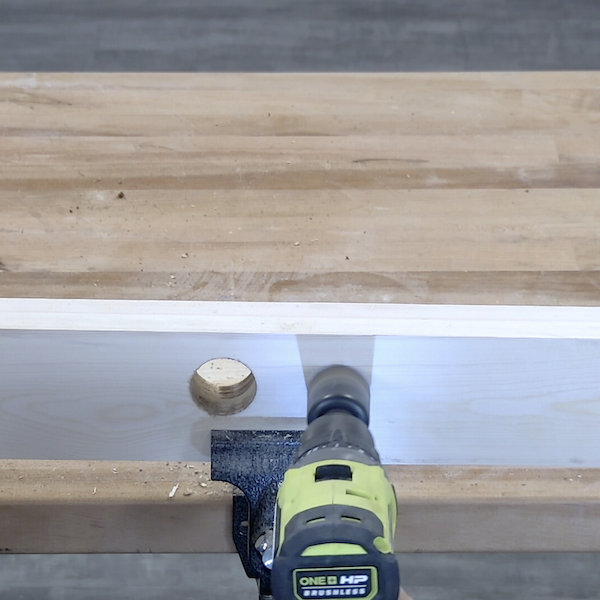
On (2) of the 4' pieces, mark 22-3/4" from each side. Use a 1-1/2" hole saw to drill a hole on each point. Connect the two holes using a pencil, then cut out the wood in between the lines to create a handle. Sand the inside of each hole.
Tools
STEP 9
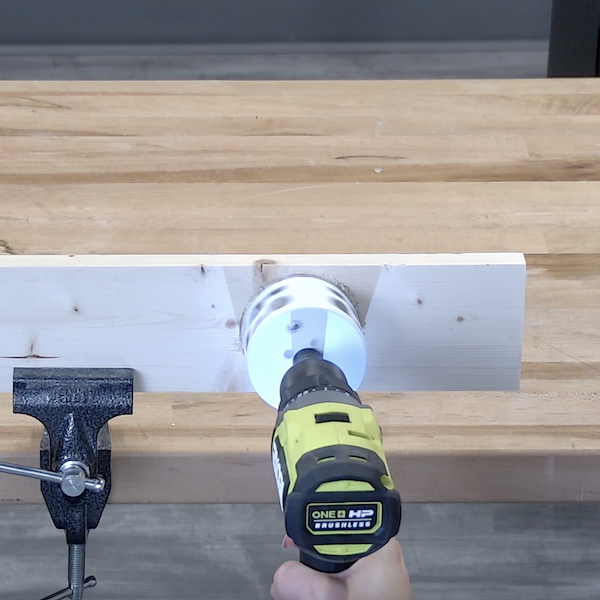
On the the (2) 20-3/4" pieces mark points at 5-1/2" from each side. Line up the middle of the 3" hole saw with the marks and drill the circles through each piece. Sand the inside of each hole to refine the edges. These pieces will be for the cup holders.
Tools
STEP 10
Thoroughly sand all of the wood pieces in preparation for painting.
Tools

STEP 11
Apply polyurethane to all of the pieces, except the 2'x4's which will serve as the tops of each board. Allow time to dry.
Materials

STEP 12
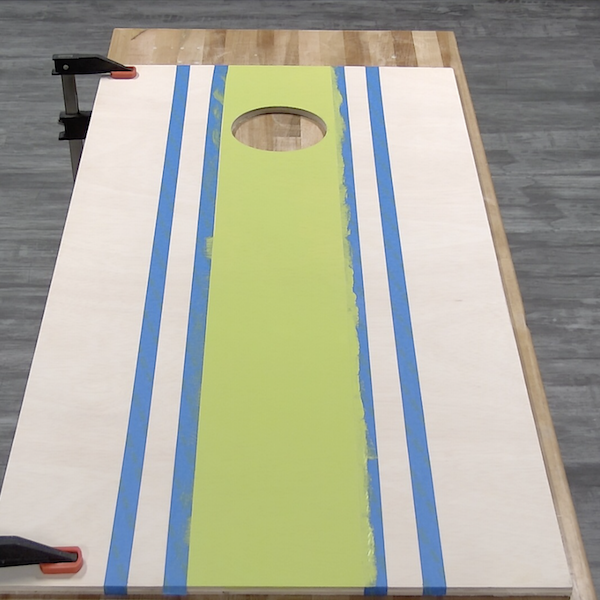
Tape off the desired pattern on the tops of the corn hole boards. Apply spray paint to the boards and allow time to dry.
Tools
STEP 13
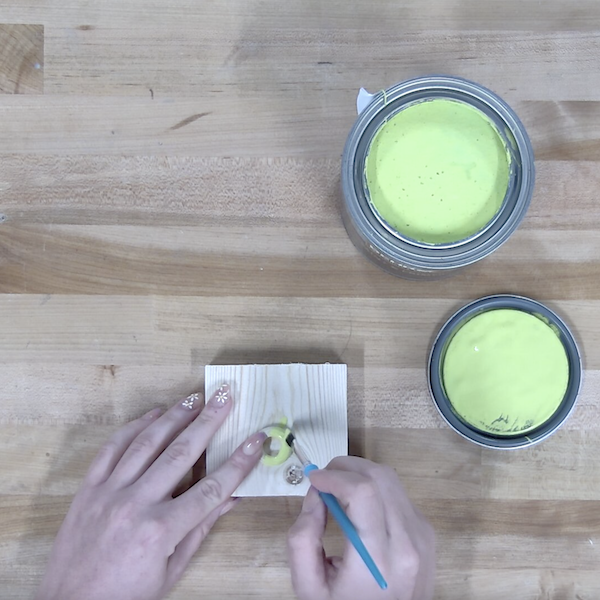
Divide the wooden beads into two groups of 21. Apply different colors of spray paint to each group
Materials
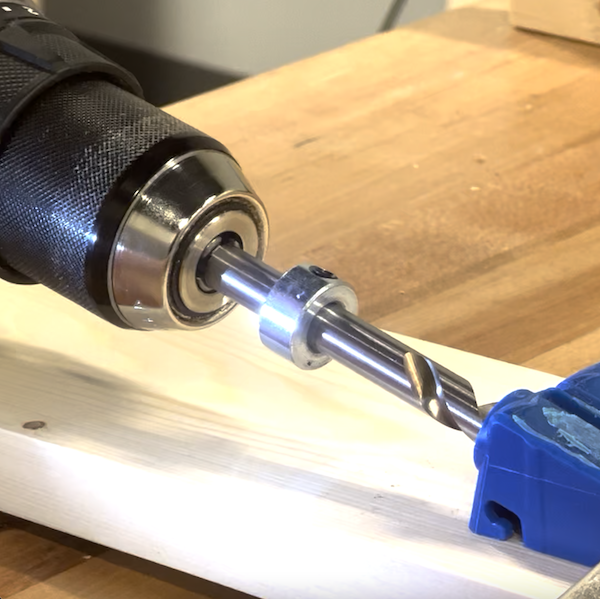
STEP 14
Use the pocket hole guide to drill pocket holes in an upward direction. Adjust the guide to 1/2" and drill two holes on each side of the 4' ( vertical side) pieces. Drill a pocket hole in the middle of (4) of the 22-1/2" cuts (horizontal pieces).
Tools

STEP 15
Use the pocket hole tool from the previous step to drill a hole in the middle of the additional (4) 22-1/2" (horizontal pieces.)
Tools

STEP 16
Adjust the guide to 3/4" and drill (2) holes on each side of all of the 22-1/2" (support pieces.) Drill two holes on one side of each 20-3/4" piece (cup holder pieces) in both horizontal directions.
Tools
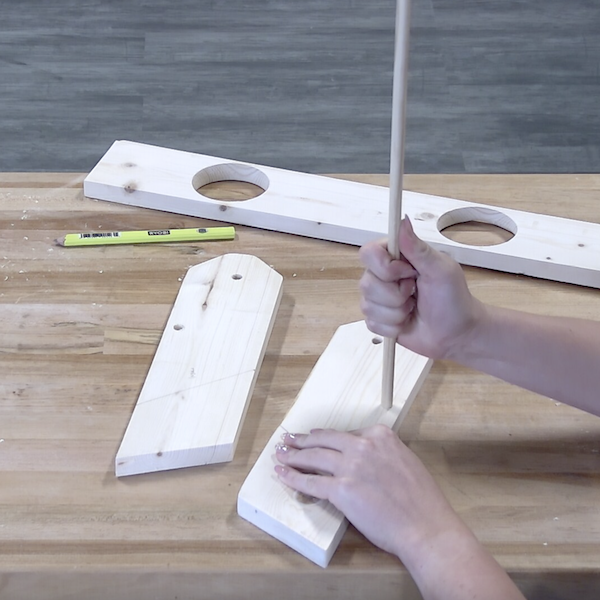
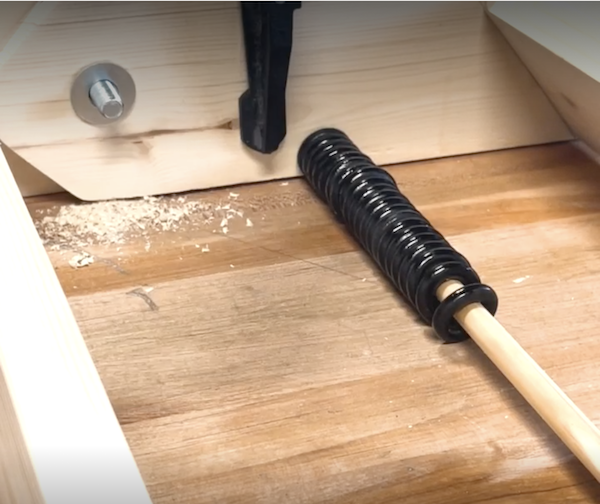
STEP 17
Apply wood glue onto to the end of the dowel. Insert the dowel into the 1/2" hole on the leg piece made in step 5. Place all of the wooden beads onto the dowel, then attach the other leg onto the other end of the dowel.
Materials
STEP 18
Line up the cup holder piece up 3-1/4" on the longer end of the leg piece. Rotate the cup holder up measuring 3-3/4" on the shorter end of the leg piece and attach the cup holders.
Tools
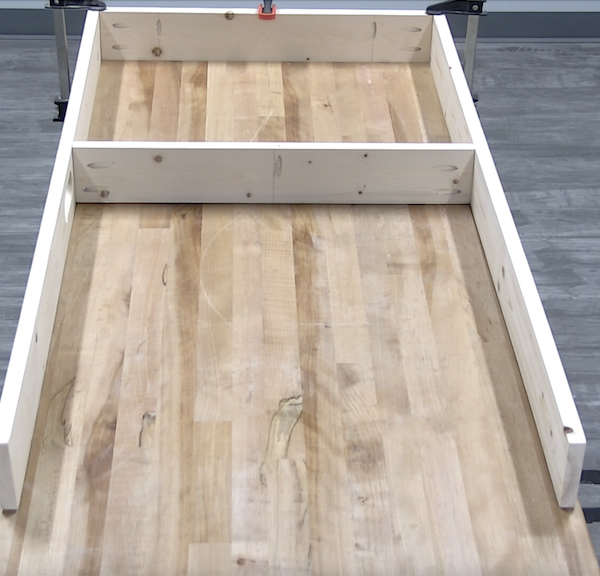
STEP 19
Construct the base by lining up one 4' piece with a handle and a 4' piece without a handle parallel from each other. Place a horizontal piece with six pocket holes between the top and the bottom of the side pieces.
Tools
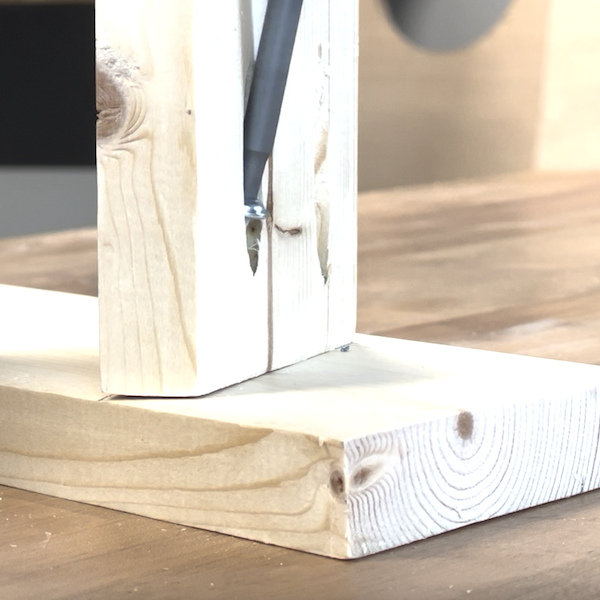
STEP 20
From the previous step, add two more horizontal pieces, with the five pocket holes, at 21" and 27" from the top. Attach all four horizontal pieces to the sides using the 3/4" pocket holes and 1-1/4" pocket screws.
Tools
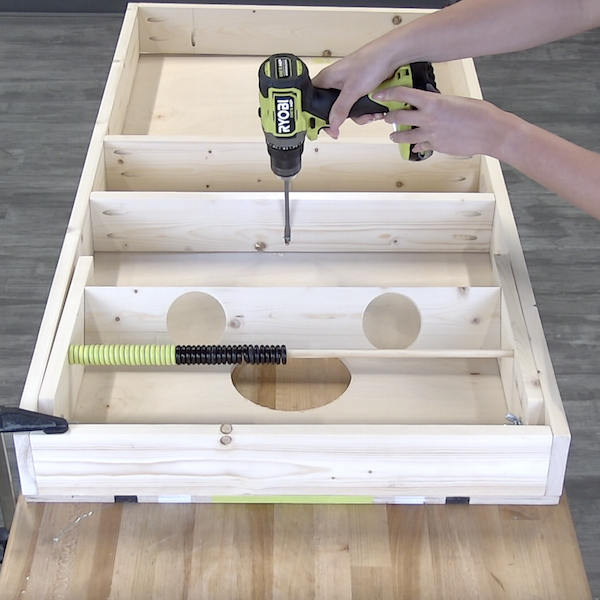
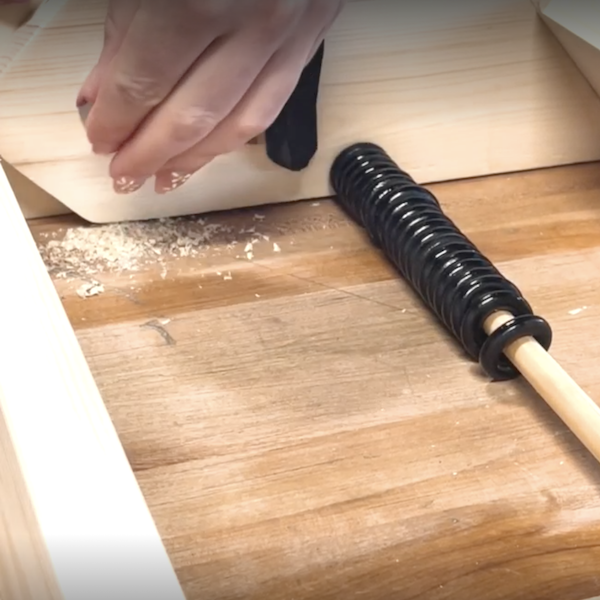
STEP 21
Line up the leg piece inside the base 3/4" down from the top. Use a 1/2" drill bit to drill through the holes on the top of each leg. Repeat with both sets of legs.
Tools
STEP 22
Thread a carriage bolt through the hole in the base and add a washer. Continue pushing the rest of the way through the leg, attach another washer and screw on the wing nut. Repeat with the other side.
Materials
STEP 23
Place the tops of the corn hole boards facing down. Line up the base on top of the corn hole board. Use 1/2" pocket screws to attach the base and the top using the remaining pocket holes on the base piece.
Tools

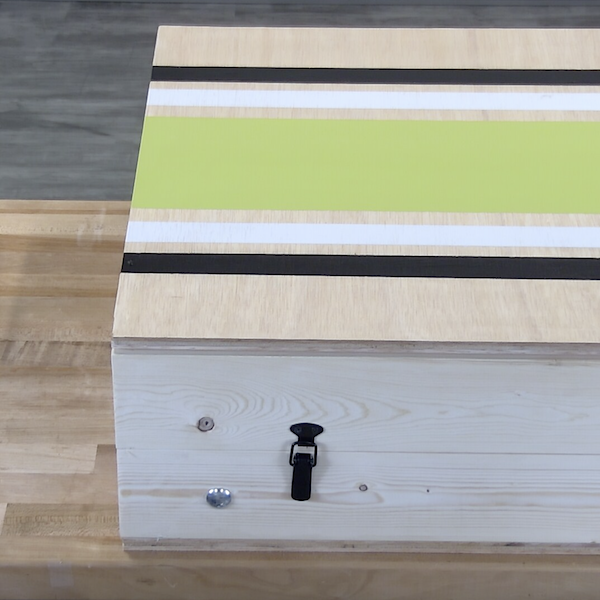
STEP 24
Place the two boards on top of each other with the insides of each board facing. On the sides with the handles, mark 6" in and 3-3/4" down. Line up the latches with each of these marks and attach onto the boards using the screws.
Tools
Materials
STEP 25
Rotate the boards to the side without the handles. Mark 6" in and line up the hinges where the two boards meet. Attach the hinges using the included hardware.
Tools
Materials