Steps
Step 1
Using a 2”x8” board and a Miter Saw, cut three pieces that are each 24” in length. Sand each piece to desired finish.
Tools

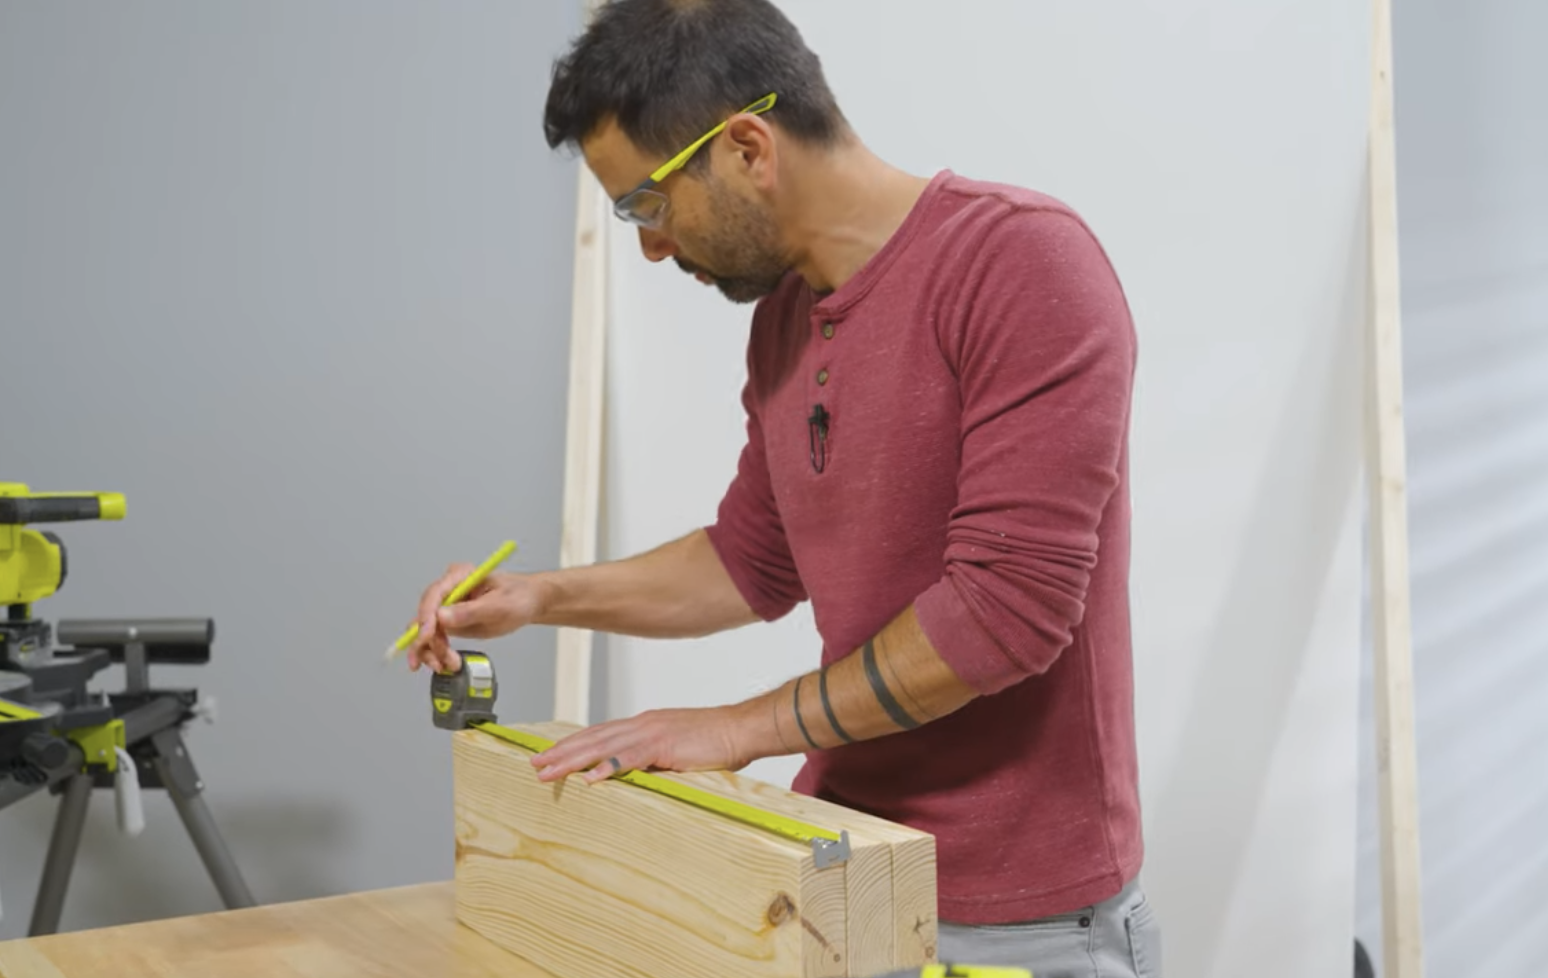
Step 2
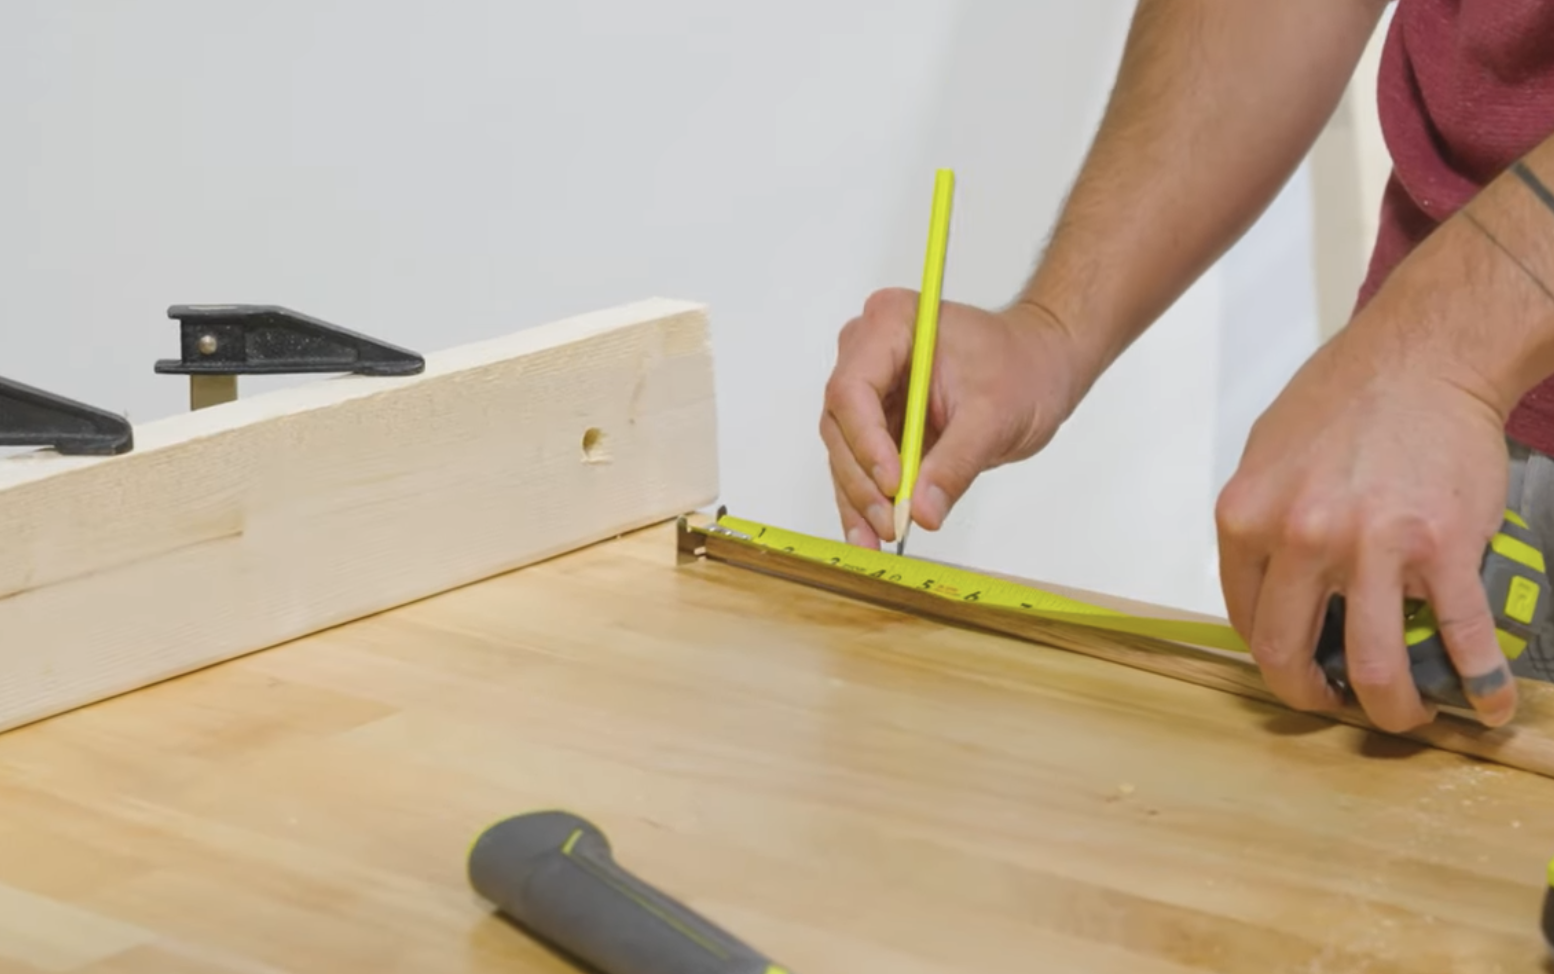
Make three marks on one side of the board where you will drill the holes for the dowels. One mark on each side, 2” from the end of the board, and one in the middle.
Tools
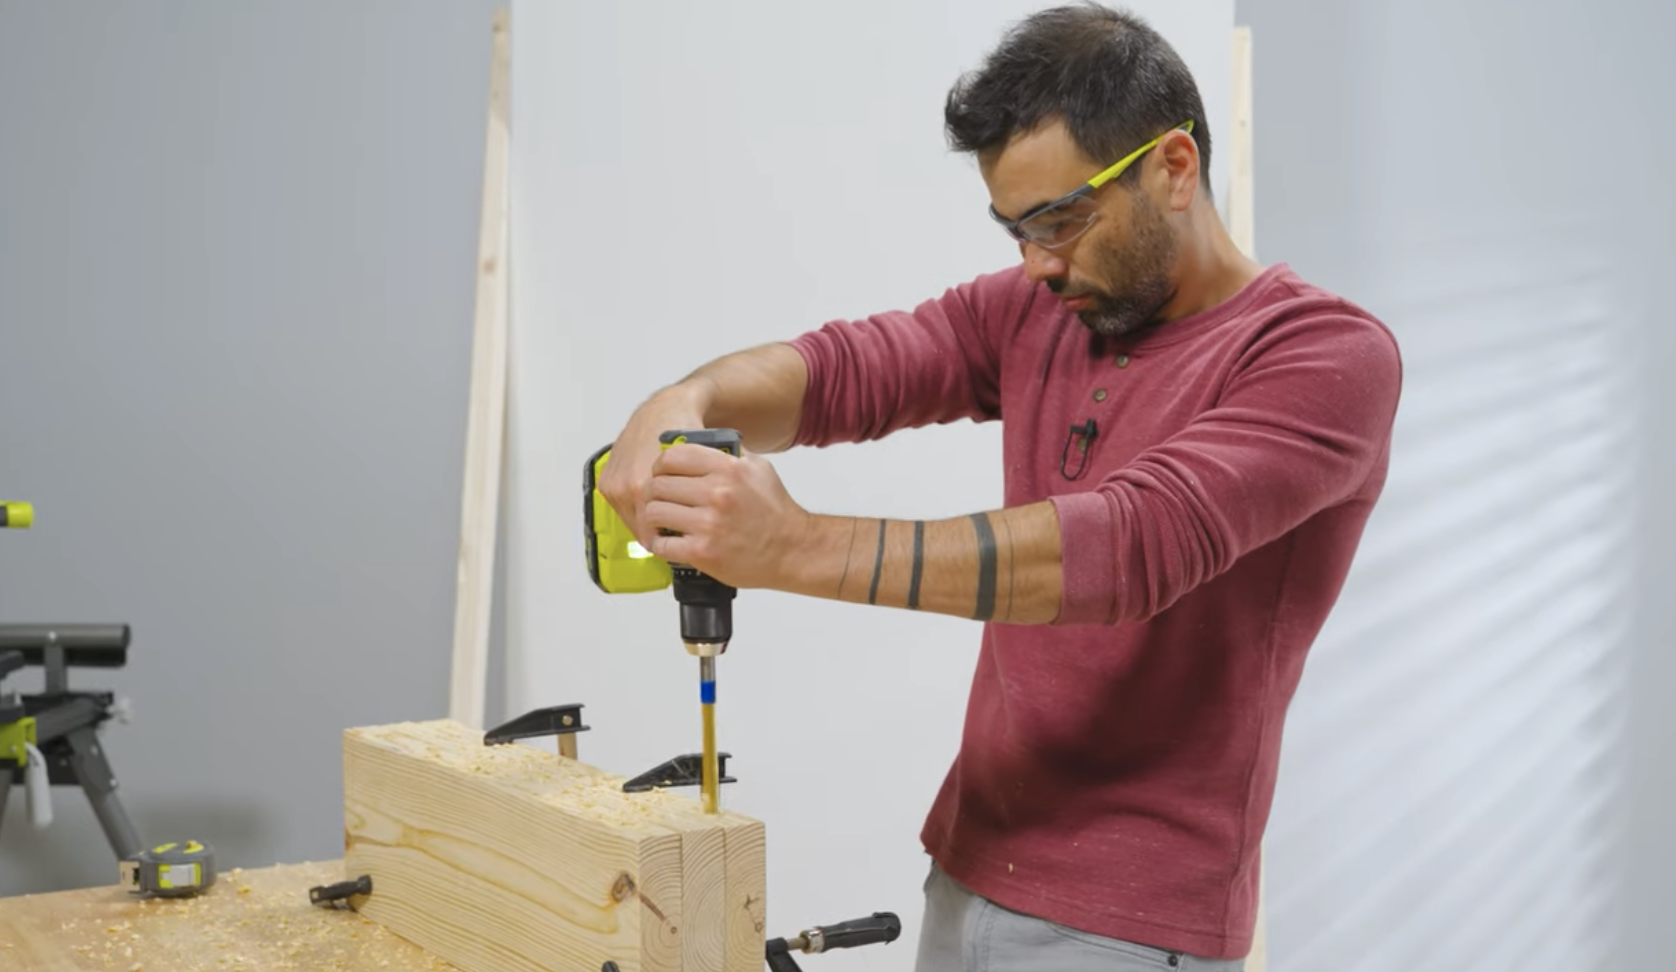
Step 3
Use a nailset and a hammer to make small indents where you want the drill bit to go. This will help the bit stay steady as you drill. Drill holes using a 3/8” bit. Holes should be several inches deep.
Tools
Step 4
Using a track saw, trim off a 1-1/2” to 2” strip of the board, through where the holes are drilled. Ensure that there is enough depth of the holes left in the main board to support the dowels.
Tools
Step 5
Cut dowels into 4” pieces. Nine total are needed.
Tools
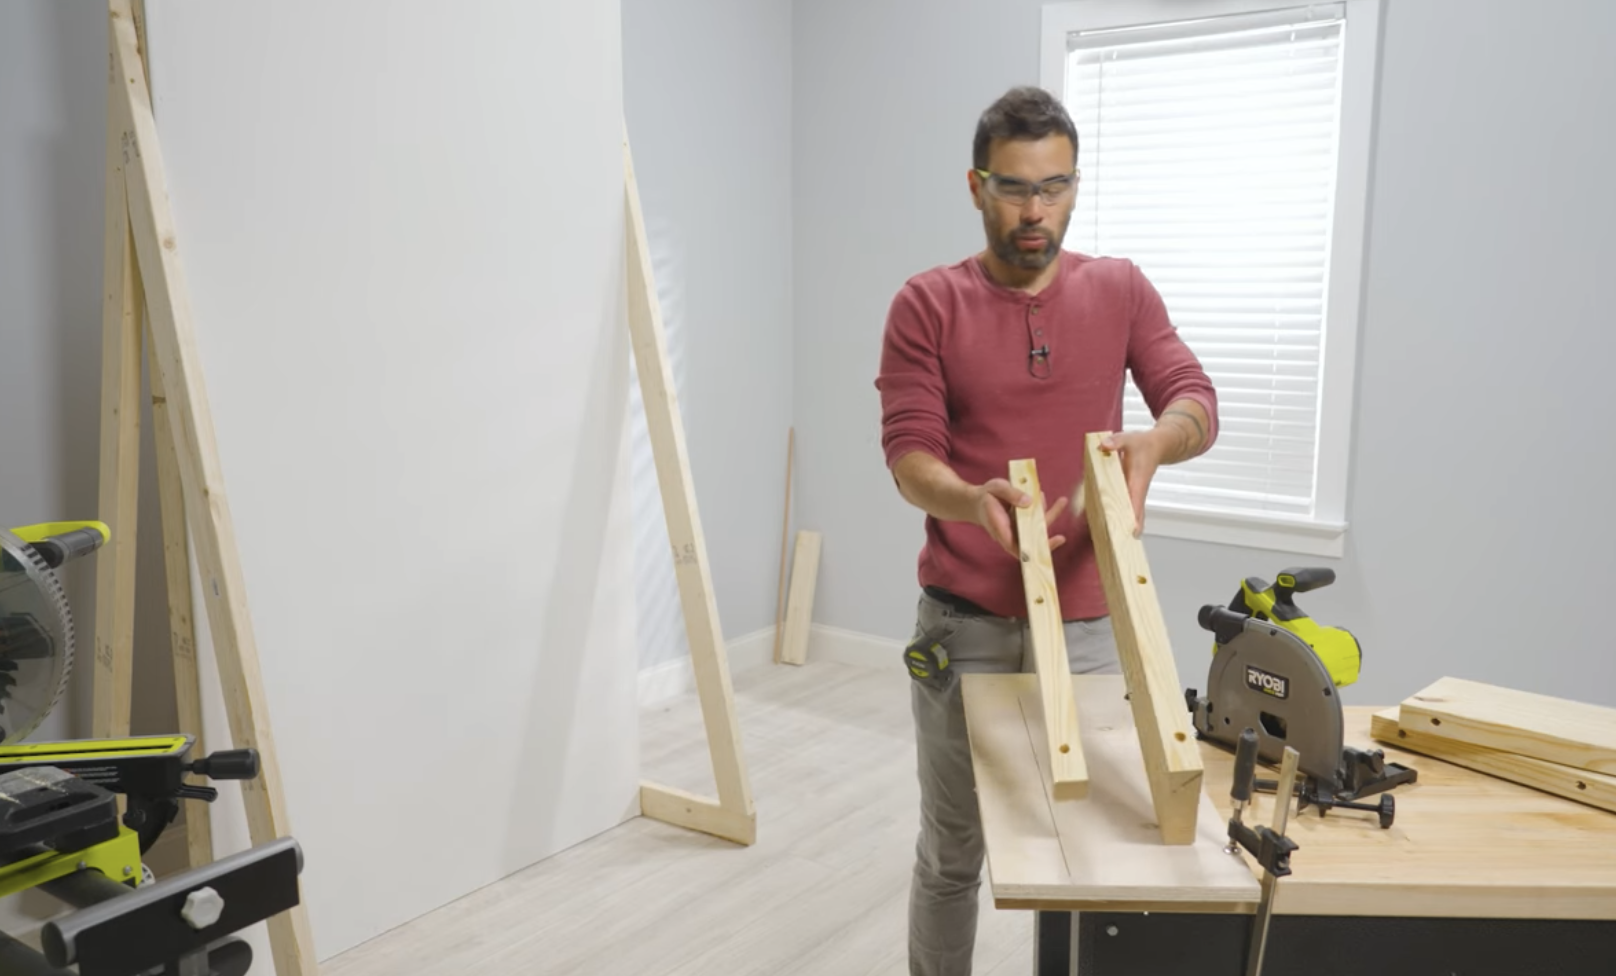
Step 6
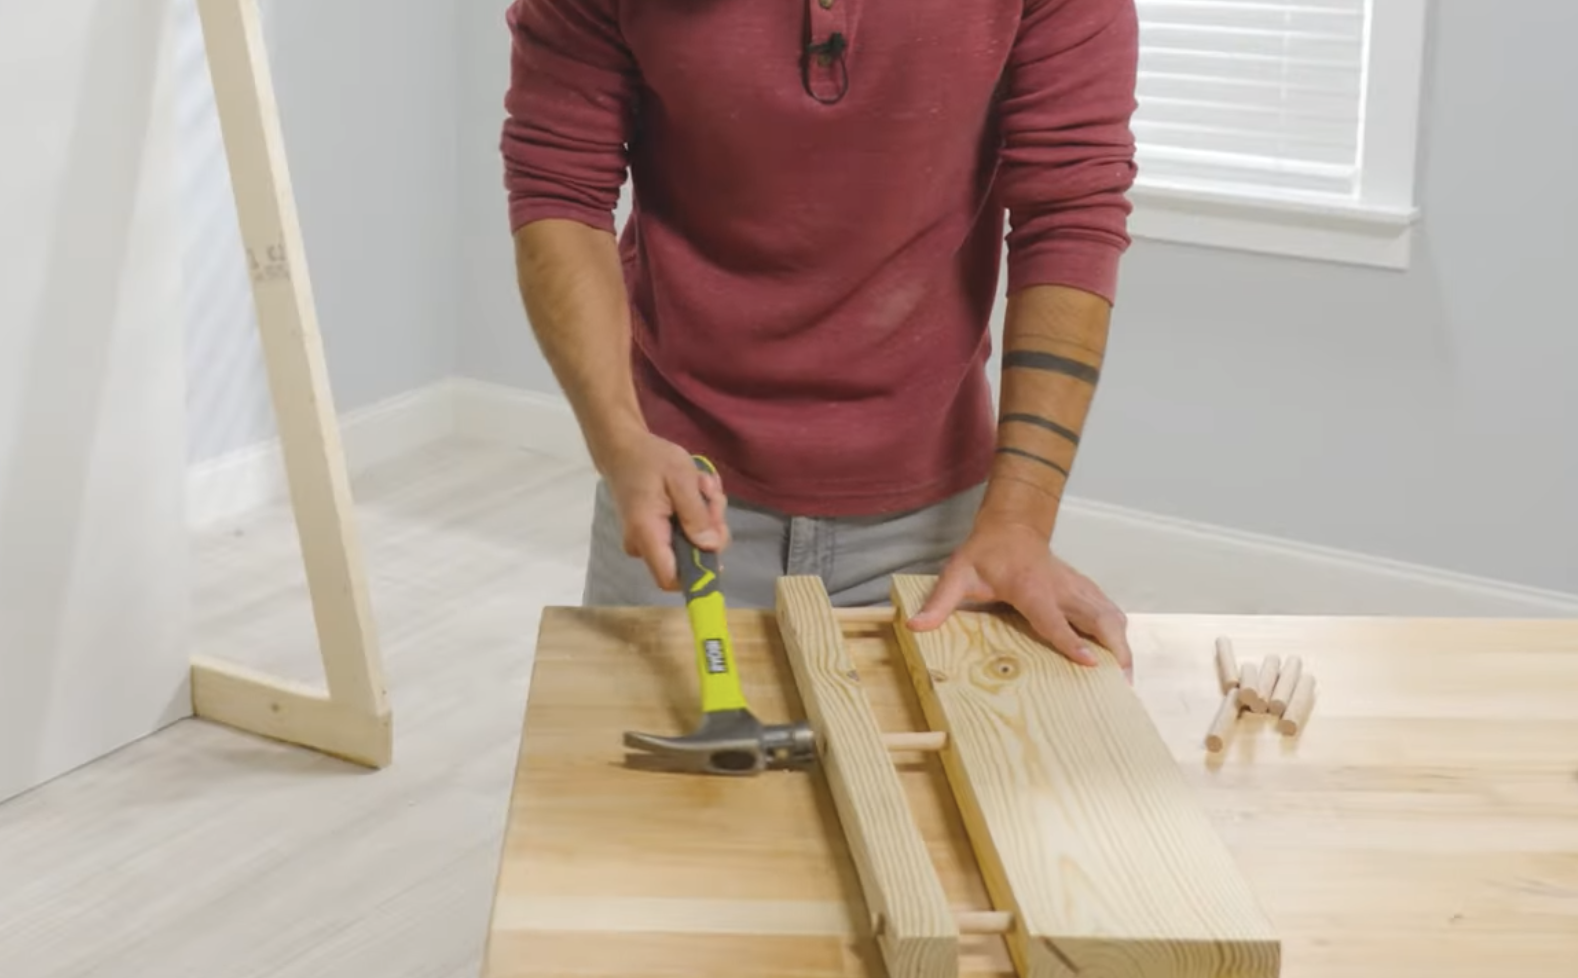
Place the dowels into the holes on the trimmed-off pieces of the shelf. Use a hammer to secure the other ends into the main shelf.
Tools
Step 7
Stain or paint as desired.

Step 8
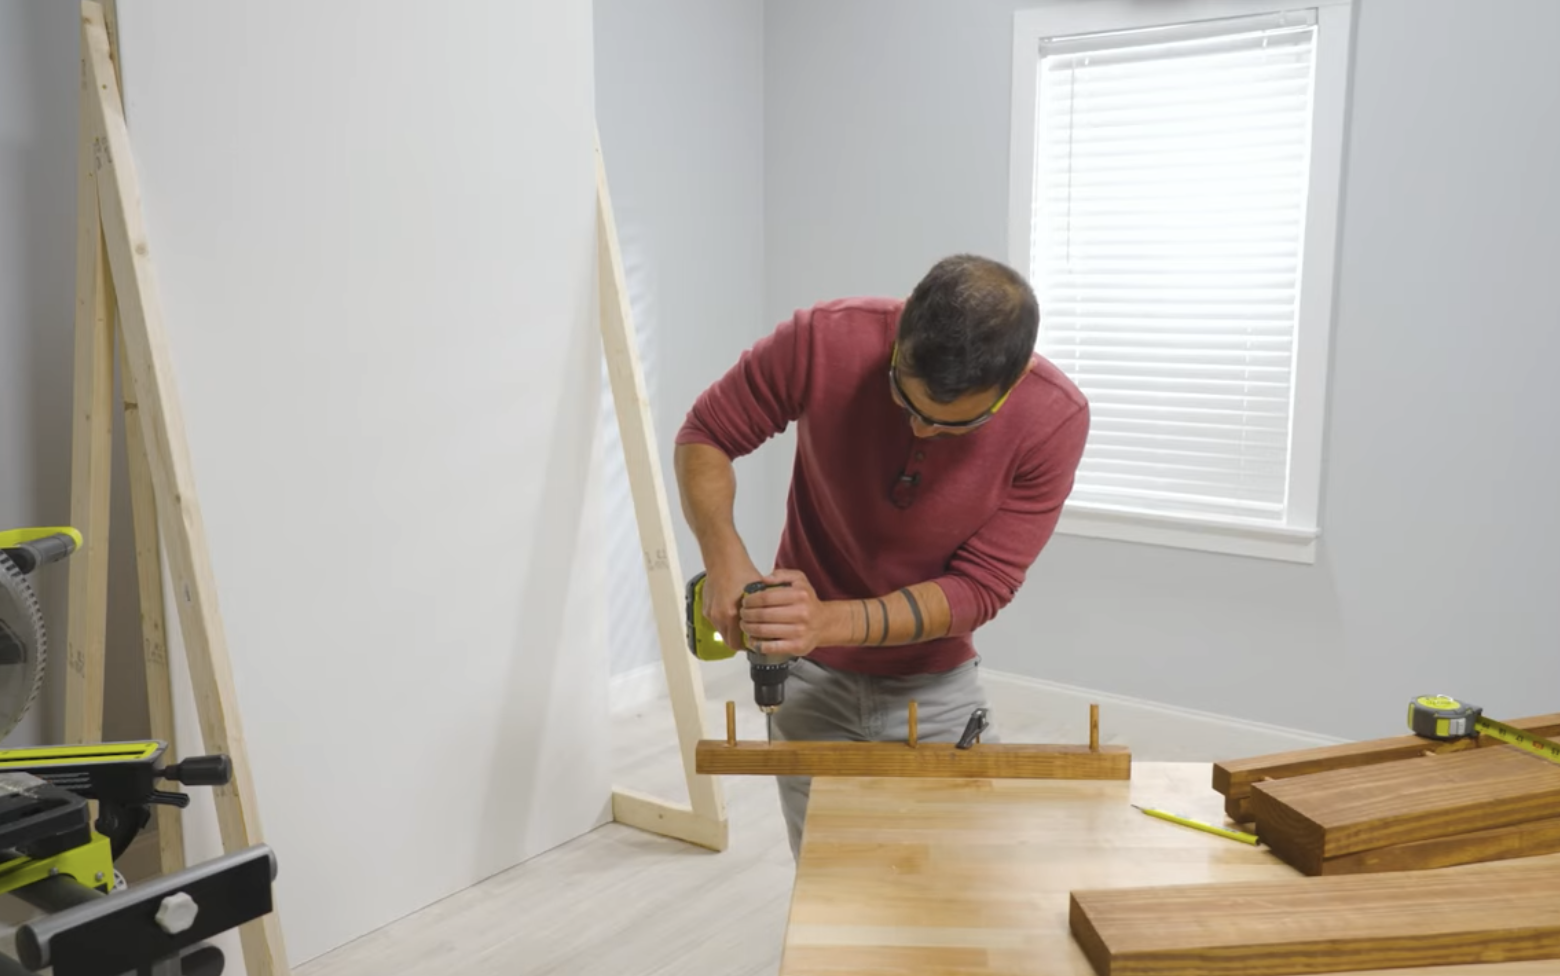
Remove the back support (trimmed-off piece) and drill holes through the board 16” apart.
Tools
Step 9
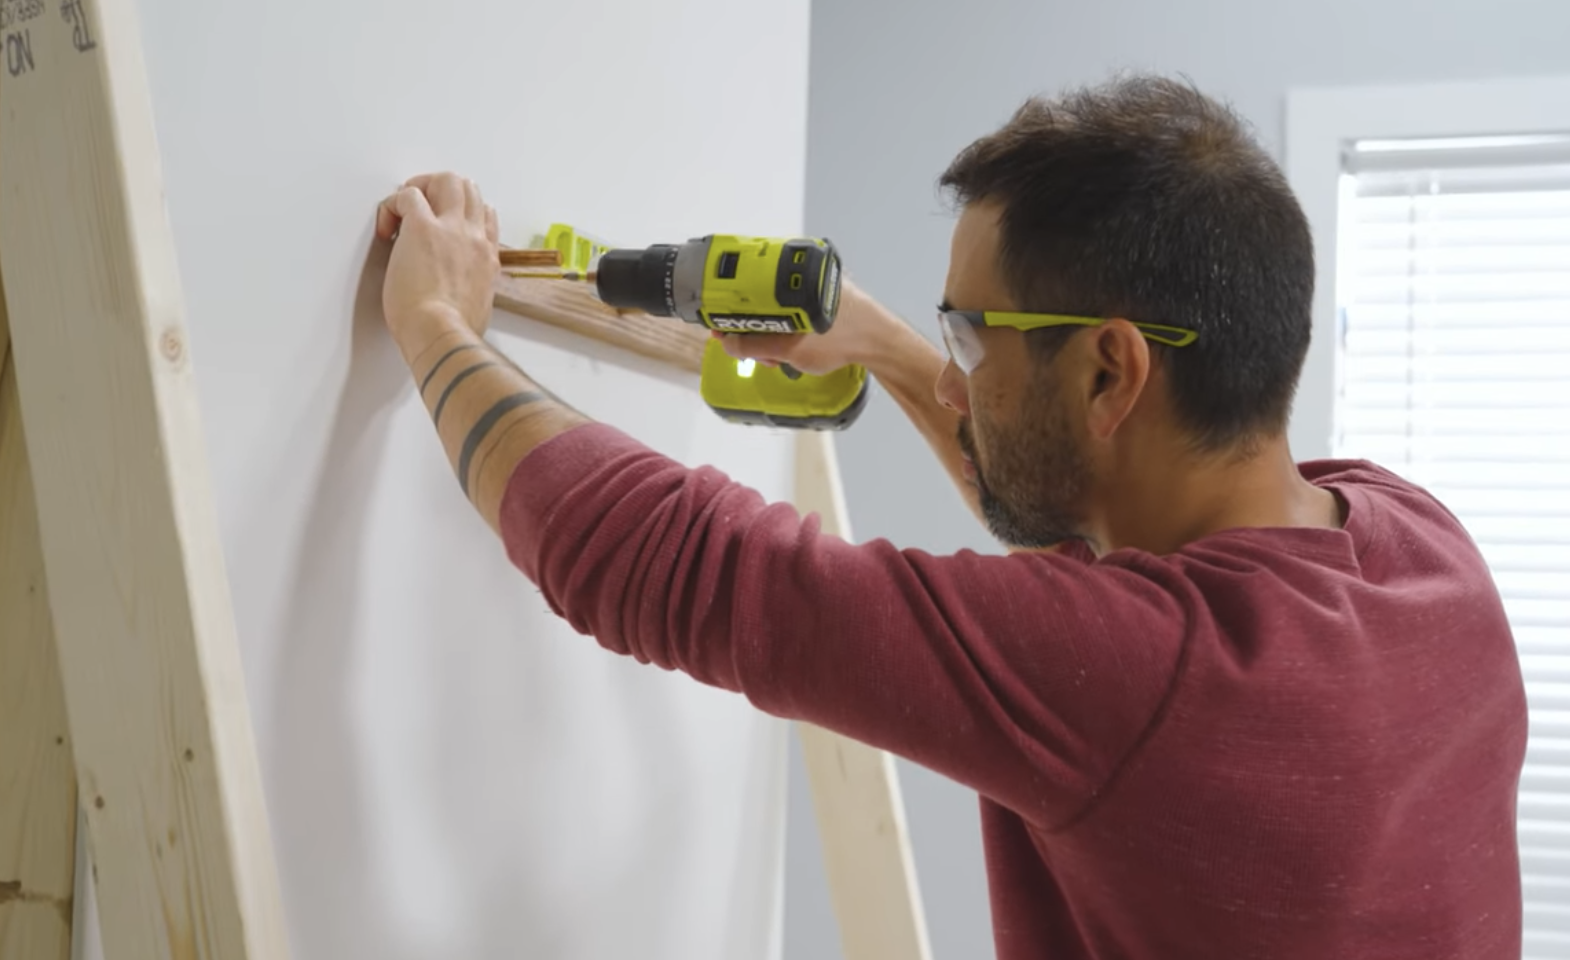
Locate wall studs using a stud finder, and screw back support piece into studs.
Tools
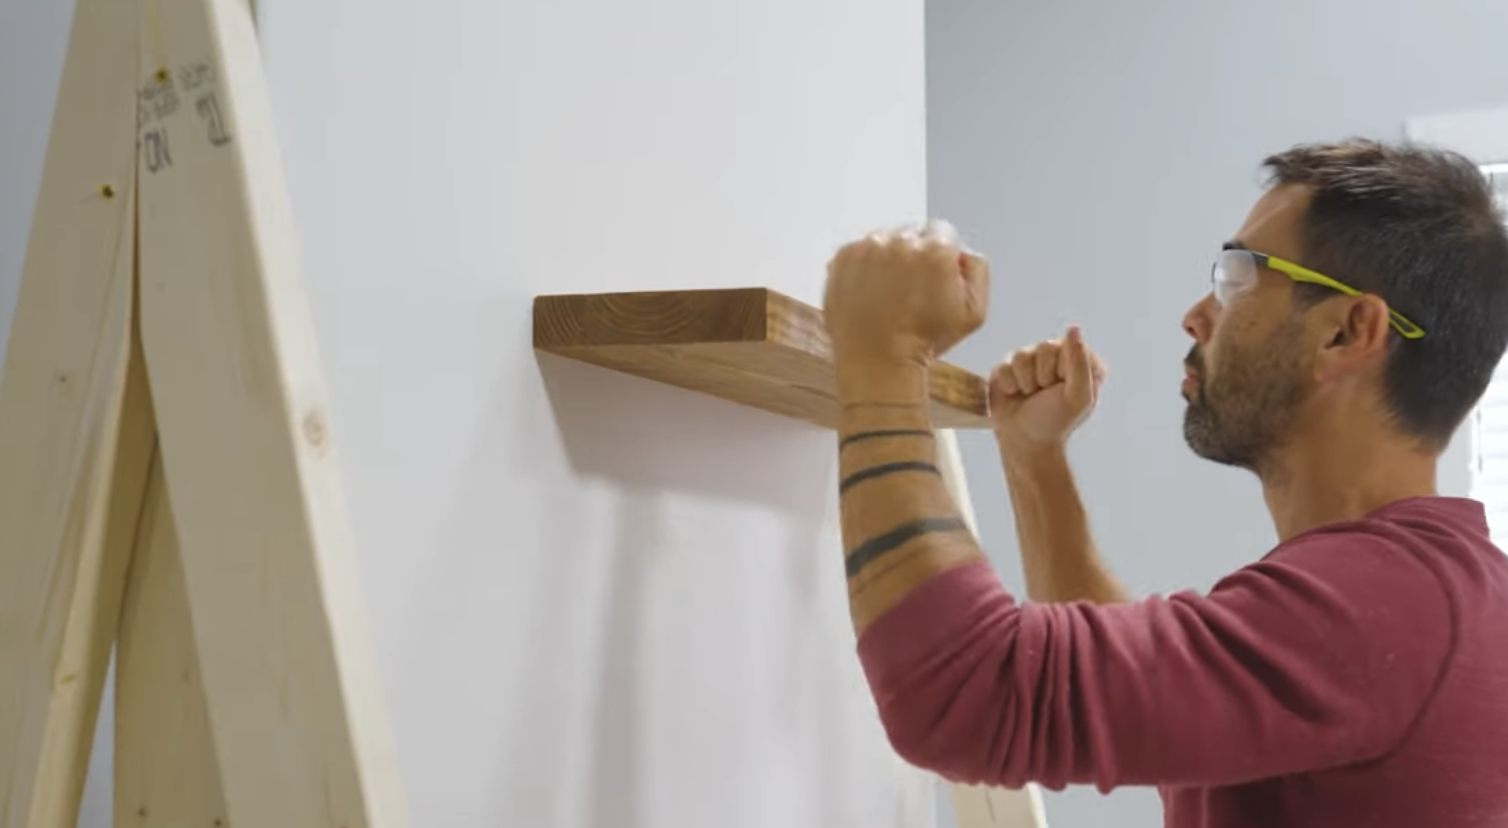
Step 10
Push the shelf onto the back support piece. These can be secured with wood glue in the holes if desired.