Steps
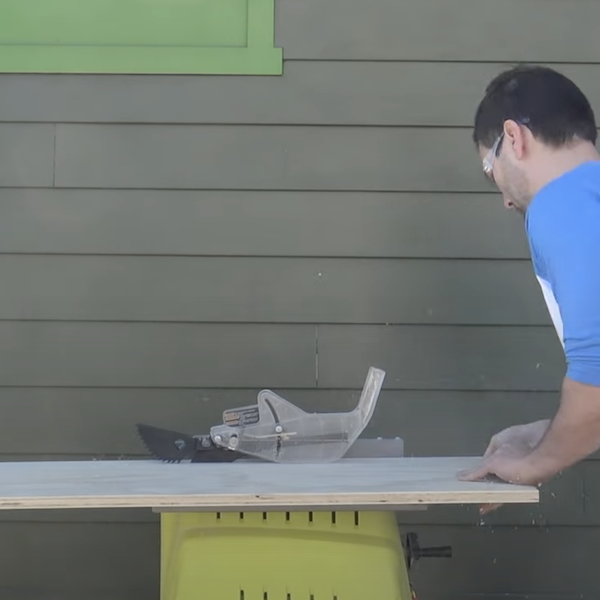
STEP 1
Make cuts through 3/4" plywood.
Tools
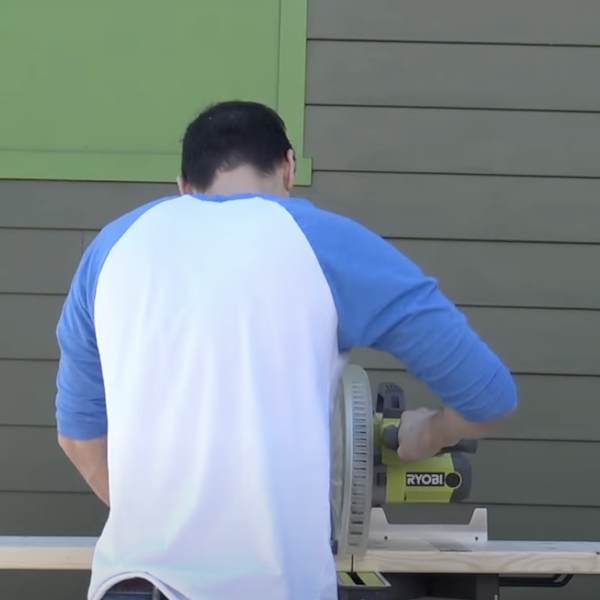
STEP 2
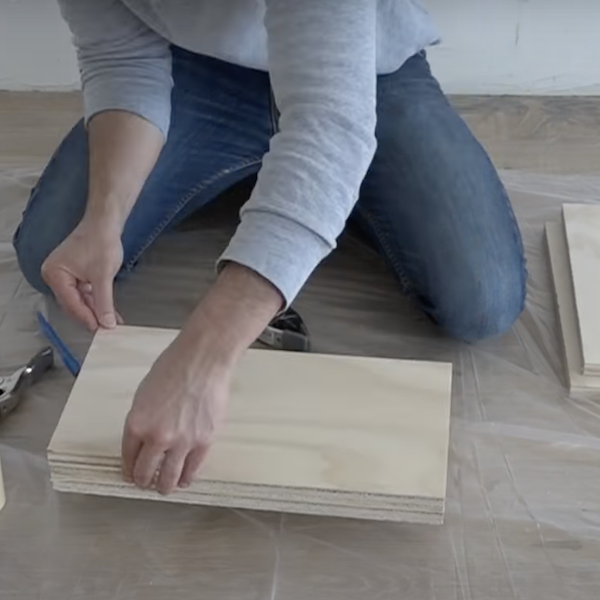
Cut shelf pieces to size from 3/4" plywood.
Tools
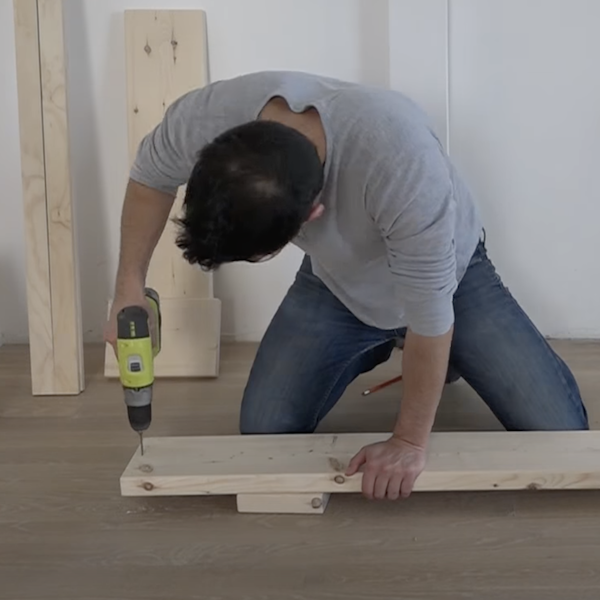
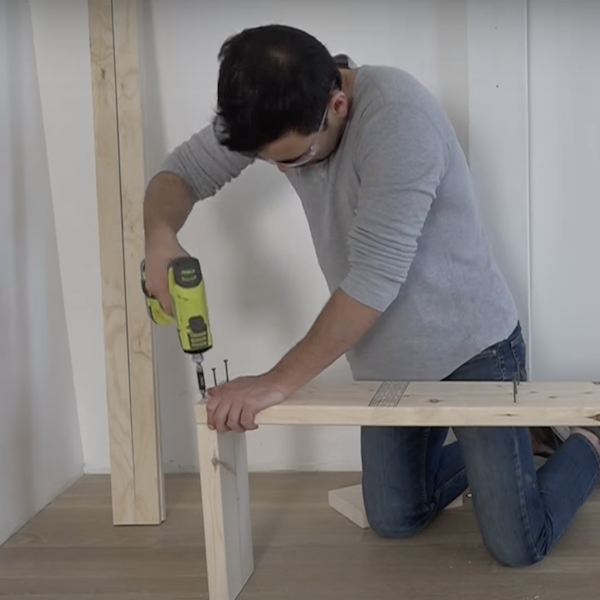
STEP 3
Pre-drill holes in the 2x8 pieces before attaching the pieces together.
Tools
STEP 4
Start assembling the box for the home gym using the 3/4" plywood sheets and the 2x8 shelf pieces.
Tools
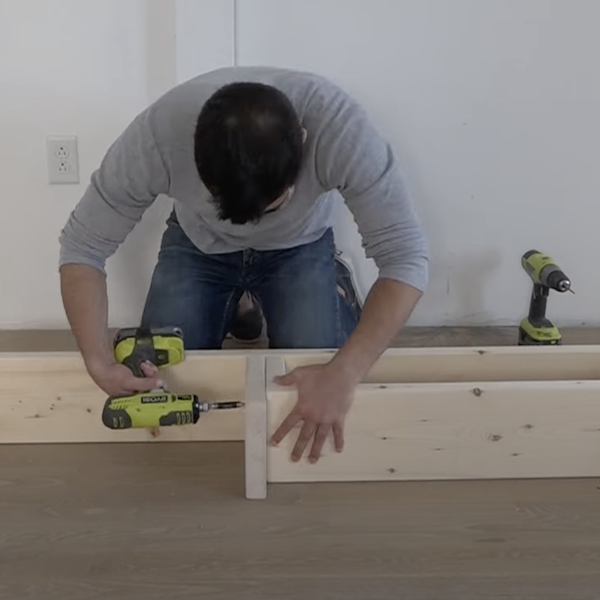
STEP 5
Continue assembling the home gym box.
Tools
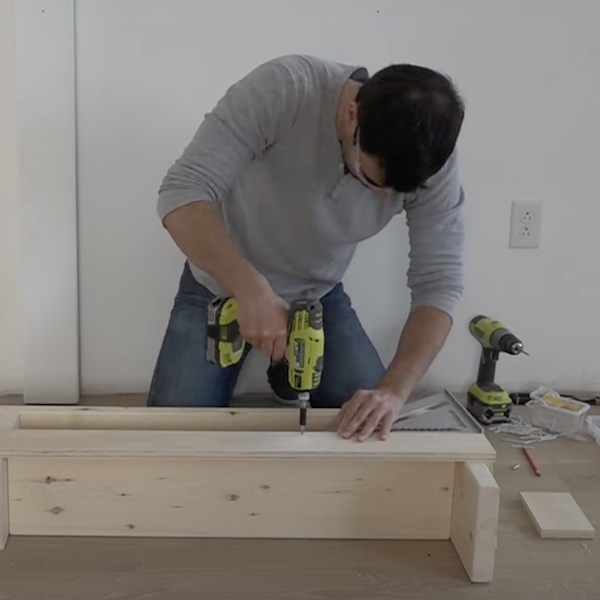
STEP 6
Use 2" nails to attach plywood strips to the sides of the home gym box.
Tools
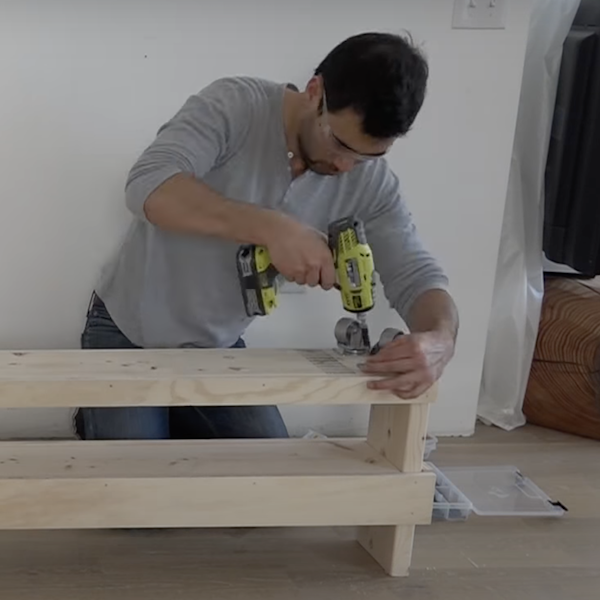
STEP 7
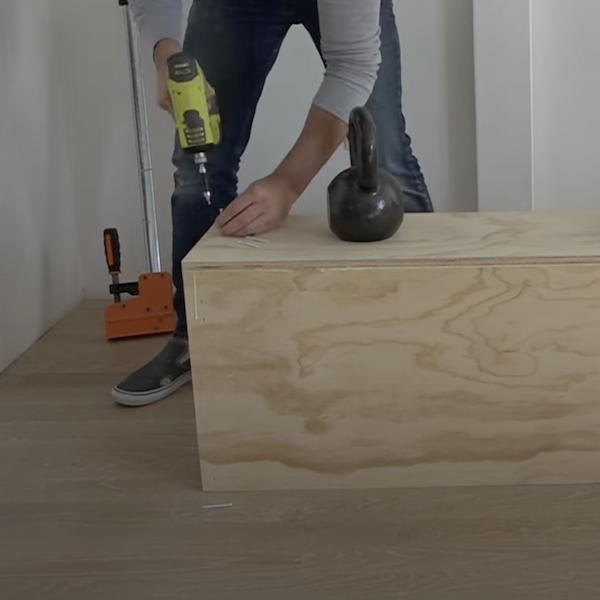
Once all of the side plywood pieces are attached, screw on rolling wheels in each corner on the bottom of the box.
Tools
STEP 8
Apply stain or finish to the wood.

STEP 9
Glue the three end pieces together that will serve as part of the workout bench.
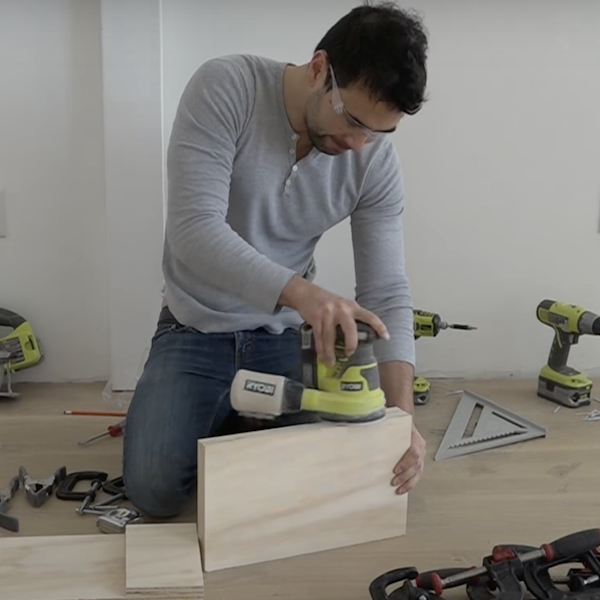
STEP 10
Sand down the edges of the layered pieces of wood.
Tools
STEP 11
Clamp all of the pieces together for the bench. Assemble the bench.
Tools

STEP 12
Screw the top onto the bench piece.
Tools
STEP 13
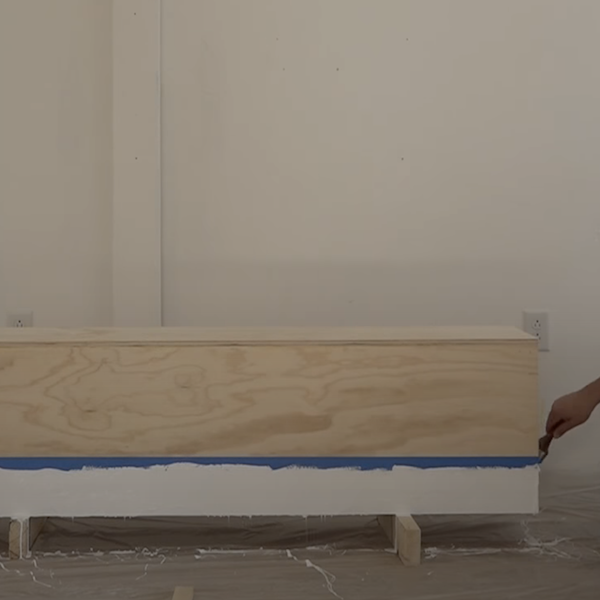
Tape off a section at the bottom of the bench top box. Paint within the taped lines, then remove the tape when the paint is dry.
STEP 14
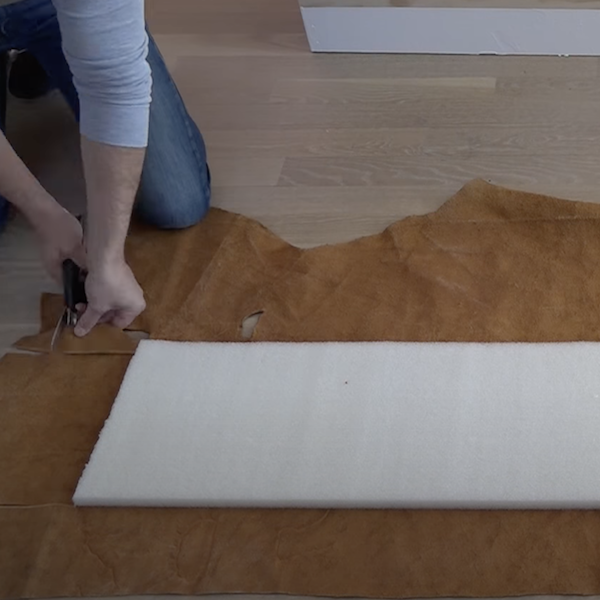
Trim a piece of leather to fit the cushion that will go on top of the bench.
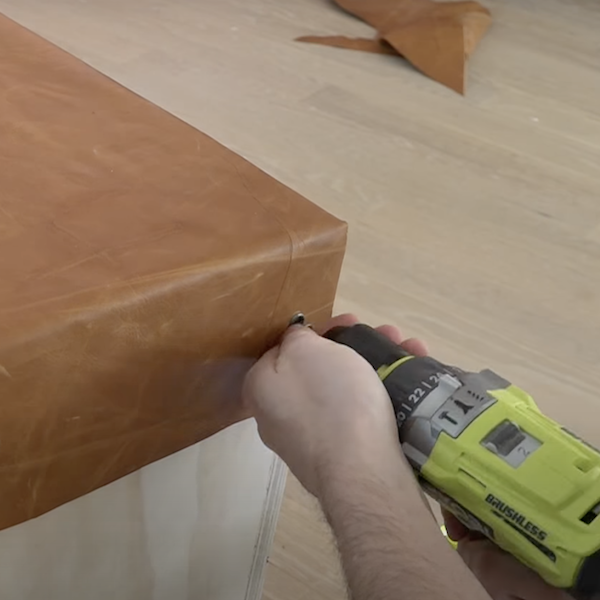
STEP 15
Attach grommets to the leather. Use the grommets to screw the leather cushion onto the bench.
Tools
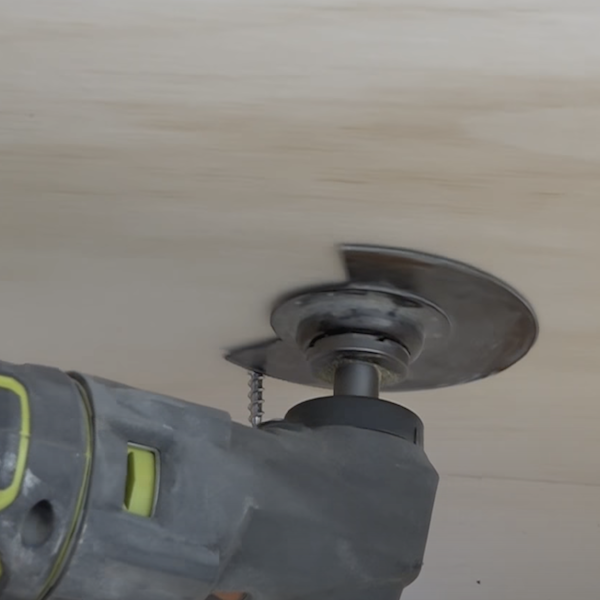
STEP 16
Trim the screws used to attach the leather cushions on the inside of the bench piece.
Tools
STEP 17
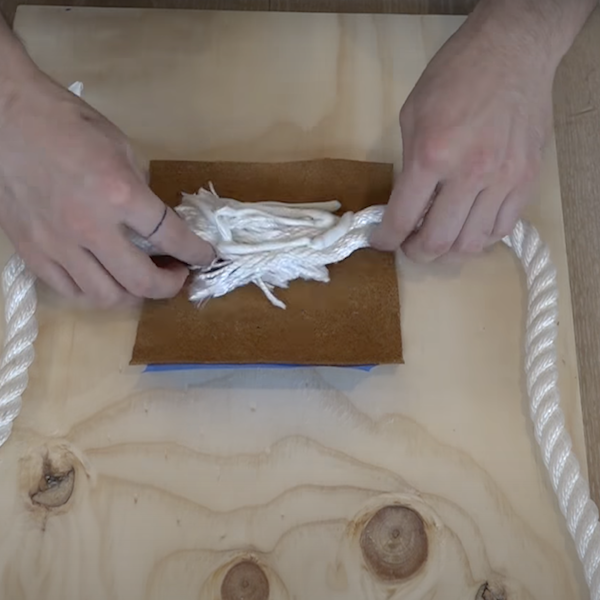
Glue a large rope to the rectangular piece of leather. Wrap the leather around the rope to create a handle.
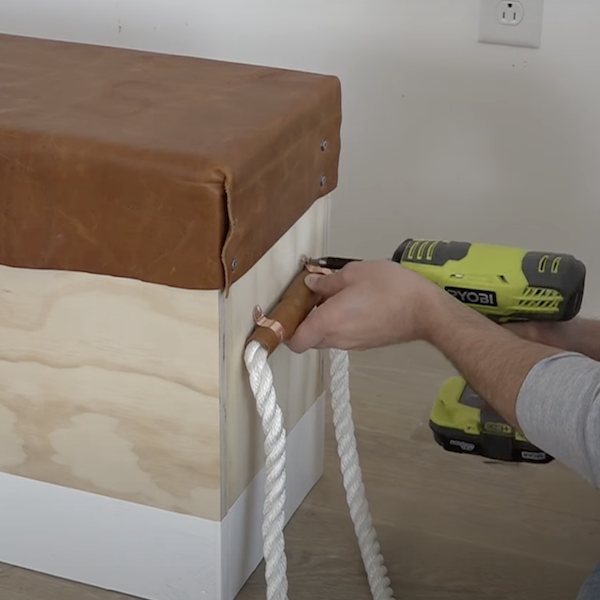
STEP 18
Use pipe fittings to attach the rope to the bench box.
Tools