Steps
STEP 1
Cut three 8”x18” pieces out of the ¾” plywood.
Tools

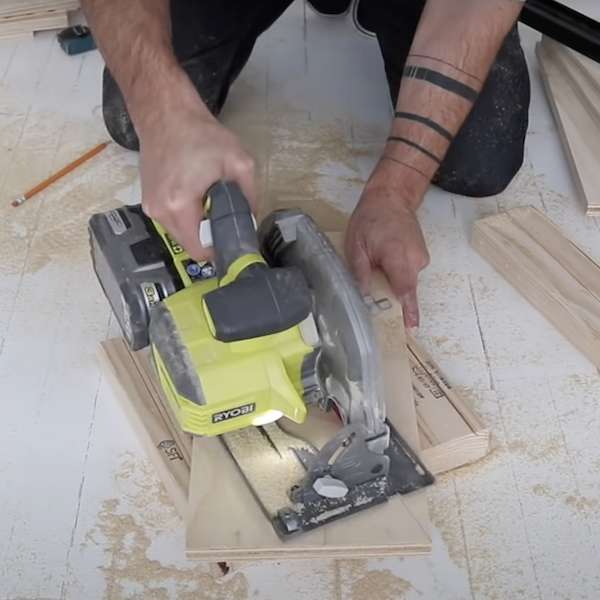
STEP 2
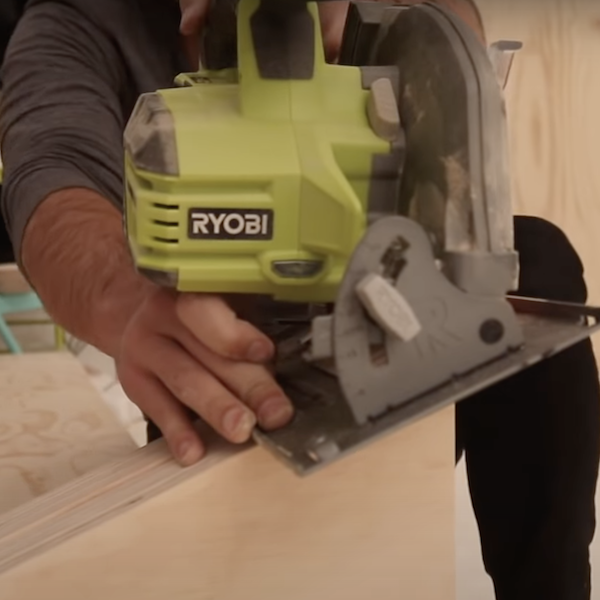
Draw a diagonal line down the middle of all three pieces, then cut using the circular saw.
Tools
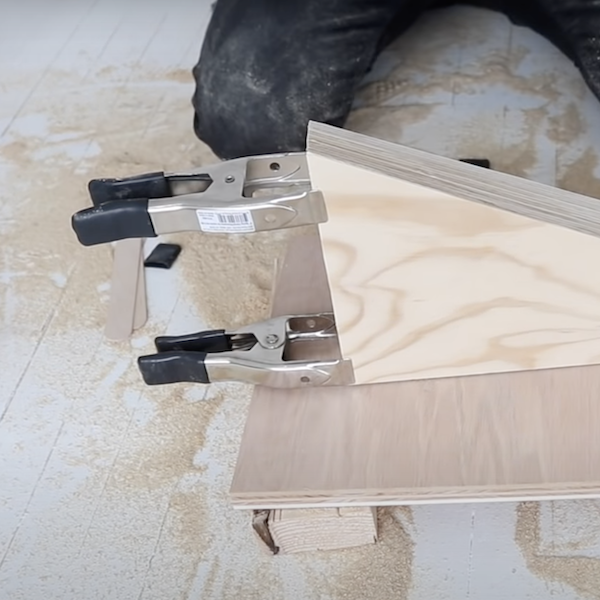
STEP 3
Glue two of the triangles together and allow time for the glue to cure.
STEP 4
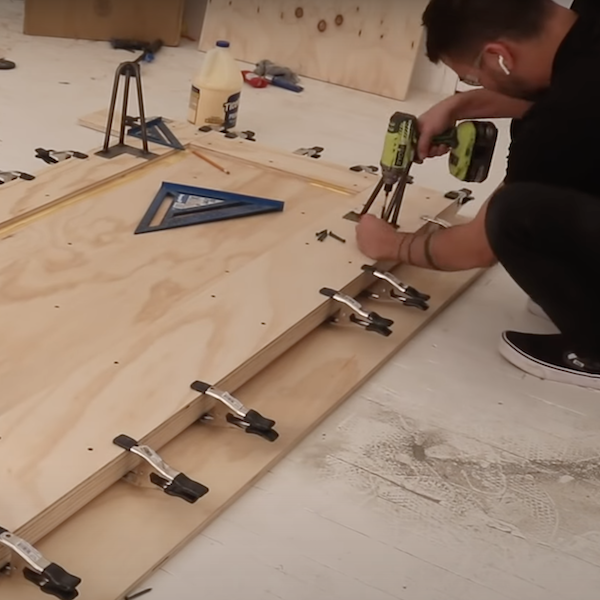
Use two 32”x96” plywood pieces glued together to create the base. Screw the two pieces together at multiple points to keep the pieces attached. Create an additional layer of plywood only around the frame of the base for extra support.
Tools
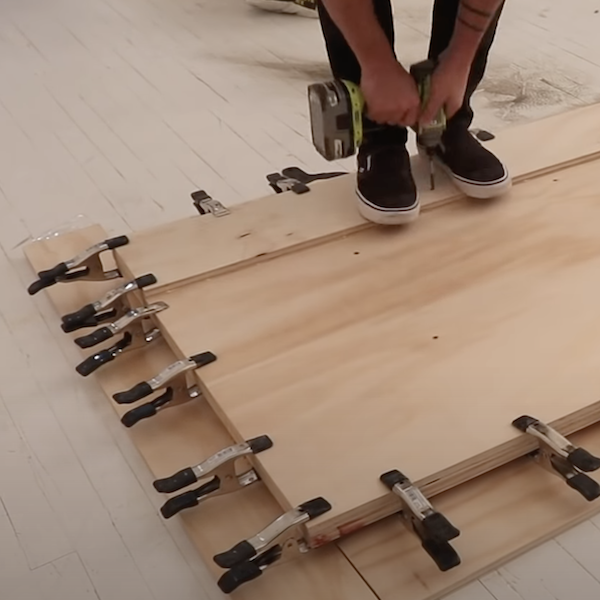
STEP 5
Attach the hairpin legs to the base, with one leg in each corner.
Tools
STEP 6
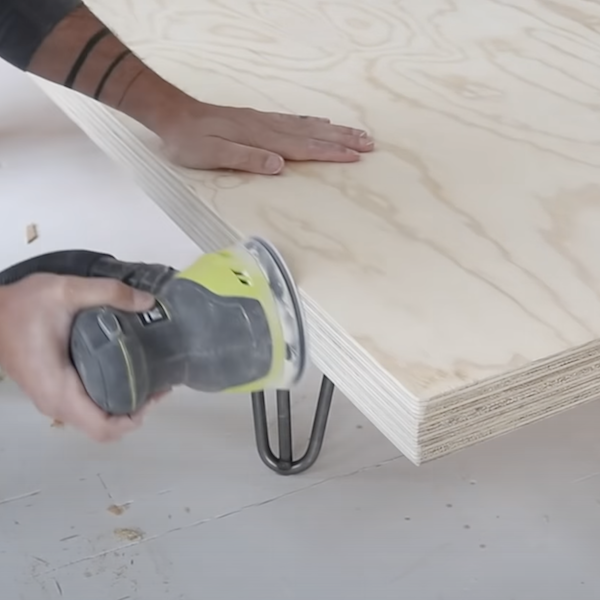
Sand the edges of the base piece to smooth it out.
Tools
STEP 7
Use the triangular supports as a guide for the angle to cut the back rest piece at
Tools
STEP 8
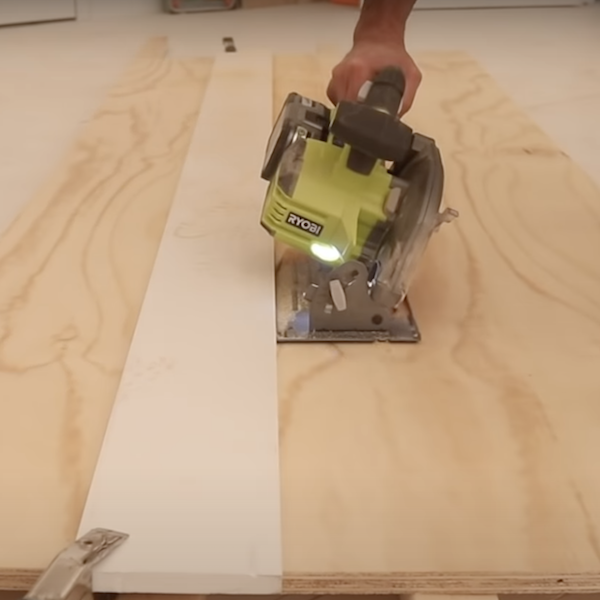
Cut the back rest piece to size using the adjusted angle from the previous step.
Tools
STEP 9
Coat the base piece with polyurethane to seal.

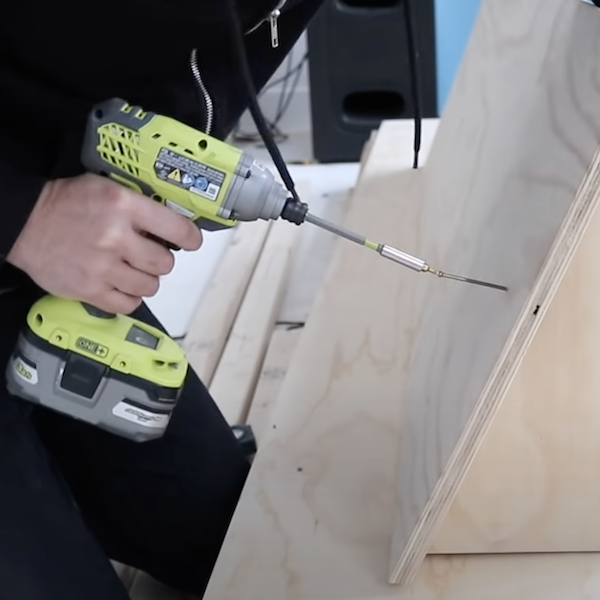
STEP 10
Attach the triangular supports to the back rest, then attach the backrest into the base piece using wood screws.
Tools
STEP 11
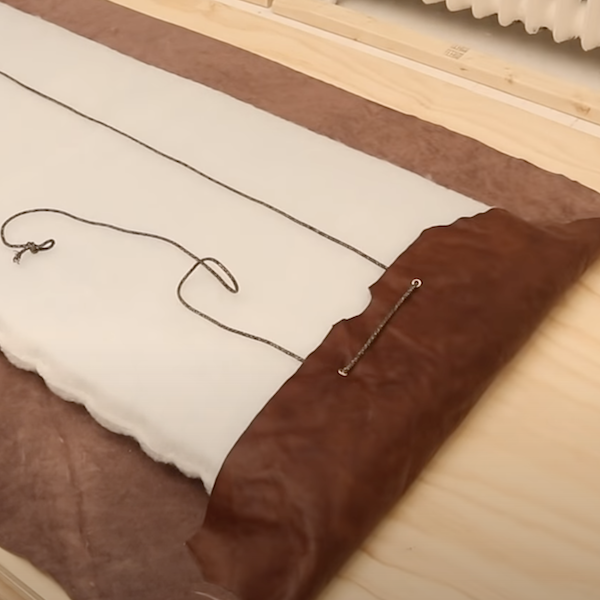
Attach pieces of leather to cushion pads using grommets and cord. Cut holes in the leather to attach the grommets and a hammer to secure them into place.
Materials