Steps
STEP 1
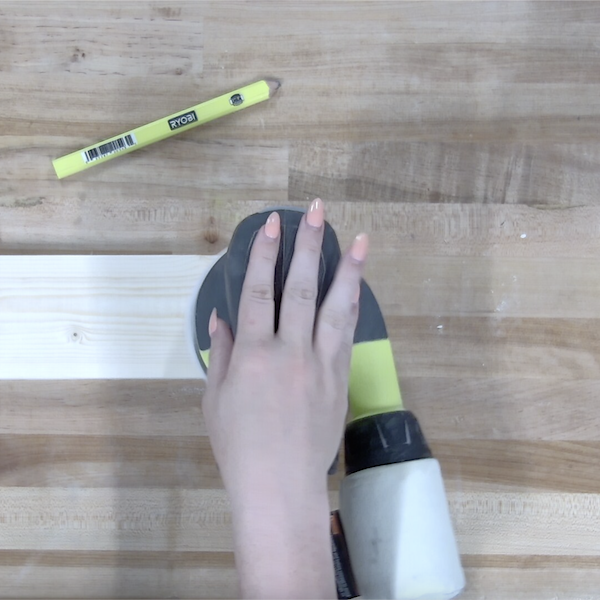
Cut the larger and smaller pieces of wood to 10." Sand the wood in preparation for staining.
Tools
Sander
Materials
wood
STEP 2
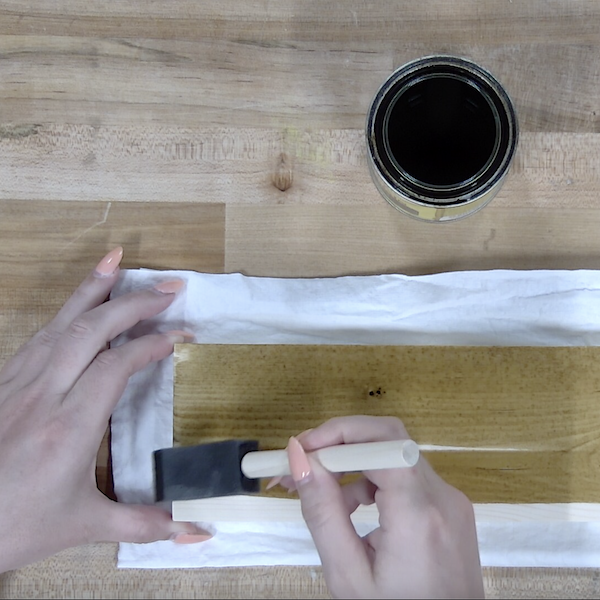
Stain or paint the wood. Allow time for it to dry.
Tools
Paint Sponge, Wood Stain
Materials
Wood
STEP 3
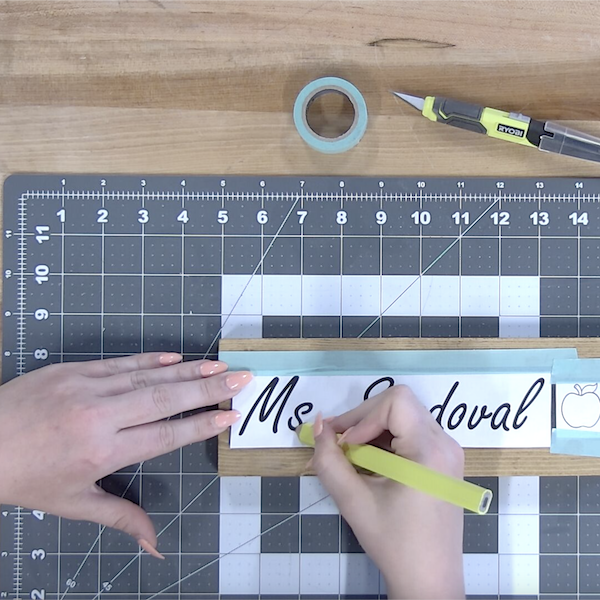
Apply a thick layer of chalk on the backside of the template, then tape the template onto the wood. Trace over the template with a pencil, then peel off the template.
Materials
Pencil, Tracing Paper, Chalk
STEP 4
Use a Ball Engraving Burr to engrave all of the letters into the wood plaque.
Tools
Rotary Tool, Ball Engraving Burr

STEP 5
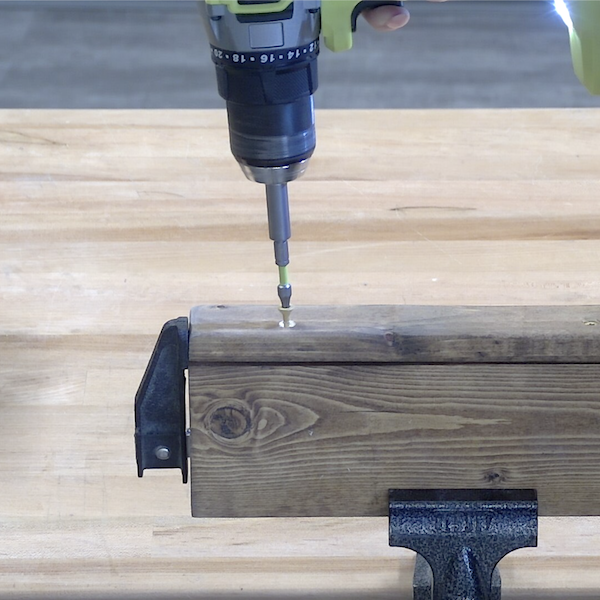
Drill pilot holes on both ends of the small piece of wood using a 5/32" drill bit. Attach the small piece of wood on the bottom of the nameplate using wood screws.
Tools
Drill
Materials
Wood, Wood Screws