Steps
STEP 1
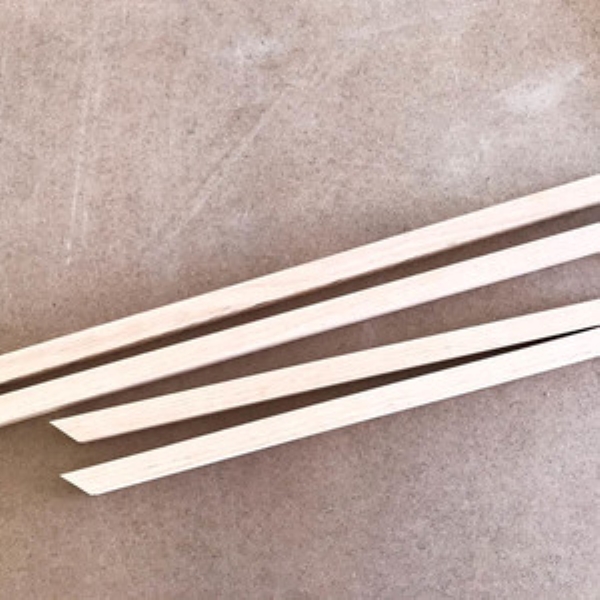
Cut the 3/4" square dowels to size. With 45 degree perpendicular angles, cut two at 24" and two at 18”.
Tools
Materials
STEP 2
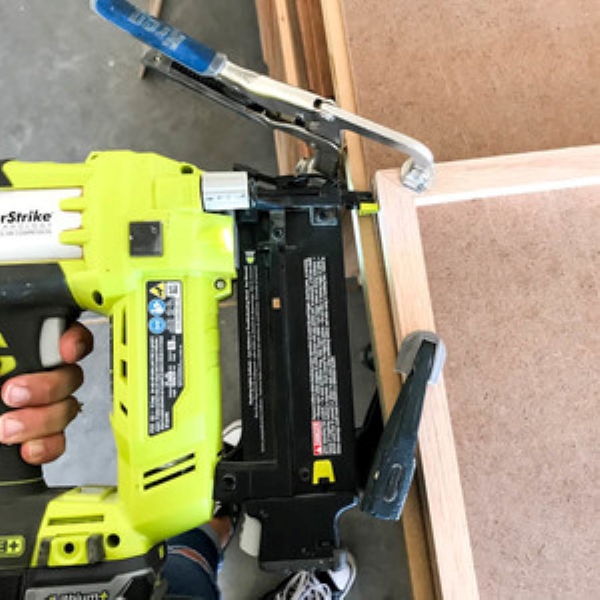
Assemble the frame. Glue and clamp the pieces together. Attach with 1 1/4" brad nails.
Tools
Materials
STEP 3
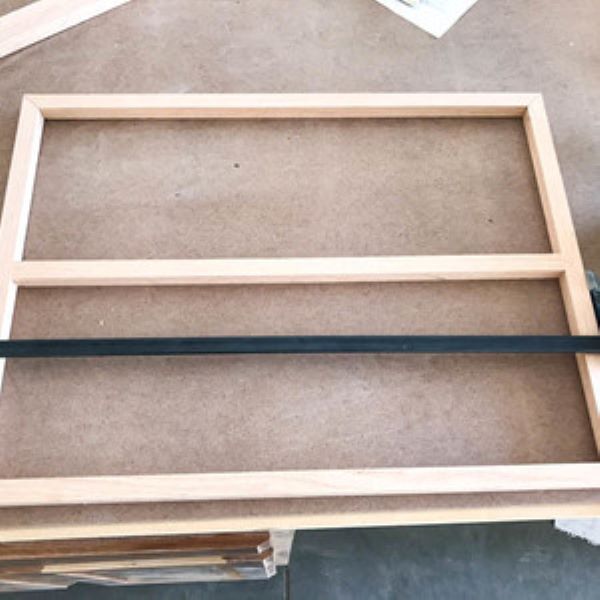
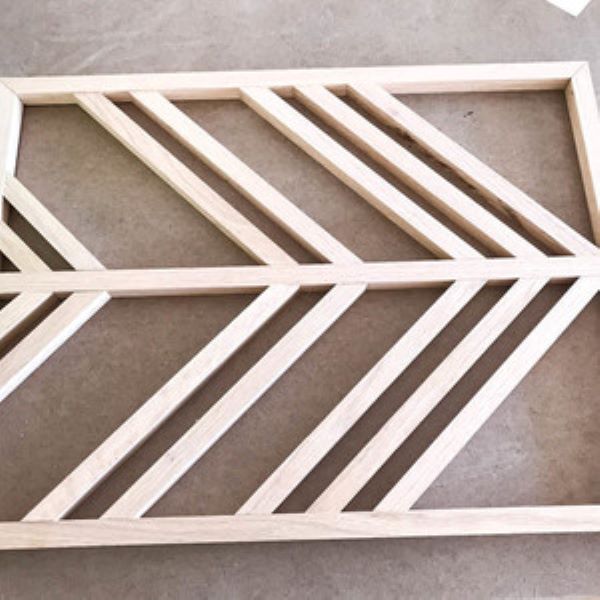
Measure and cut to size the center dowel (approx. 22 1/2"). Add glue to each end and center it in the frame. Attach with 1 1/4" brad nails.
Tools
Materials
STEP 4
For the arrows, cut 2 pieces at 3" long with perpendicular 45 degree angles. Cut 2 pieces at 6" long with 45 degree perpendicular angles. Cut 8 pieces at 11 3/16" long with 45 degree parallel angles.
Tools
Materials
STEP 5
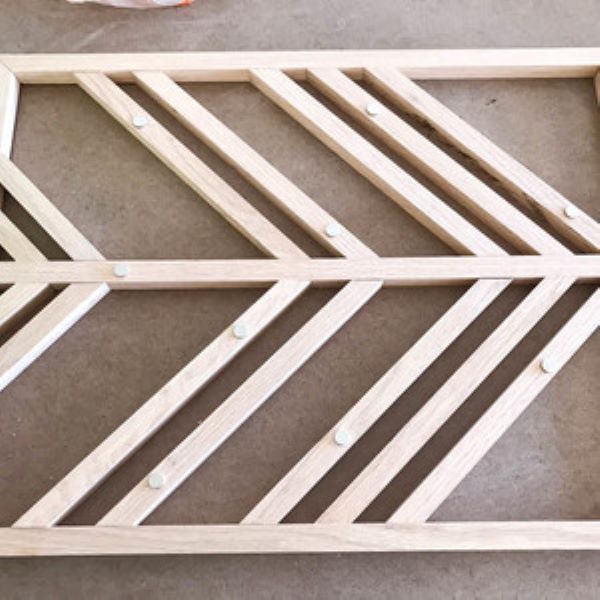
Determine where you would like to have the magnets placed. Mark with a pencil.
Materials
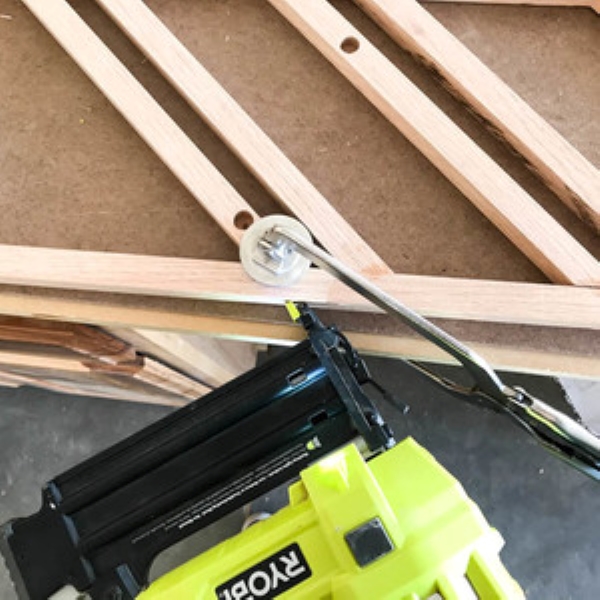
STEP 6
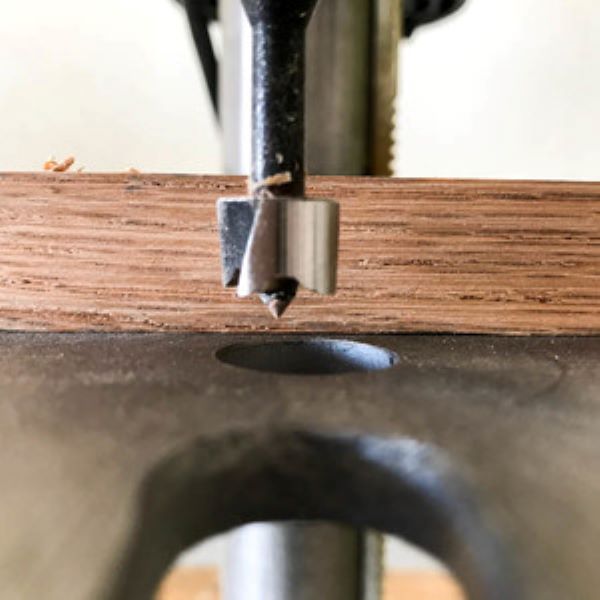
Drill a 5/8" deep hole with a 1/2" drill bit. On a drill press, set the bottom plate of the drill to the proper depth. If using a drill, mark the bit with tape 5/8" up from the tip. Drill holes where marked on the dowels.
Tools
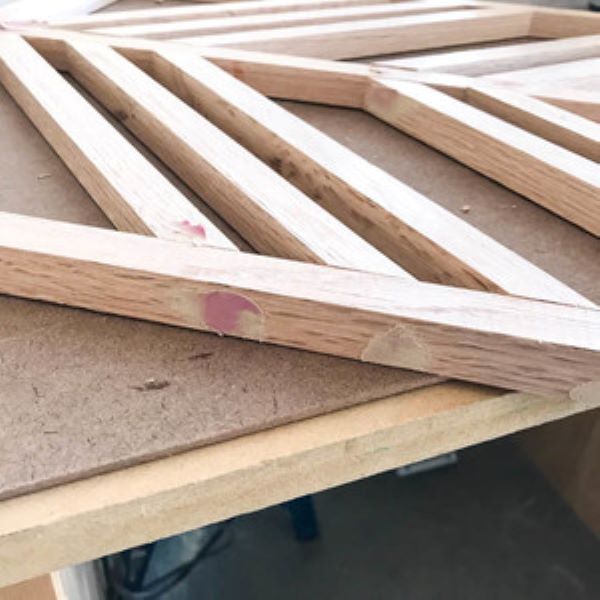
STEP 7
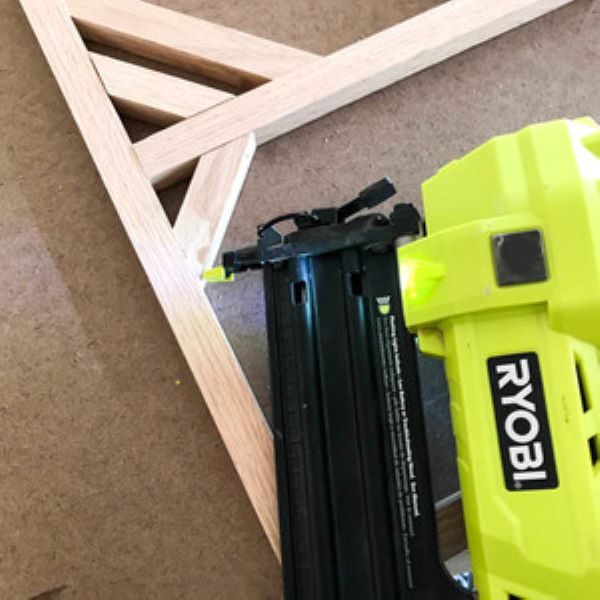
Once the holes are drilled, begin assembling the arrows. Starting with the smallest pieces, use 3/4" brad nails and wood glue to attach to the frame. 3/4" brad nails will be used on all pieces attaching to the center dowel.
Tools
Materials
STEP 8
For the ends that attach to the outside frame, use 1 1/4" brad nails, driven in at a slight angle along with wood glue.
Tools
Materials
STEP 9
Set nails as needed. Fill nail holes with wood filler and sand with 220 grit sandpaper.
Tools
Materials
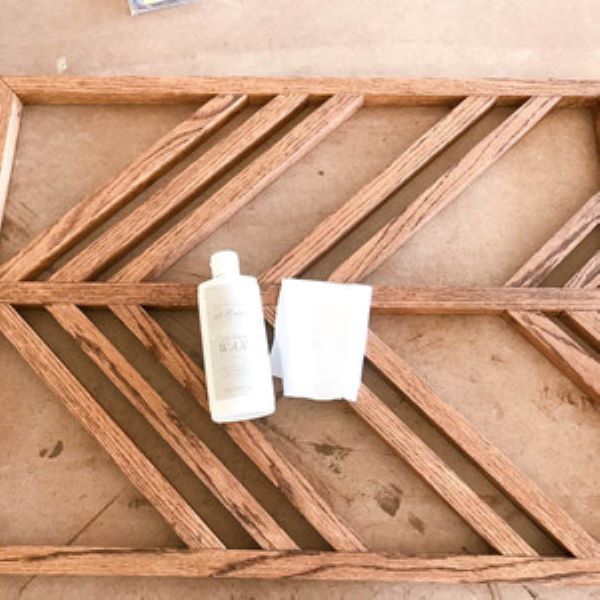
STEP 10
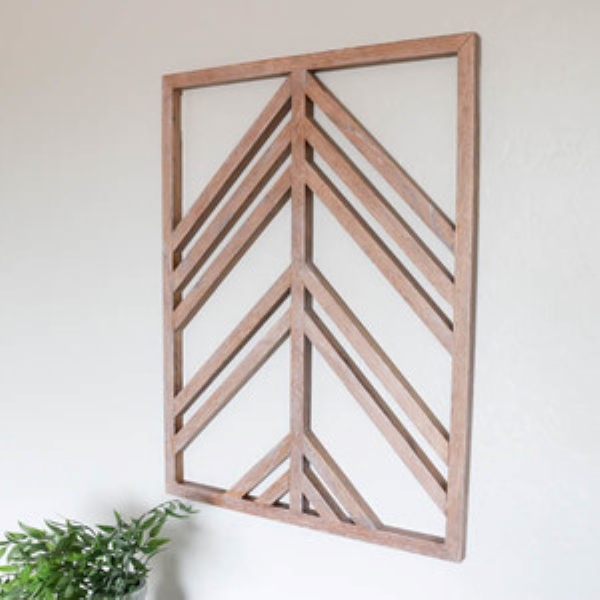
Finish as desired with paint or stain. This project was finished with Minwax Special Walnut stain and white wax.
Materials
STEP 11
Hang on the wall with removable photo hanging strips or traditional hooks.