Steps
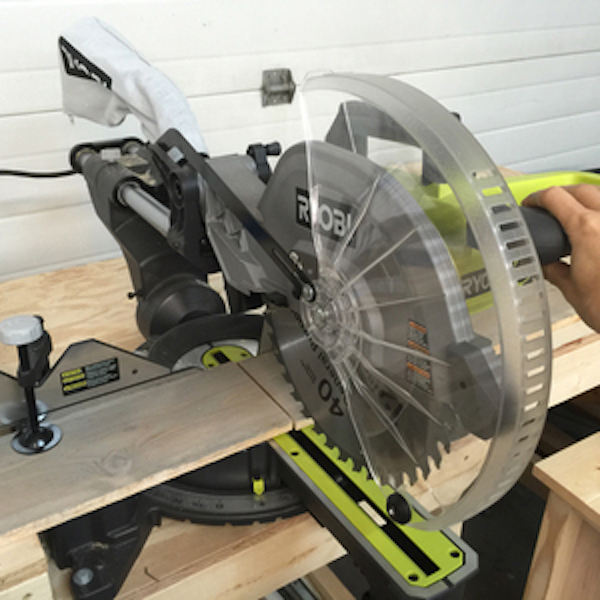
STEP 1
Cut boards according to the cut list using your compound miter saw. Do not cut crown moulding or base moulding yet – that should be cut to fit.
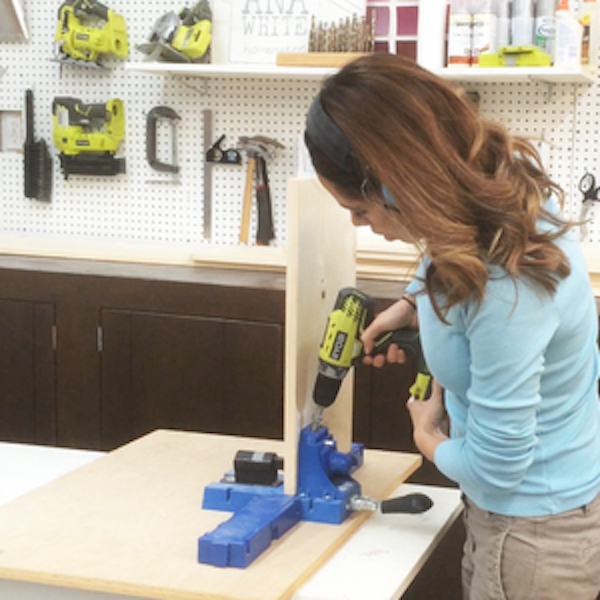
STEP 2
Drill Pocket Holes: drill ¾” pocket holes at all joints on 1x12 boards. TIP: Also drill ¾” pocket holes facing forward for attaching header board in Step 5 and 6.
Tools
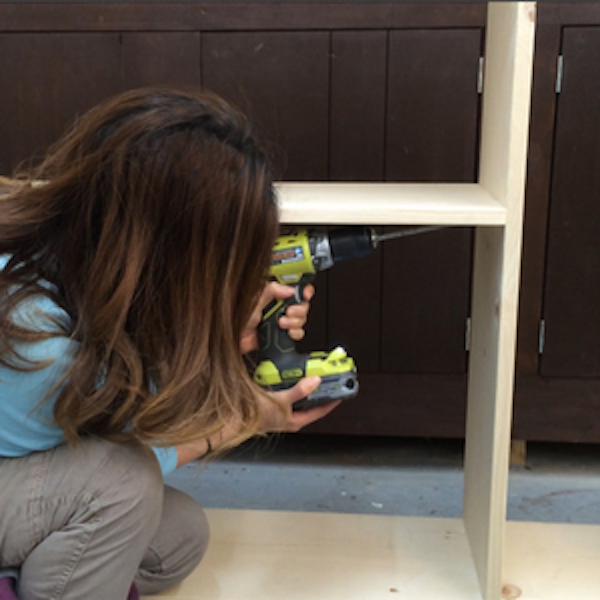
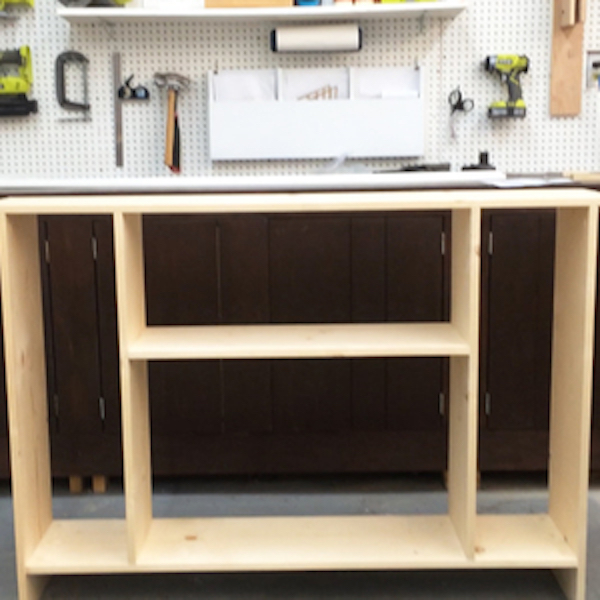
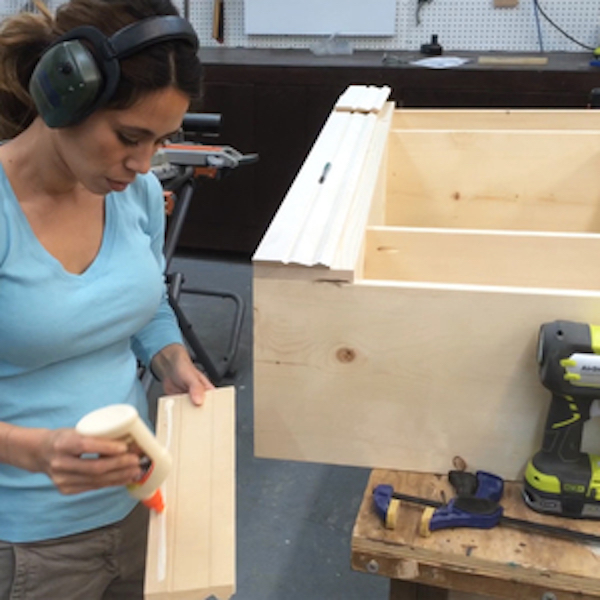
STEP 3
Building the Carcass: Assemble the carcass by attaching through predrilled pocket holes with 1-1/4” pocket hole screws and glue.
STEP 4
Adjust for square. When your carcass is complete, take a second to measure diagonally from outside corner to opposite outside corner (at a diagonal). Do this on both sides and adjust carcass until diagonals match.
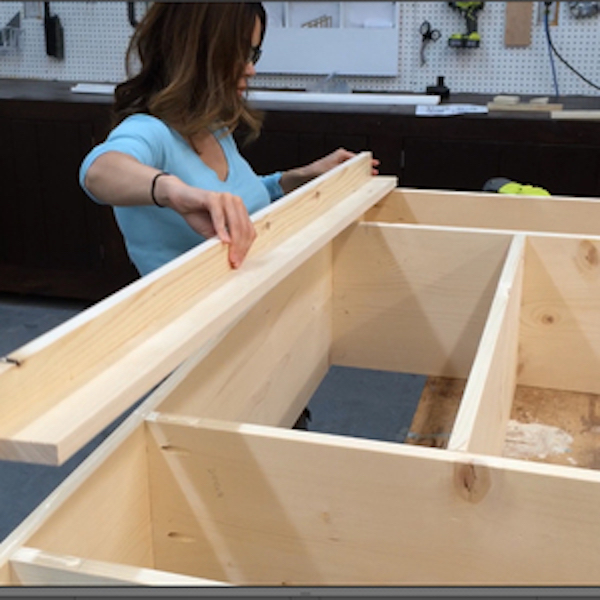
STEP 5
Header and Footer Boards: cut the header and trim boards according to cut list. Attach the two header boards together using ¾” pocket holes and 1-1/4” pocket hole screws on back side.
Tools
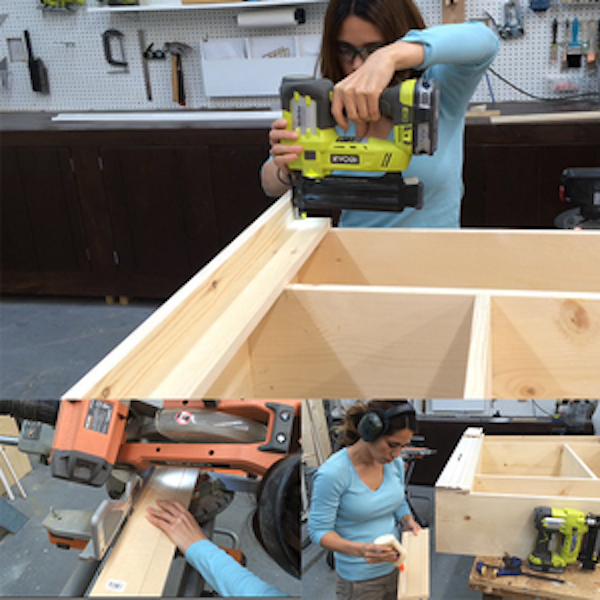
STEP 6
Attach Header and Footer Boards: use glue and 1-1/4” brad nails to attach header and footer boards to front of carcass. Also attach through pre-drilled pocket holes from Step 2 with 1-1/4” pocket hole screws and glue.
Tools
STEP 7
Base Moulding: measure and cut base moulding to fit the bottom of the cabinet. Miter corners at 45 degrees. Apply glue and attach with 1” finish nails.
Tools
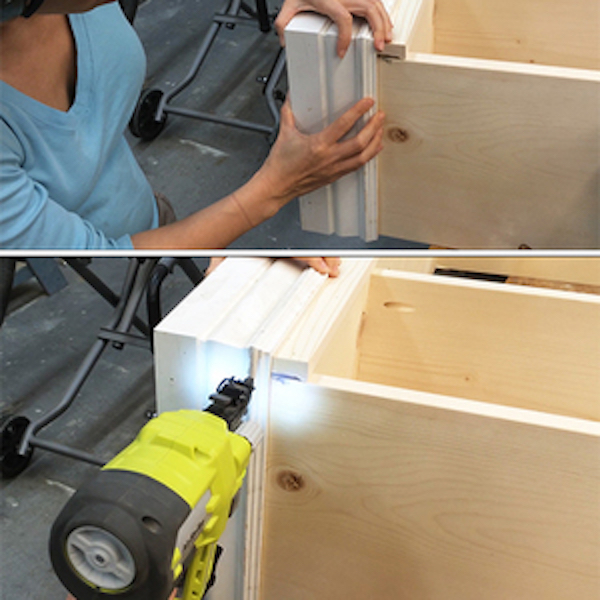
STEP 8
Crown Moulding: measure and cut crown moulding to fit the top of the cabinet. Miter corners. Apply glue and attach with 1” finish nails.
Tools
STEP 9
Doors: the doors are just 1x12 boards. You can add panel moulding (cut with the miter saw and attached with the brad nailer), and the 1x2 serves as a handle. Attach 1x2 from back side with 2” wood screws and glue.
Tools

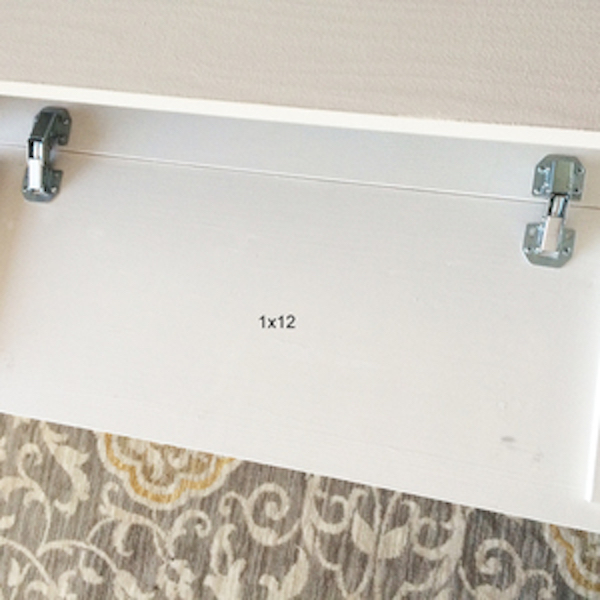
STEP 10
Hinges: use hidden euro style hinges to attach doors to the carcass frame.