Steps
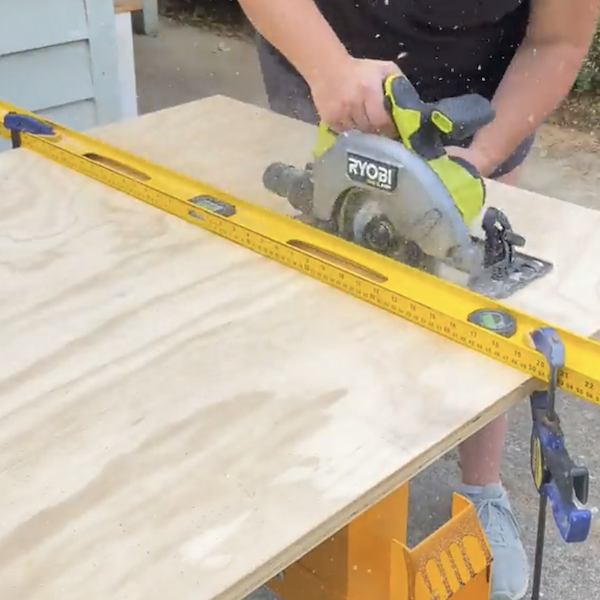
STEP 1
Cut ¾” plywood to size.
Tools
Materials
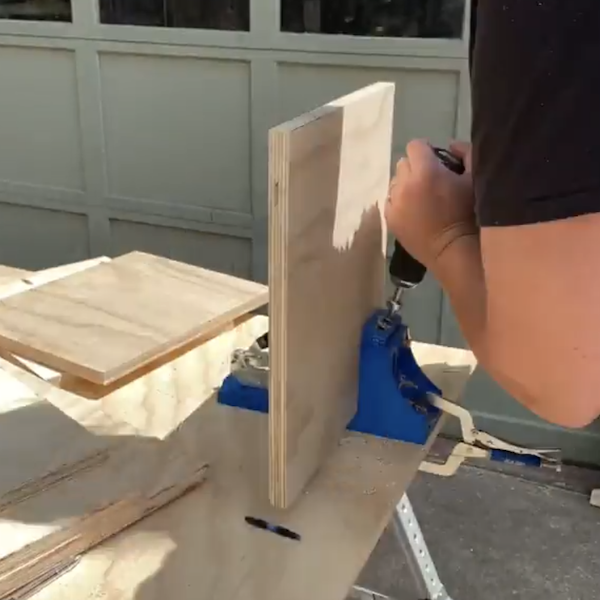
STEP 2
Use a pocket hole tool to drill holes into the plywood pieces.
Tools
Materials
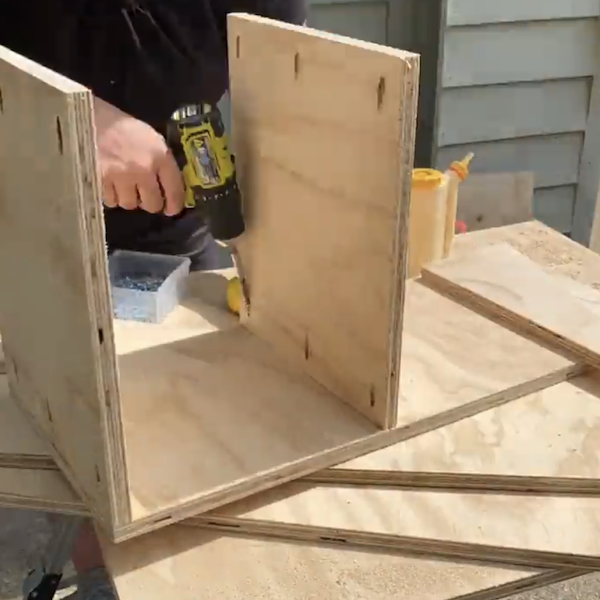
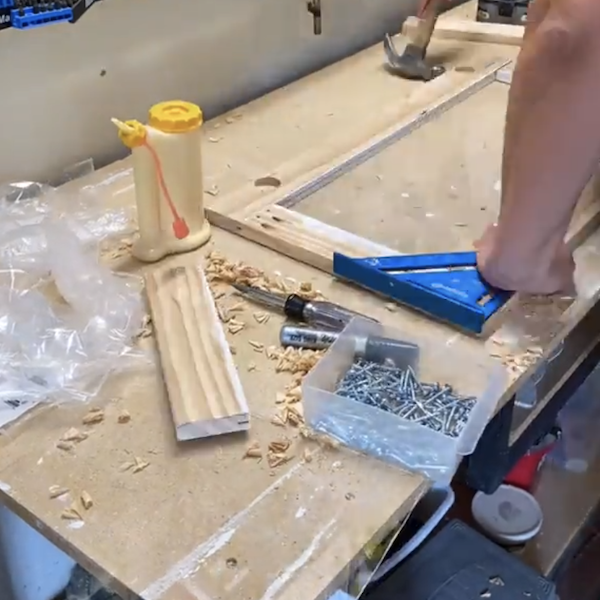
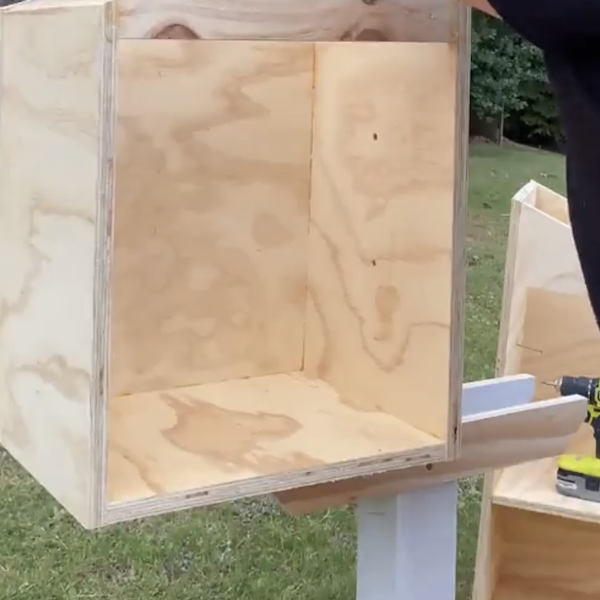
STEP 3
Utilize the pocket holes to attach the pieces together to create a cabinet.
Tools
STEP 4
Cut 1x3's to fit the size of the cabinet to create a cabinet door frame, drill pocket holes into the 1x3's.
Tools
Materials

STEP 5
Place plexiglass in between the cabinet door frame pieces to create the door and use cabinet door hinges to attach the doors to the cabinet.
Tools
Materials
STEP 6
Paint the 4x4 post that the book cabinets will rest on, then place in the ground using quick set cement to hold into place.
Materials
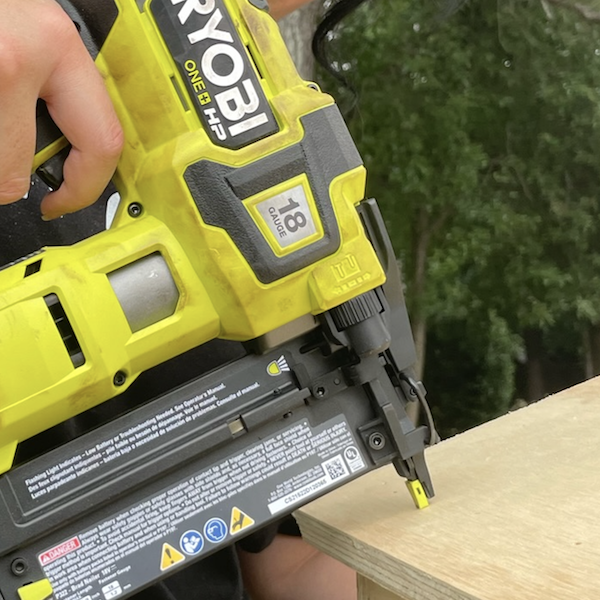
STEP 7
Cut two 1x3’ pieces to serve as ledges for the cabinets to sit on, then attach them to the 4x4. Place the cabinets on the ledges and use the brad nailer to secure them into place.
STEP 8
Cut plywood pieces to size to create a roof for each cabinet and attach using a nailer.
Tools
Materials
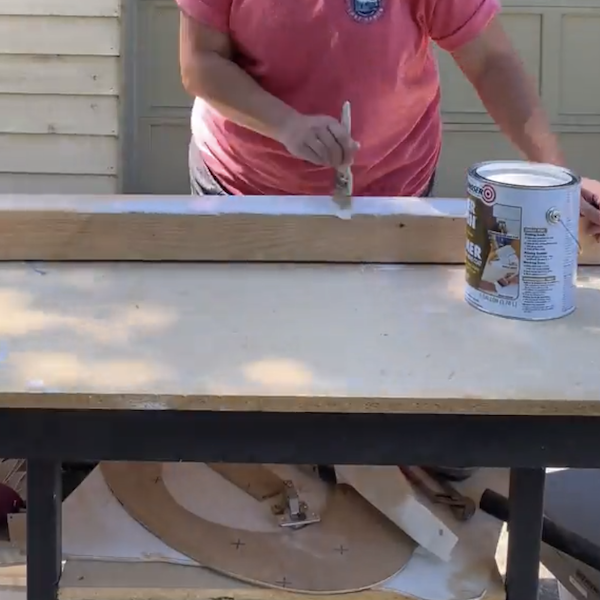
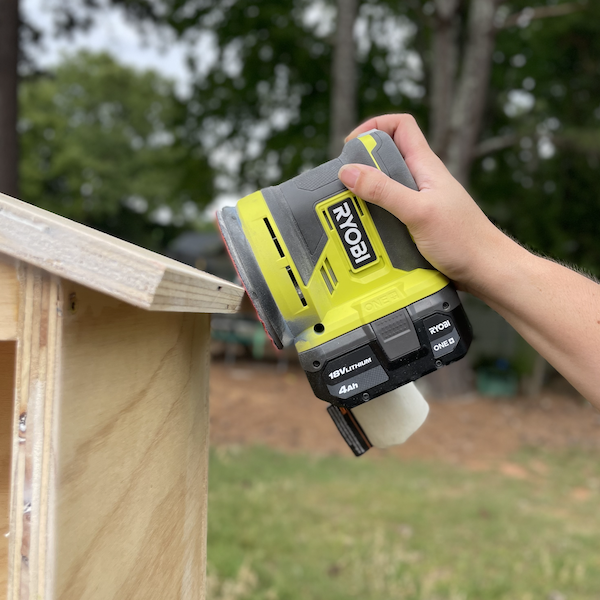
STEP 9
Sand the cabinet to prep for painting. Apply paint to the cabinets as desired.
Tools
Materials
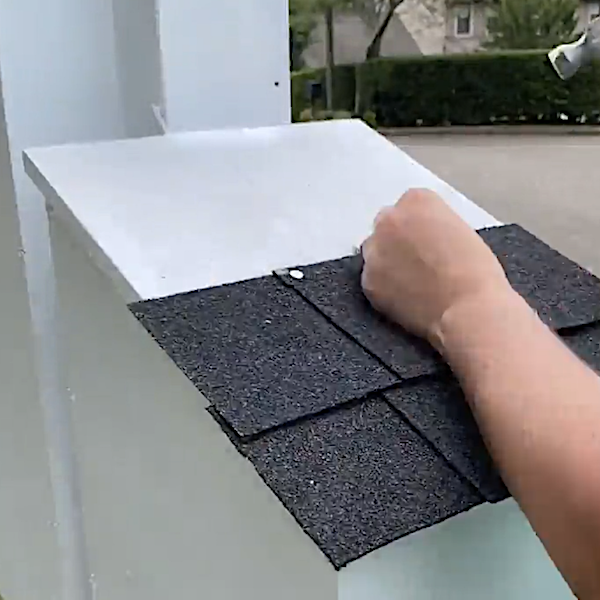
STEP 10
Cut shingles for the roof and attach using a hammer and nails.
Materials