Steps
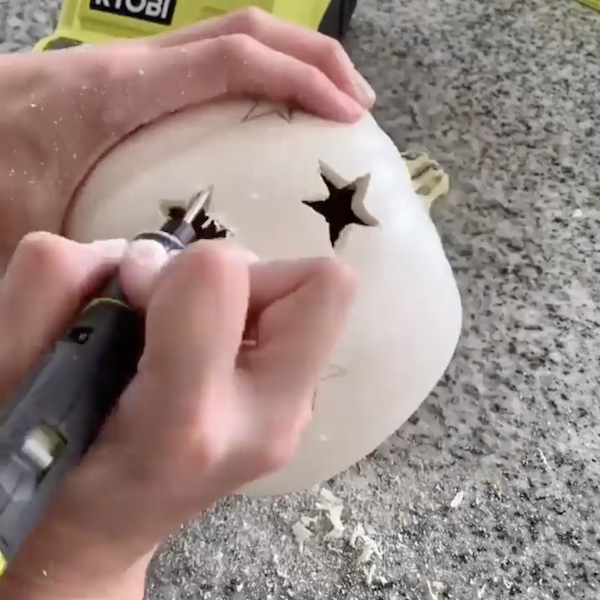
STEP 1
Carve pumpkins with desired designs.
Tools
Rotary Tool
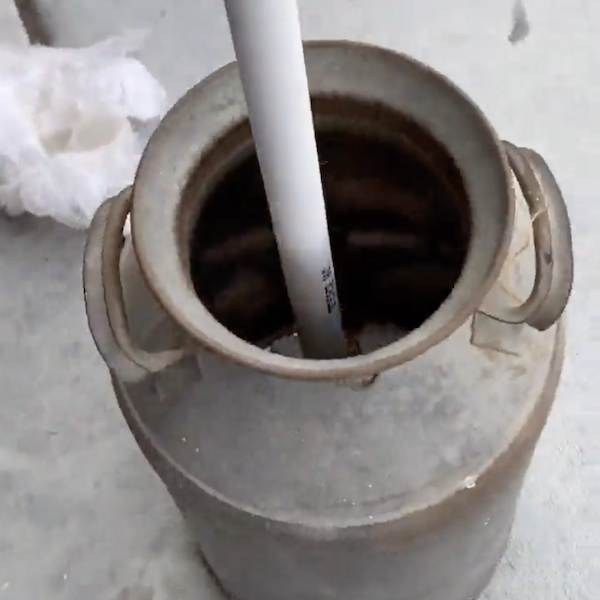
STEP 2
Place a pipe with a connector piece in each plant pot.
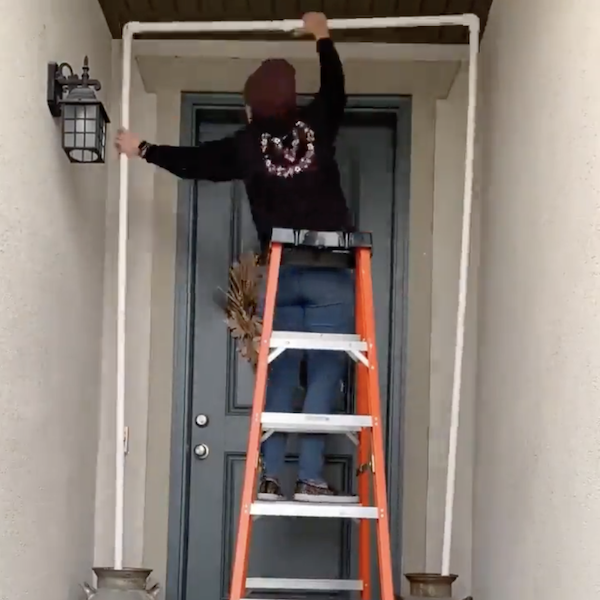
STEP 3
Connect the pipes with a pipe on top to create an arch.
STEP 4
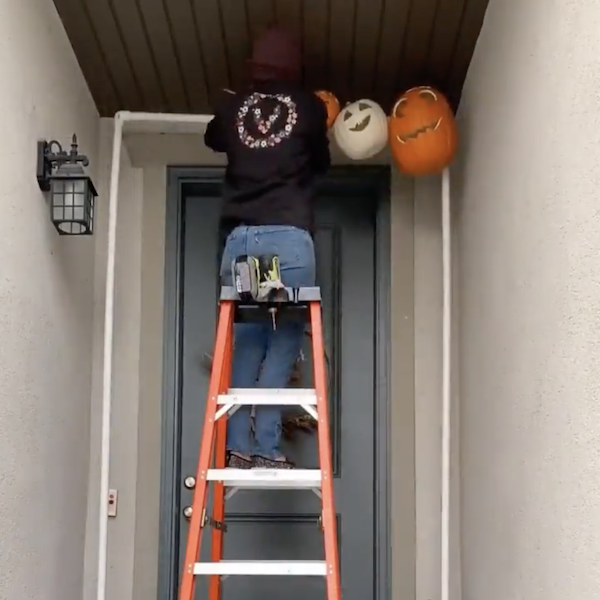
Drill a hole through the back of each pumpkin. Use zip ties to attach each pumpkin to the arch.
Tools
Drill
Materials
Zip Ties
STEP 5
Apply paint to each of the side pipe pieces of the arch.
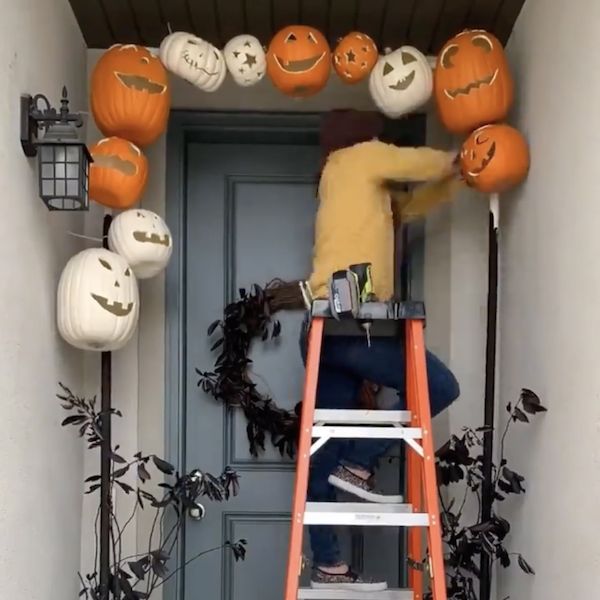
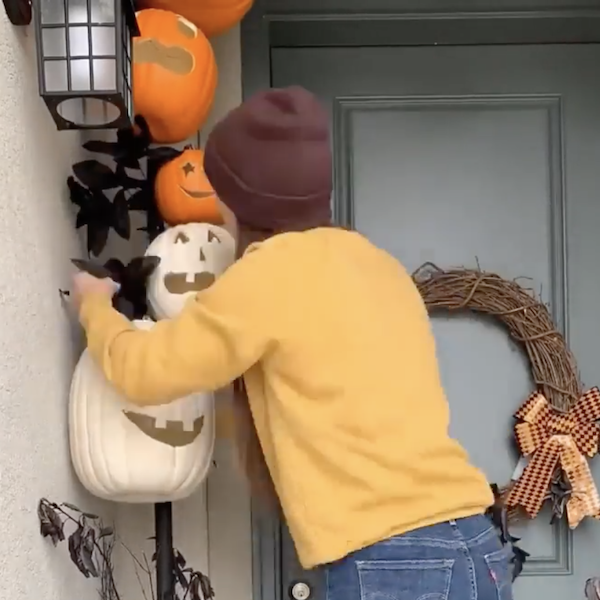
STEP 6
Continue adding pumpkins to the arch and attach faux plant Halloween decor as desired.