Steps
STEP 1
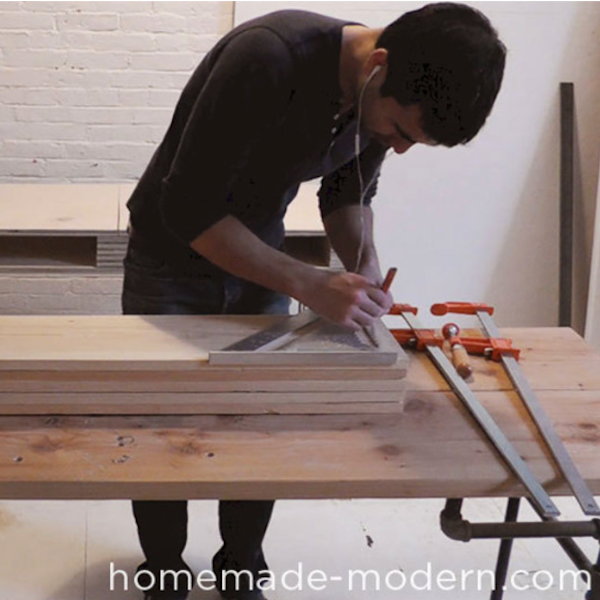
Lay out the holes. Use a pencil to mark the hole locations on a board. Make sure you leave about 2" between the flower pot holes and about 1" between the rope holes and edges of the board.
Materials
STEP 2
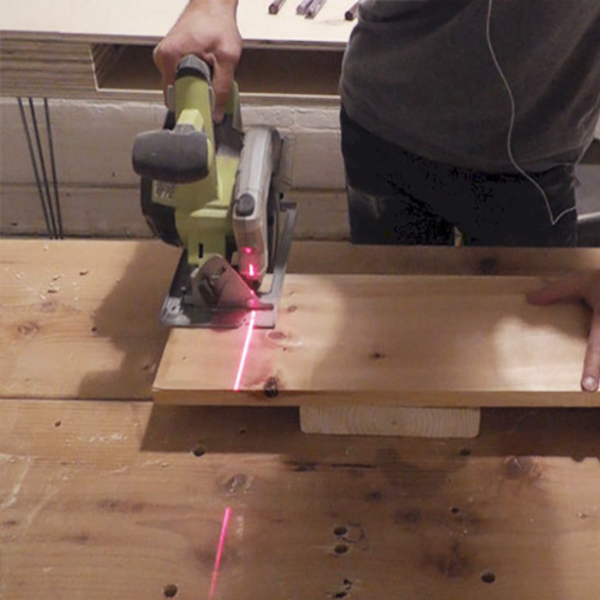
Cut the boards. Once you have established the hole locations, you can trim the boards to the desired length with a circular saw. If you lay out the boards in advance, you can have the boards cut for you at Home Depot.
Tools
Materials
STEP 3
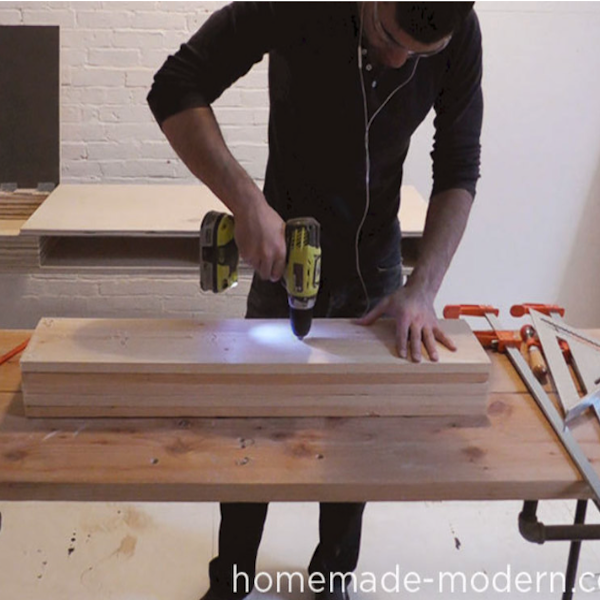
Drill pilot holes. Make sure the holes are aligned. Rather than marking each board, I simply marked one and drilled small pilot holes through the entire stack of boards. These small holes will serve as guides for the hole saw.
Tools
Materials
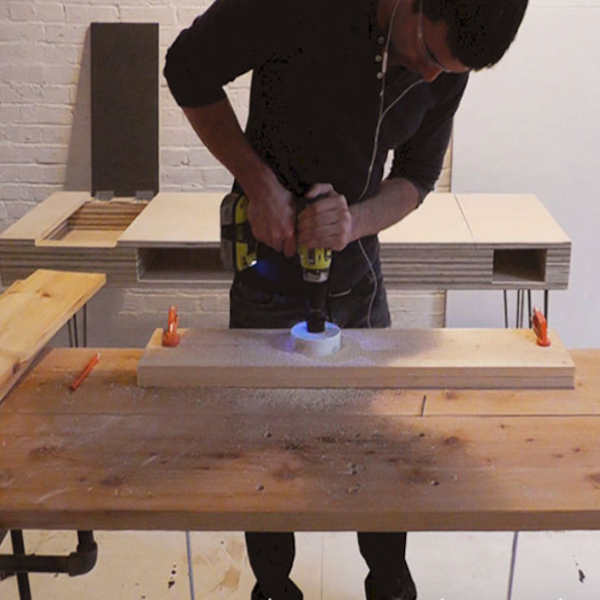
STEP 4
Cut holes for pots using the 4" Hole Saw. Be sure to properly secure the boards and have a firm grip on the drill. Set your drill to the drilling mode at the highest speed and use both hands.
Tools
Materials
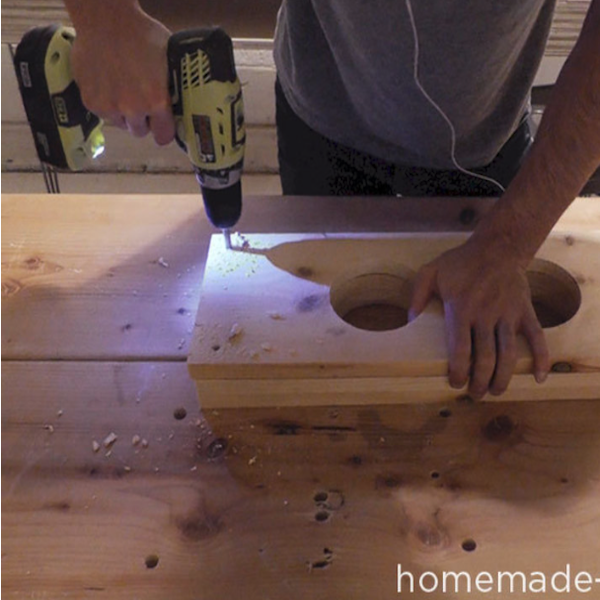
STEP 5
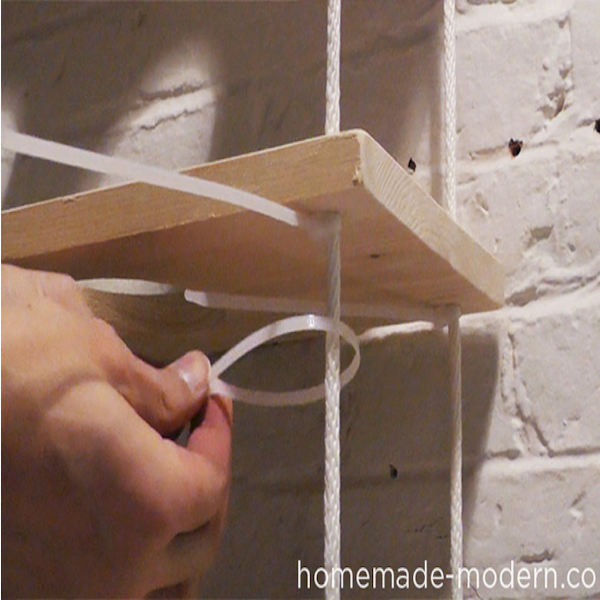
Drill holes for rope. I used a 5/16" drill bit for the 1/4" rope. It's important to have a tight fit for the rope so that the zip ties create a stopper to keep the boards from sliding.
Tools
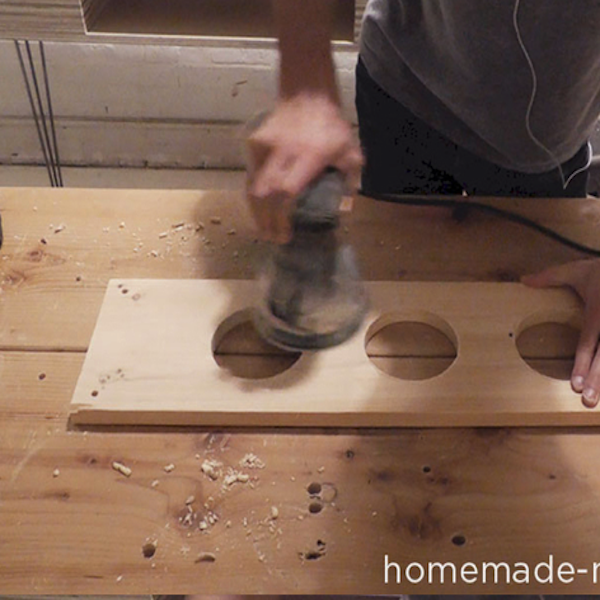
STEP 6
Sand the boards. Pine is a soft wood, so you can hand sand the boards pretty quickly. I used an orbital sander and sanded them with 220 grit paper.
Tools
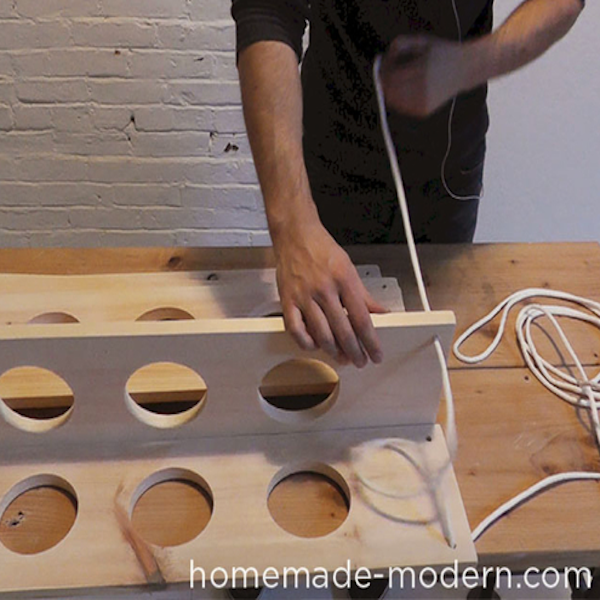
STEP 7
String the boards.. Thread the rope through the holes and tie a knot at the bottom.
Materials
STEP 8
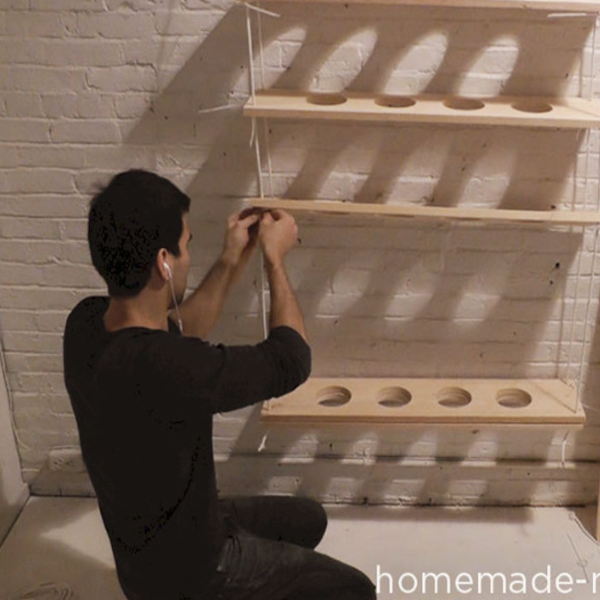
Hang the garden. Make sure you are hanging the garden from a location that can support the weight. Closet shelf brackets work well. Try your best to level the boards. You can adjust the leveling with the zip ties.
Materials
STEP 9
Secure the boards. You want to make sure you have adequate space for the plants between the boards. Adjust the boards into the right location and use zip ties under the rope holes to secure them.
Materials
STEP 10
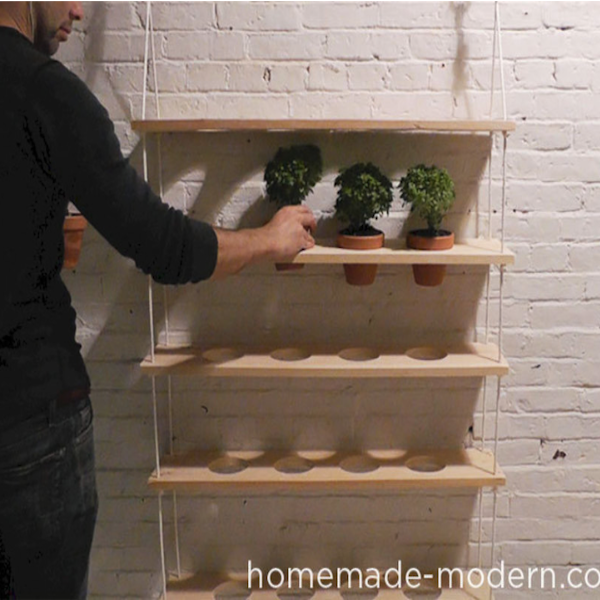
Place the plants. Put your potted plants in the holes, step back and enjoy!
Materials