Steps
STEP 1
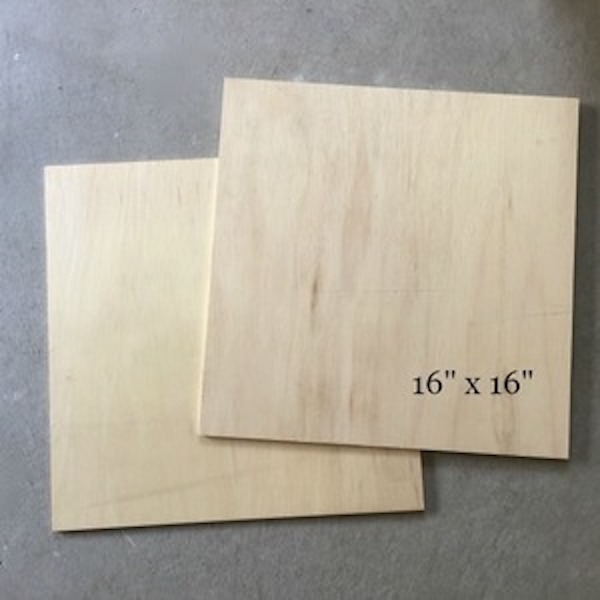
First, cut two squares of 1/4 in plywood to measure 16x16”. They will be the front and back of the shadow box.
Tools
STEP 2
Next, cut a large ornament shape from paper and trace it onto the center of one of the squares.

STEP 3
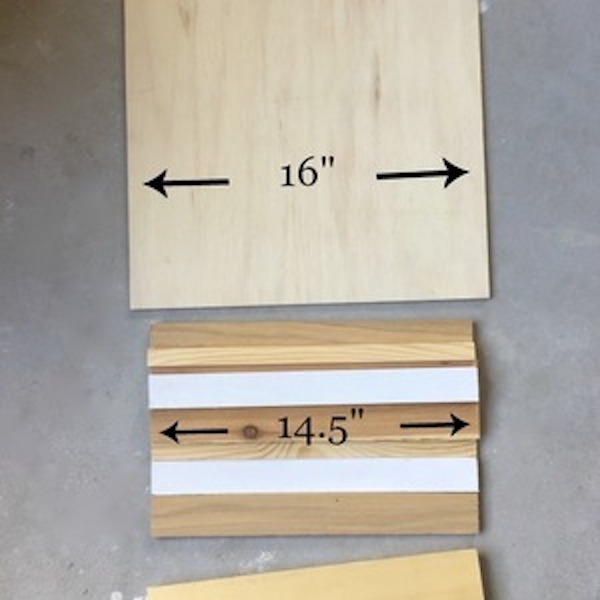
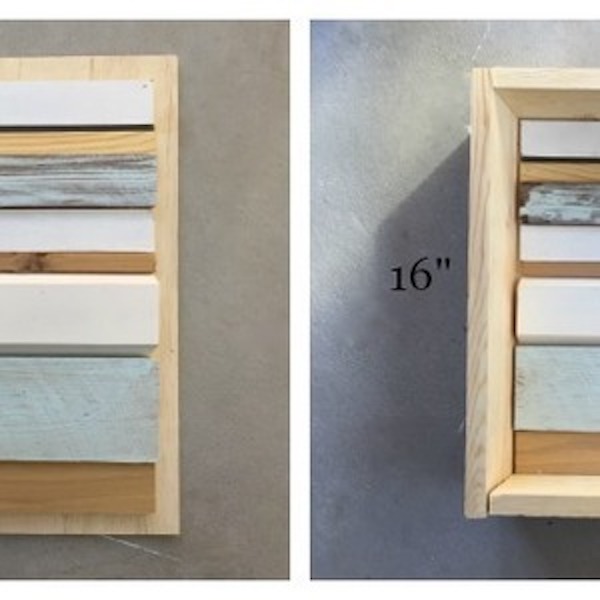
Cut some scrap wood strips to measure 14.5” in length. They will be glued to the other square of plywood to create the back wall of the piece.
Tools
STEP 4
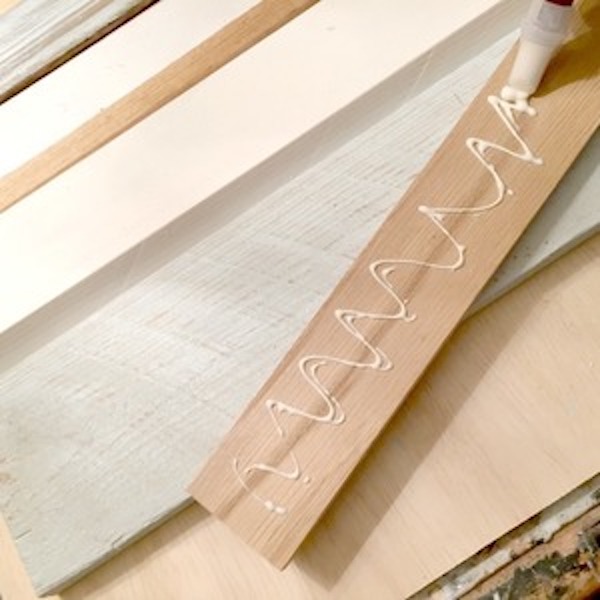
Next, glue the pieces onto the plywood backing, using heavy objects to clamp the wood strips down. Leave 3/4 in of space all the way around so the frame can be “sandwiched” between the front and back pieces of plywood.
STEP 5
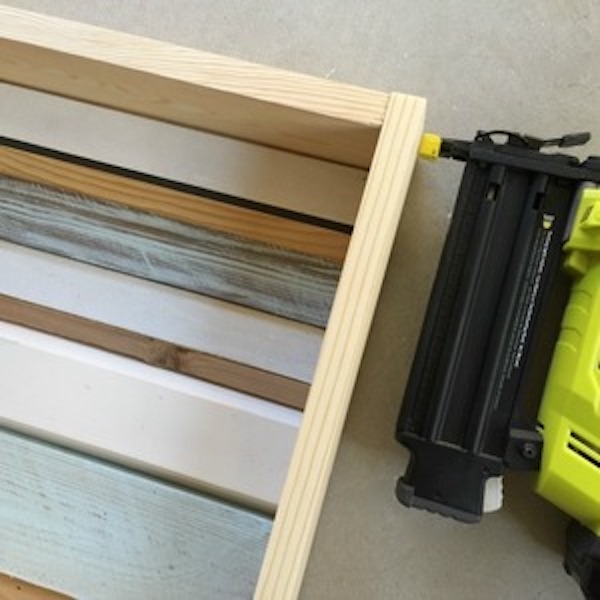
When glue has dried, lay out your frame around the scrap wood strips.
STEP 6
Glue and nail the frame together at the corners.
Tools
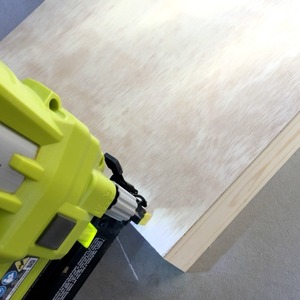
STEP 7
Flip everything over, and attach the backing to the frame.
Tools
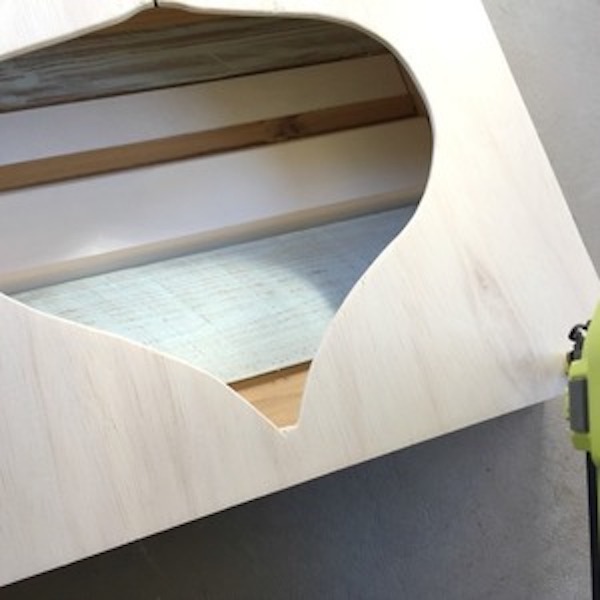
STEP 8
Front panel cut out: I used a table saw to ensure a perfectly straight line for the ornament “string”.
Tools
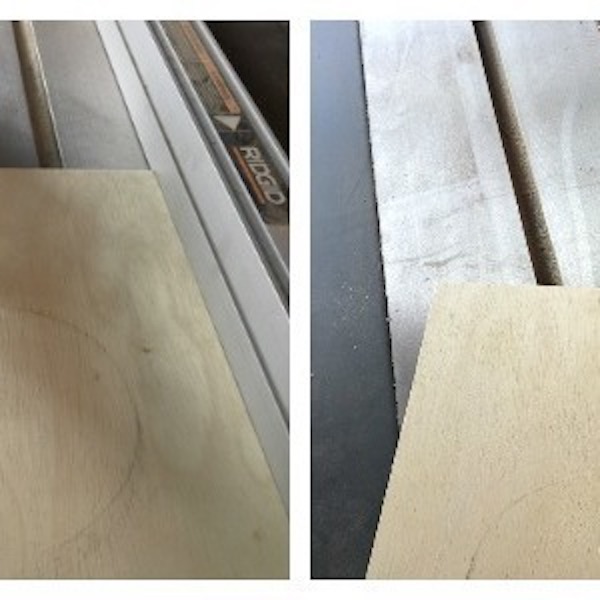
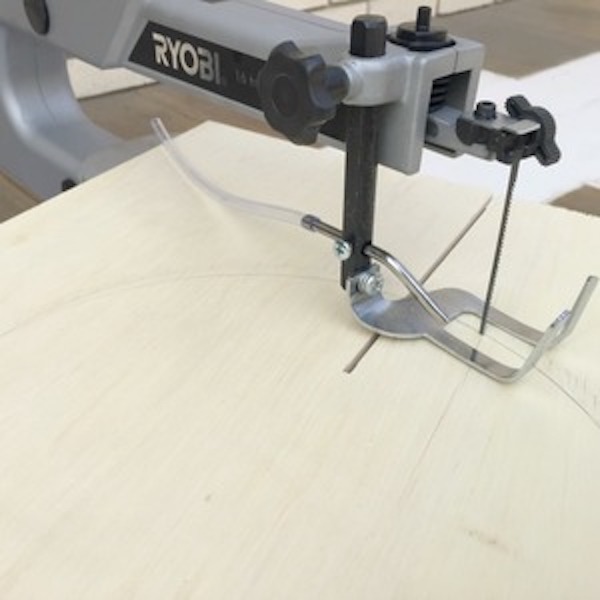
STEP 9
Cut out along the traced line with the scroll saw to cut out the ornament shapes.
Tools
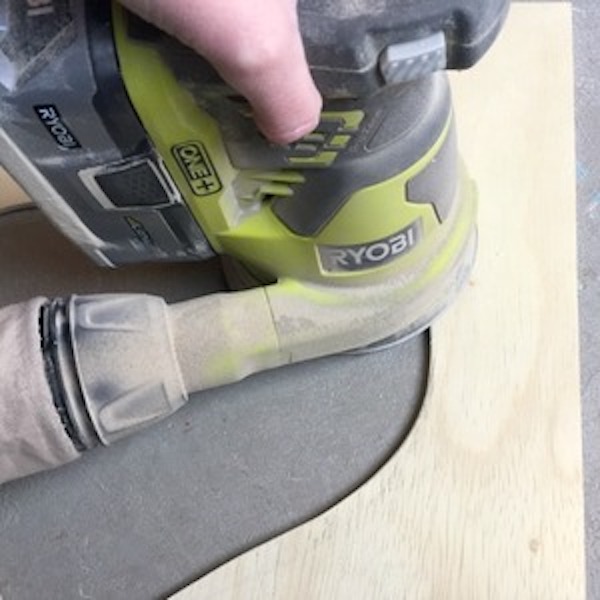
STEP 10
Sand any rough edges.
Tools
STEP 11
Attach front panel ornament cutout piece to the frame.
Tools
STEP 12
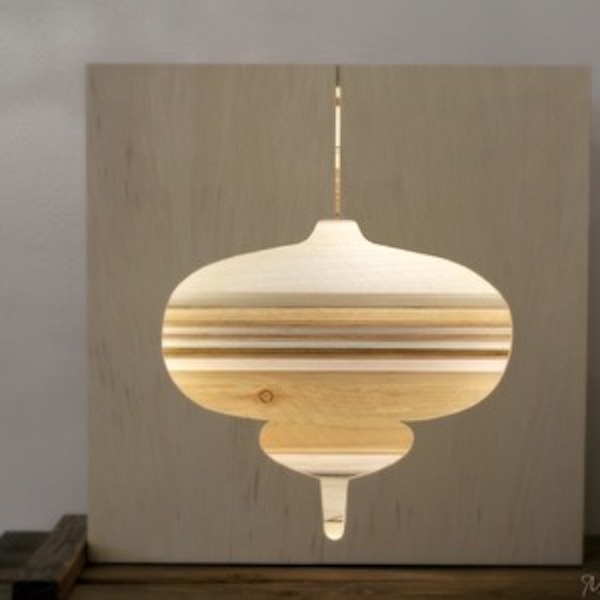
For added effect, install some battery operated Christmas lights to the back of the front panel. (I used painter’s tape because it’s easy to remove.)
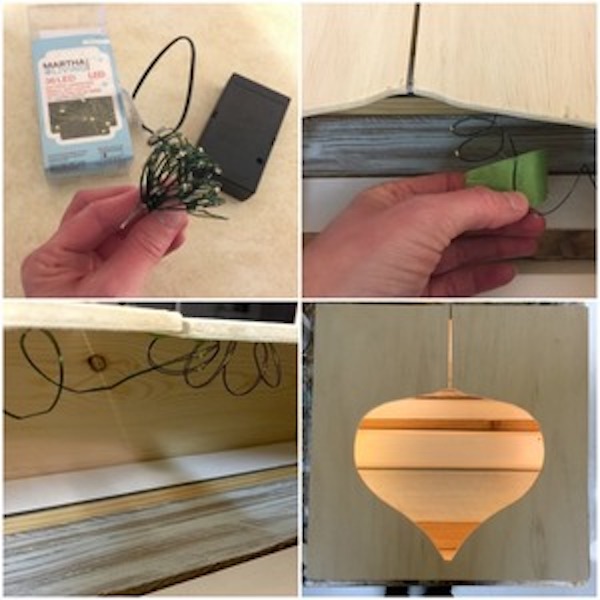
STEP 12
…and there you have it! A unique holiday mantel display for the love of overly-large ornaments!