Steps
STEP 1
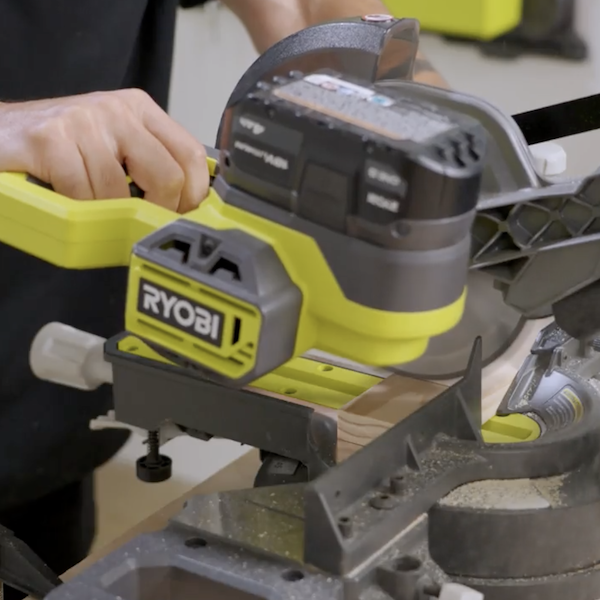
Measure 1-1/4" from one end of 1"x 3" boards. Then find center and mark for a drill point. Using a Drill Press and a 1-1/4" forstner bit, drill down 1/4". Some initial sanding can be done after cutting the boards and panels.
Tools
Miter Saw

STEP 2
Measure over 2-1/2" from end of board and cut.
Tools
Miter Saw

STEP 3
Repeat Steps 1&2, then cut and sand.
Tools
Miter Saw

STEP 4
Cut pieces that are 2-1/2" long.
Tools
Miter Saw
STEP 5
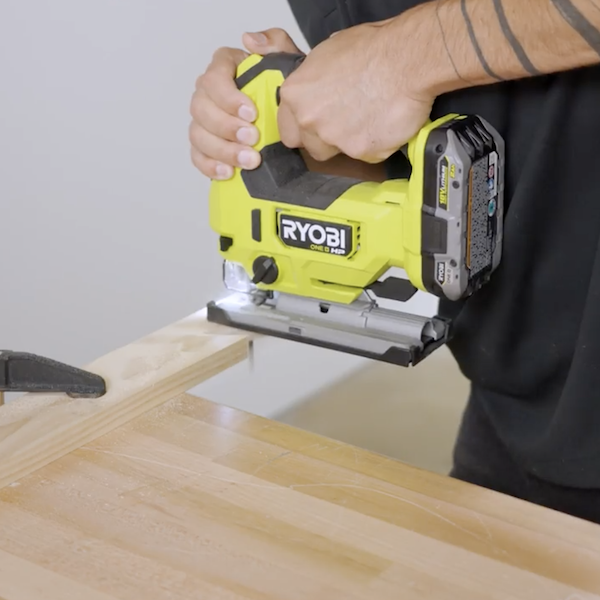
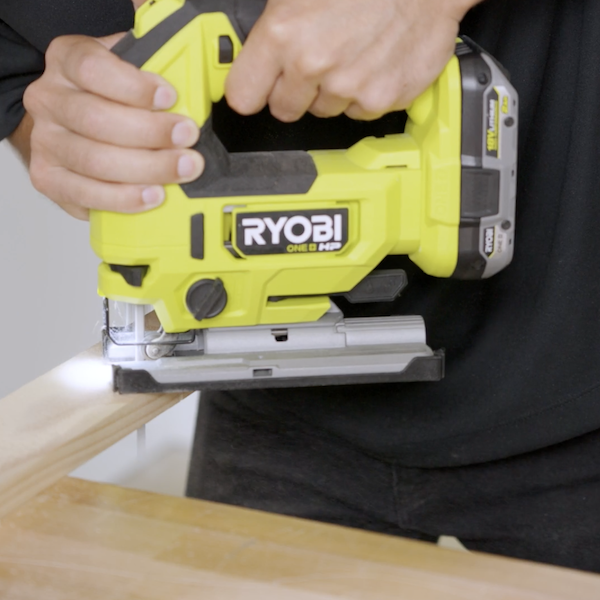
Measure over 5-1/2" from end and mark. Draw one half of a star, centered in between end mark. As shown in diagram. Cut inside of star pattern out using Jig Saw
Tools
Jig saw
STEP 6
Repeat Step 5 to make other half of star.
Tools
Jig Saw
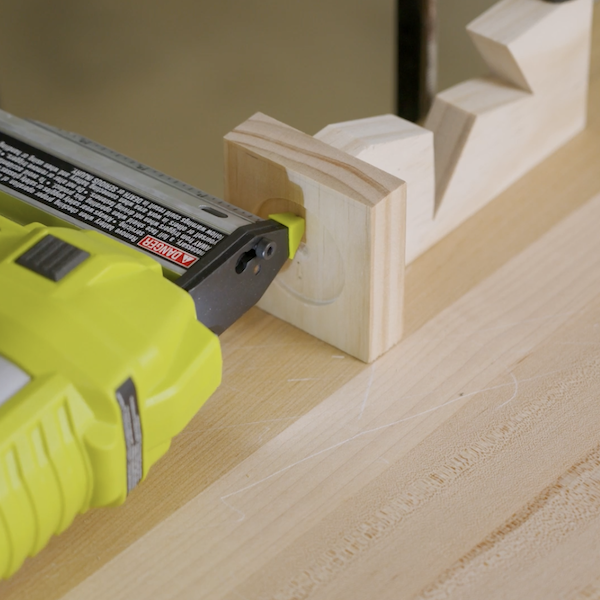
STEP 7
Align and center base board to star panels. Attach with glue and pin nails
Tools
Pin Nailer
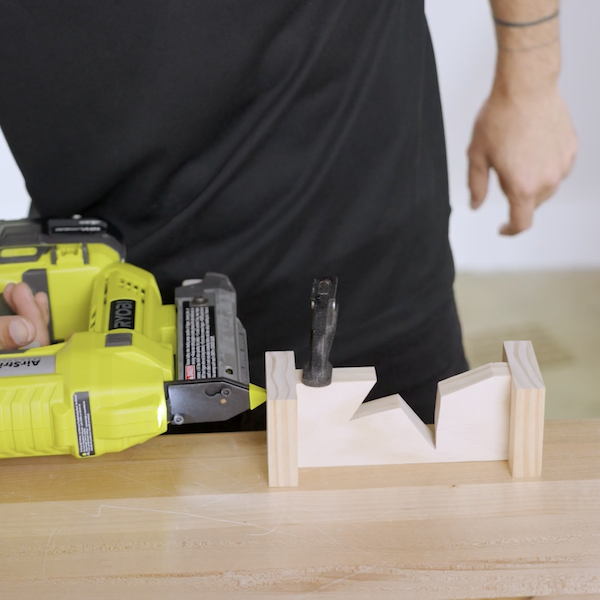
STEP 8
Align and center top tea light holders to star panels. Attach with glue and pin nails
Tools
Pin Nailer
STEP 9
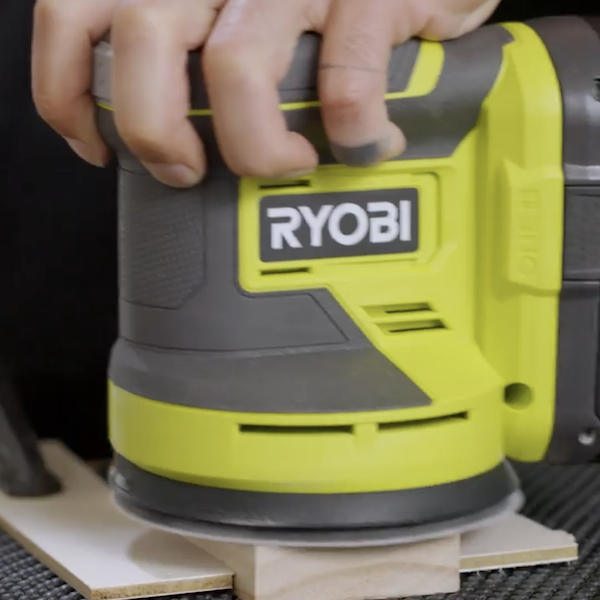
Sand and finish to your desire
Tools
Orbit Sander