Steps
STEP 1
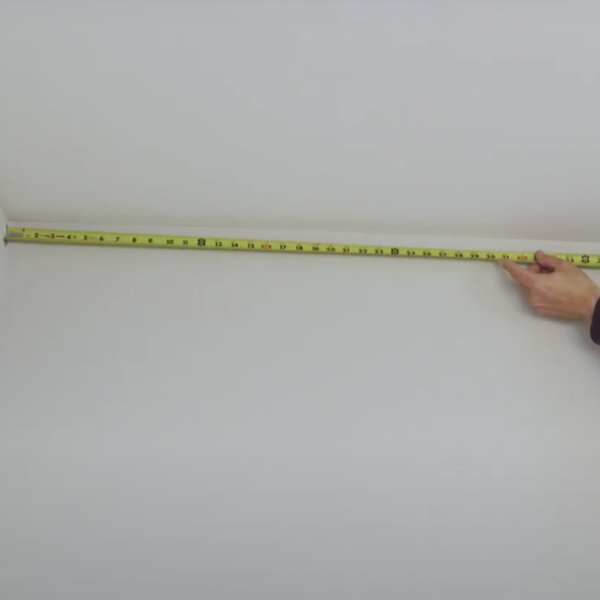
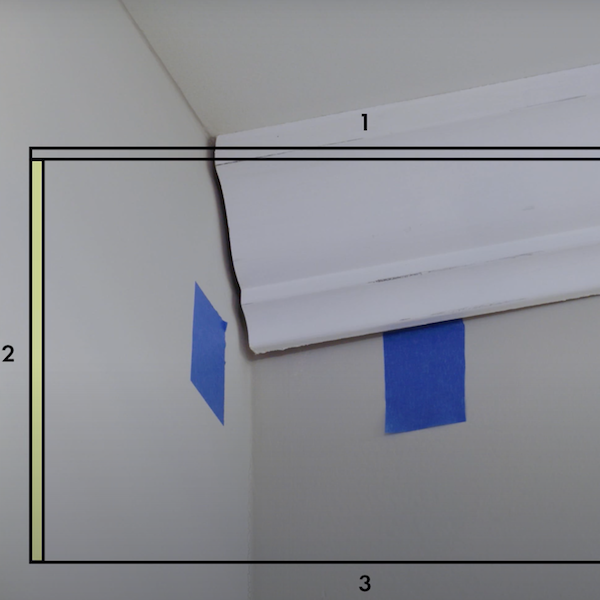
To begin, measure the length of your walls from corner to corner near the ceiling where the molding will be.
Tools
STEP 2
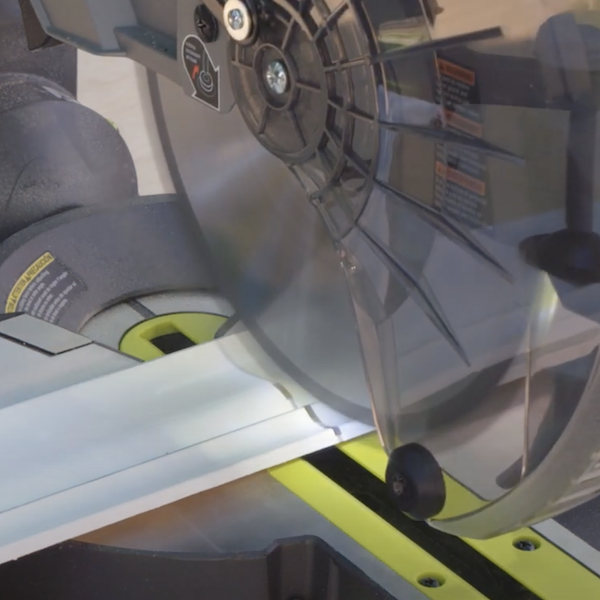
For the first piece, cut your molding to length with a zero degree cut so both ends are square.
Tools
STEP 3
Use a scrap piece of molding and painter's tape to mark each corner and the middle point. This will act as a horizontal guide when placing the molding. Locate the studs on the wall and mark their location where they will be visible when molding is placed.
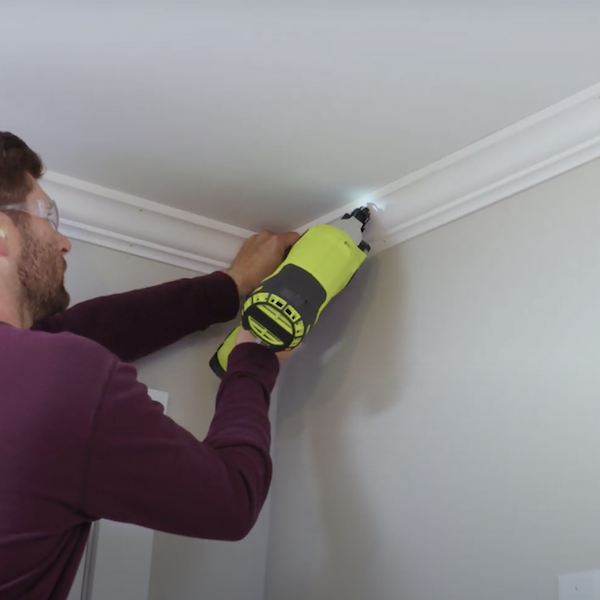
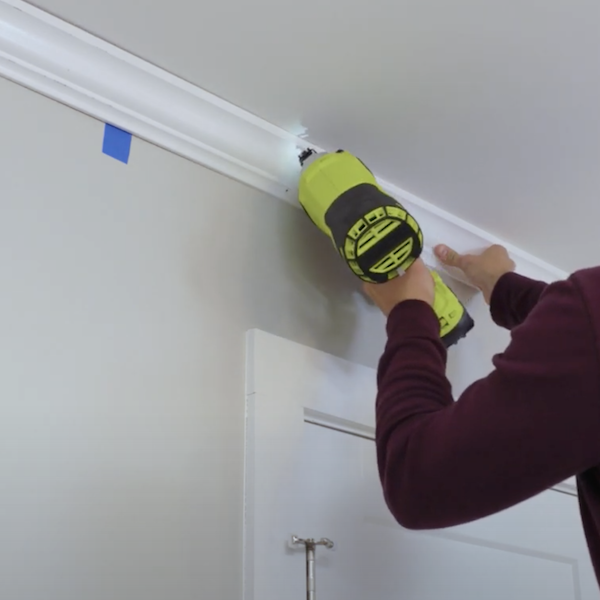
STEP 4
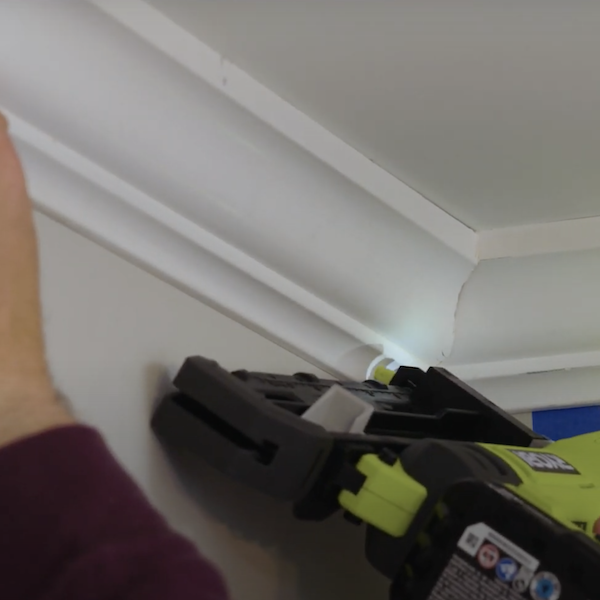
Place the first piece of cut molding against the wall and ceiling, flush to each corner. Apply a nail at the edge of the molding at every stud marker and another nail on the opposite edges into the ceiling. Repeat across the wall length. Align to tape.
Tools
STEP 5
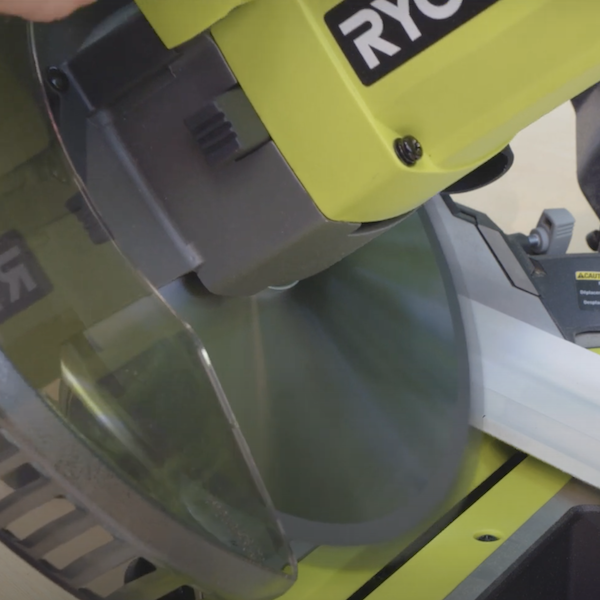
Install remaining molding in a counterclockwise direction so the right side of piece two joins the left side of piece one in the corner. Set your miter saw to 31.6° to the right and bevel to 33.9°. Make your cut.
Tools
STEP 5.1
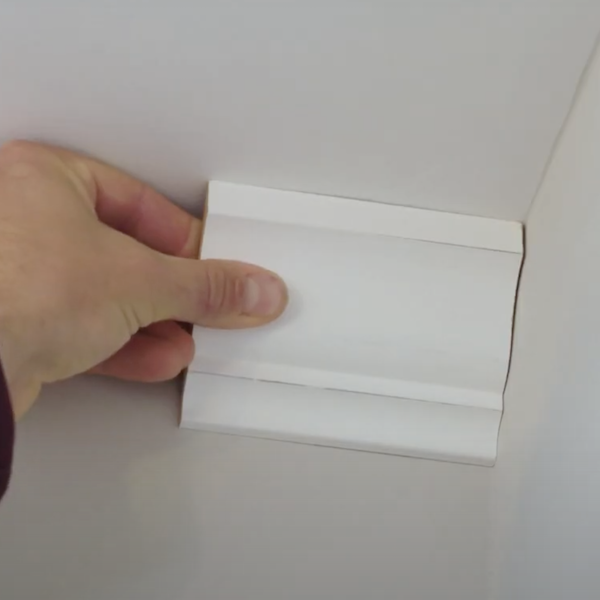
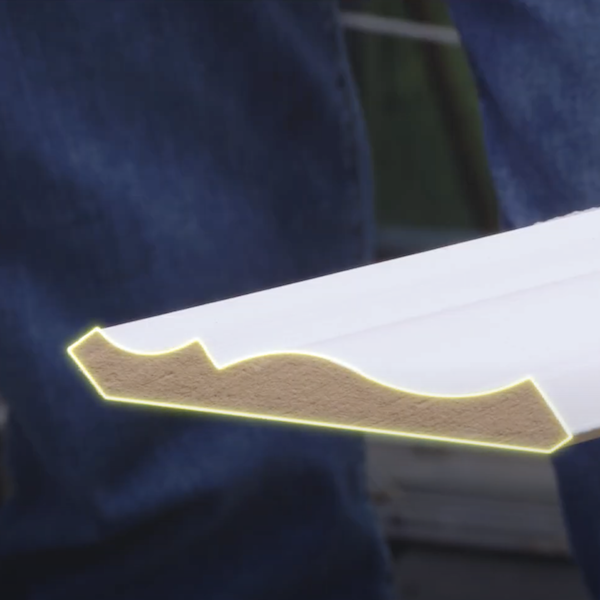
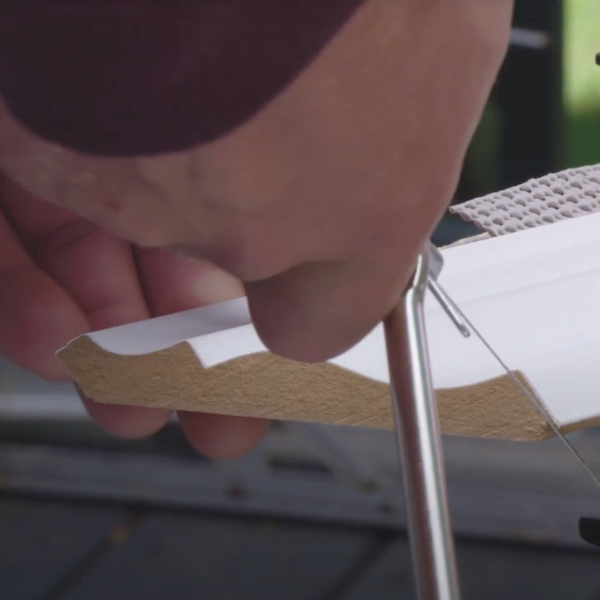
For this piece to join with the first piece, remove the beveled area with the coping saw.
STEP 5.2
Lightly clamp the molding for sawing. Use a cloth to protect the decorative face. Carefully cut along the decorative edge without cutting the top surface . Cut at an angle to create an undercut.
STEP 6
Cut and install your second and third piece using the same procedures from Step 4 and Step 5. Before nailing, test fit the coped edge and clean up if necessary.
STEP 7
The fourth and final piece of the molding needs to be mitered on both ends. On the right side, cut as you did in Step 5. For the left side, adjust the miter angle to 31.6° to the left. Bevel at 33.9°, rotate the molding so the edge is against the fence.
Tools
STEP 8
Finish nailing the final piece of molding, then fill in nail holes and seams with caulk and paint.
Tools