Steps
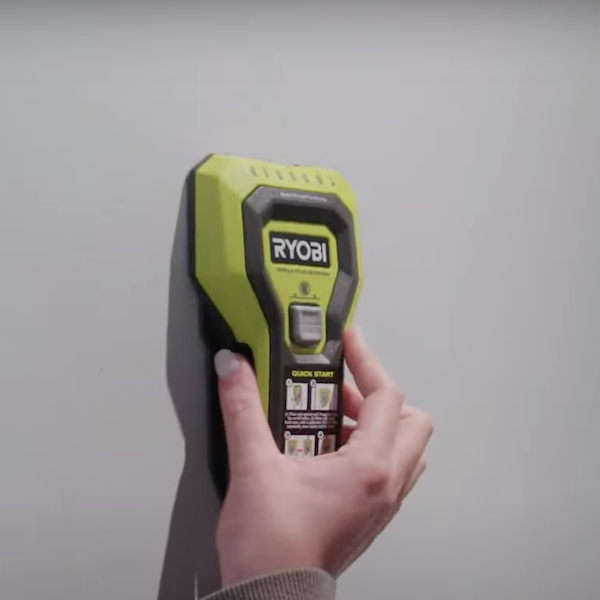
STEP 1
Press and hold the power button on the side of the tool, making sure to place the hand below the indicated line shown on the tool.
Tools
Whole Stud Detector
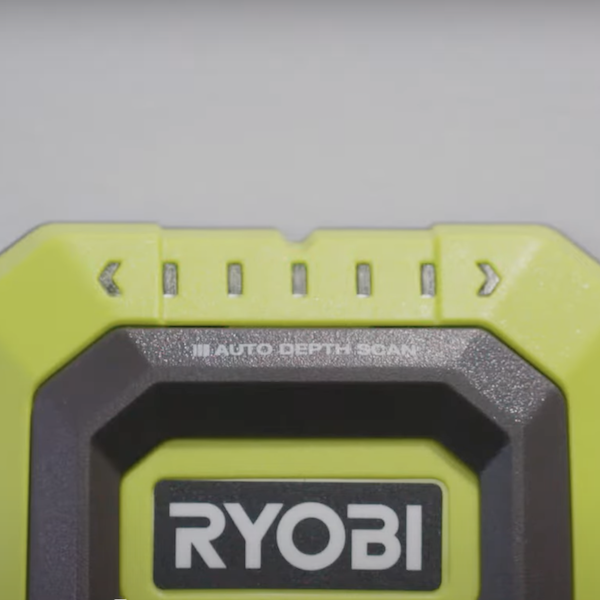
STEP 2
Continue to hold down the power button and the LED lights will flash to indicate that the tool is calibrated.
Tools
Whole Stud Detector
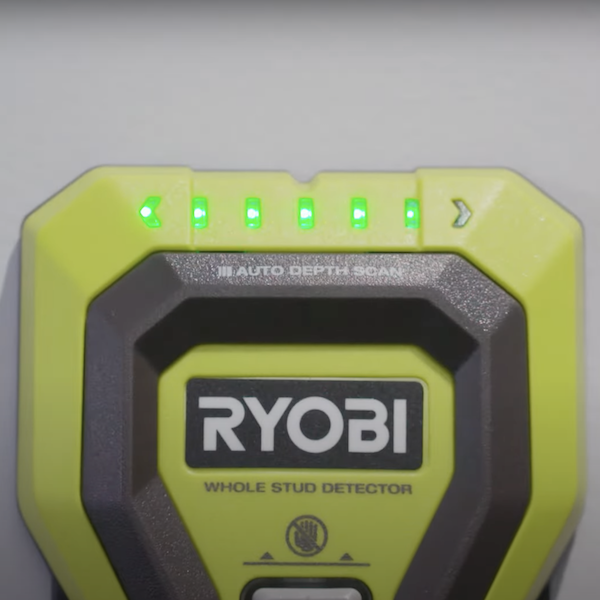
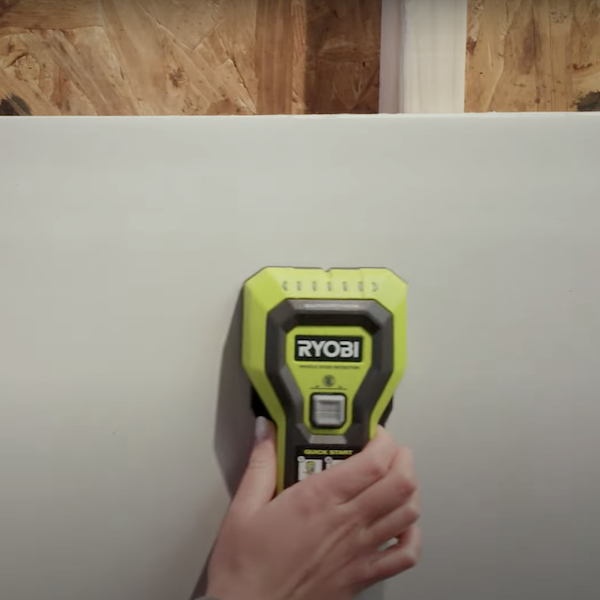
STEP 3
Continue to hold the power button and move the tool slowly across the surface. Once a stud is found, all the LED lights will illuminate.
Tools
Whole Stud Detector

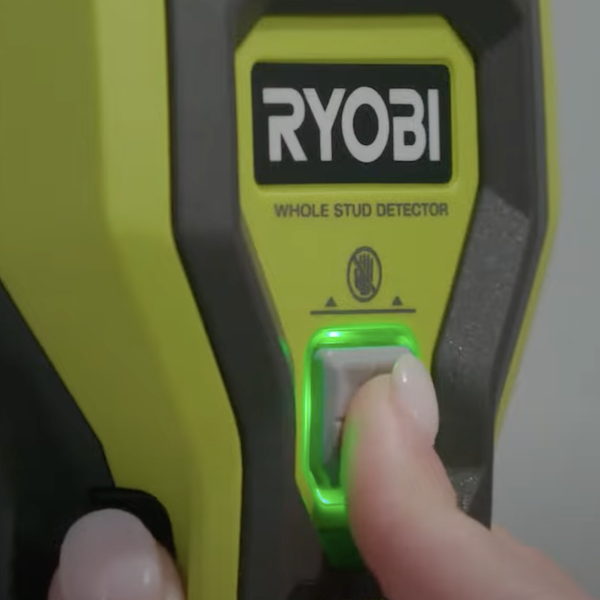
STEP 4
Once the stud is found press the button to mark where the stud is.
Tools
Whole Stud Detector
TIP #1
If the LED lights calibrate, but no lights appear when it is moved, move the device and calibrate again.
Tools
Whole Stud Detector
Tip #2
If the LED lights flash repeatedly, move the device and calibrate the LED lights again.
Tools
Whole Stud Finder