Steps
STEP 1
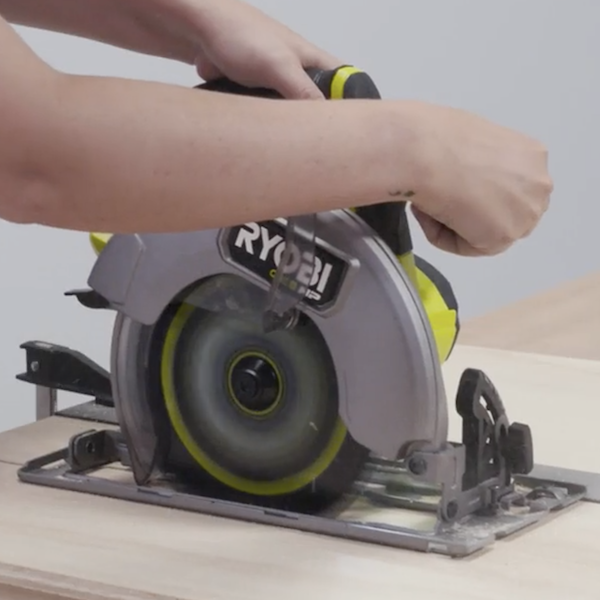
Cut out all material using the Lumber & Sheet Cut Layout Guide. Some initial sanding can be done after cutting the boards and panels.Sanding pieces prior to building can make the process easier before final assembly.
Tools
STEP 2
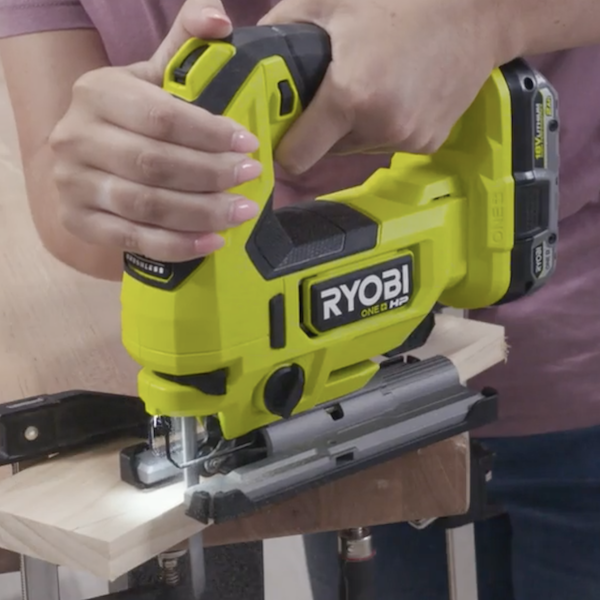
Measure and cut the (2) awning supports with the jig saw.
Tools
STEP 3
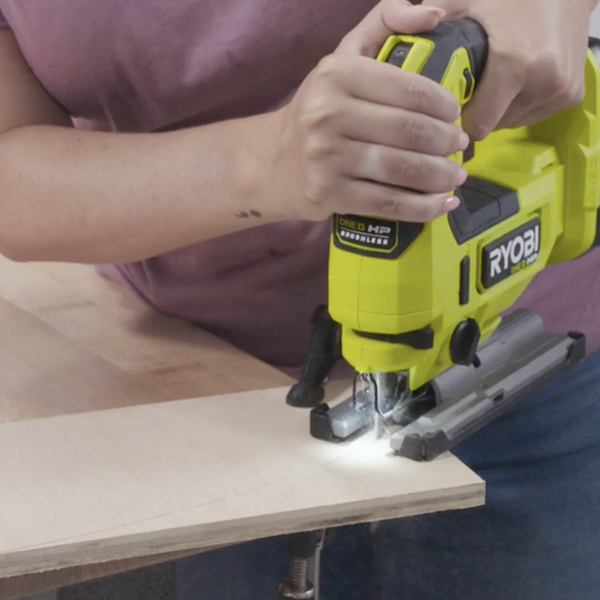
Measure 3-1/2” on both sides of the sign panel as shown in the diagram. Then connect the points with a 22-1/4” radius arc. Cut using a jig saw. Sand edges smooth.
Tools
STEP 4
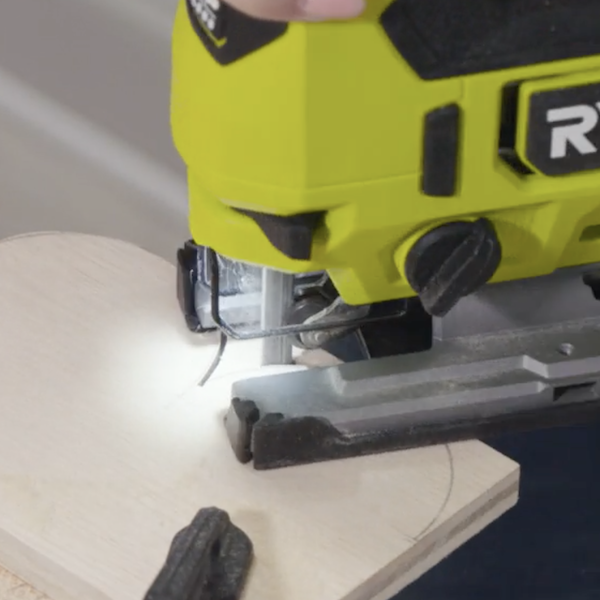
Follow the diagram to create half circles on the trim board for the awning. Cut using a jig saw. Sand edges smooth.
Tools
STEP 5
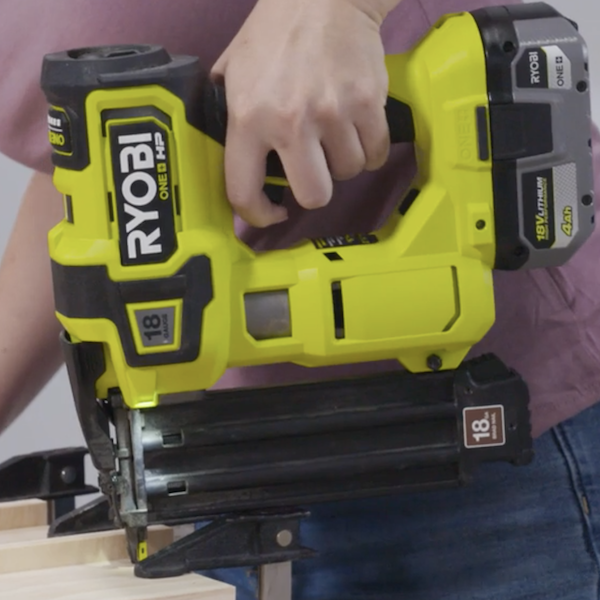
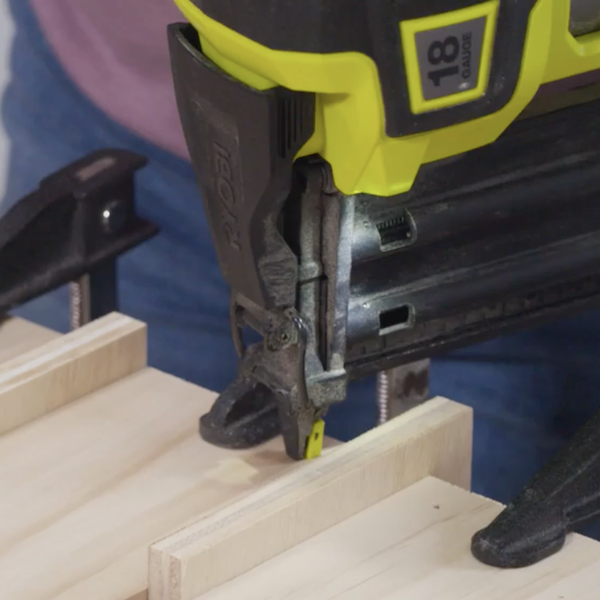
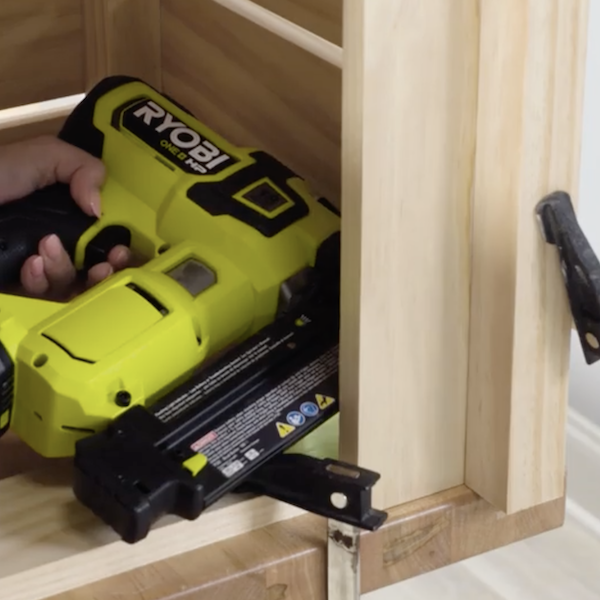
Align (1) 16” side slat to (1) 2” x 2” x 19-1/2” inner support and (1) 19-1/2” back support. Glue and nail together using the 1-1/2” brad nails
Tools
STEP 6
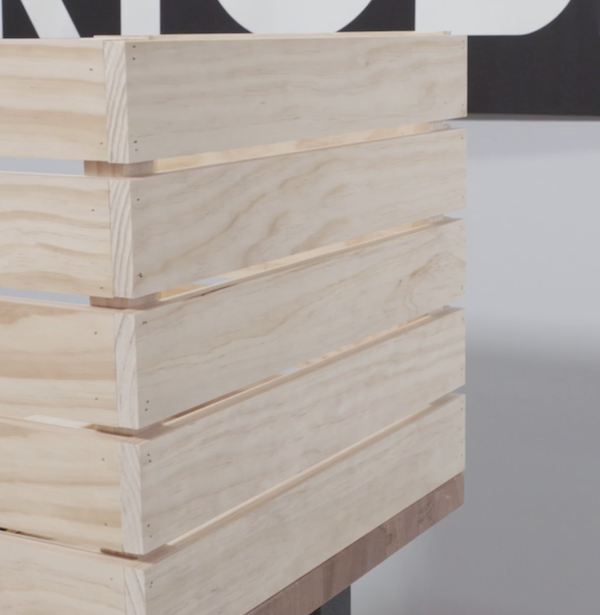
Continue adding side slats to fill the supports. Leave a 1/2” gap in between slats. Repeat Steps 5 & 6 to build a second set.
Tools
STEP 7
Stand both sides up as shown in the diagram. Align a 24” front slat to the front. Attach with glue and 1-1/2” brad nails. Align a 22-1/2” bottom support to the inside of the backside. Glue and nail together.
Tools

STEP 8
Continue adding the front slats to the table base assembly.
Tools
STEP 9
Align the tabletop to the table base. Attach with glue and nail together.
Tools
STEP 10
Align the 48” post to the back of the table assembly. Glue and nail together for the inside of the back support boards.
STEP 11
Measure 24-5/8” from the tabletop and mark on each post. Align the sign panel to the marks. Glue and nail together
Tools

STEP 12
Align the awning to fit on the angled cuts of the awning support boards. Allow the panel to overhang by 1/2”. Attach with glue and brad nails.
Tools
STEP 13
Attach the scalloped board to the front of the awning. It should fit under the 1/2” overhang. Attach with glue and brad nails.
Tools

STEP 14
Align the awning assembly to the posts and sign panel. Attach with glue and brad nails
Tools
STEP 15
Sand as needed and paint as desired.
Tools