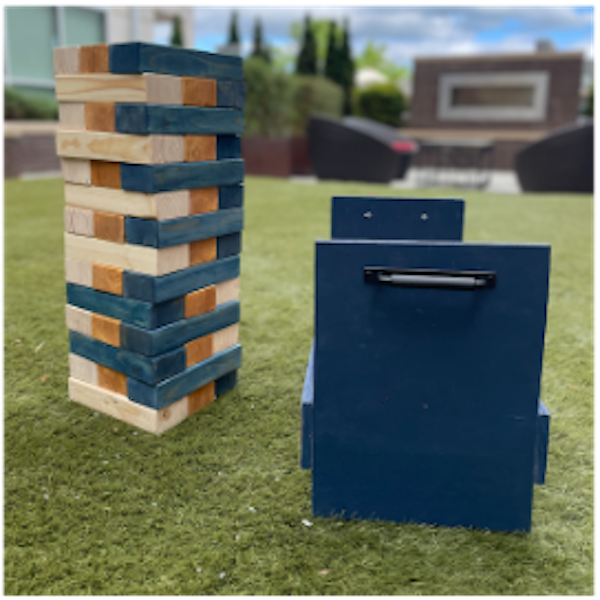
Steps
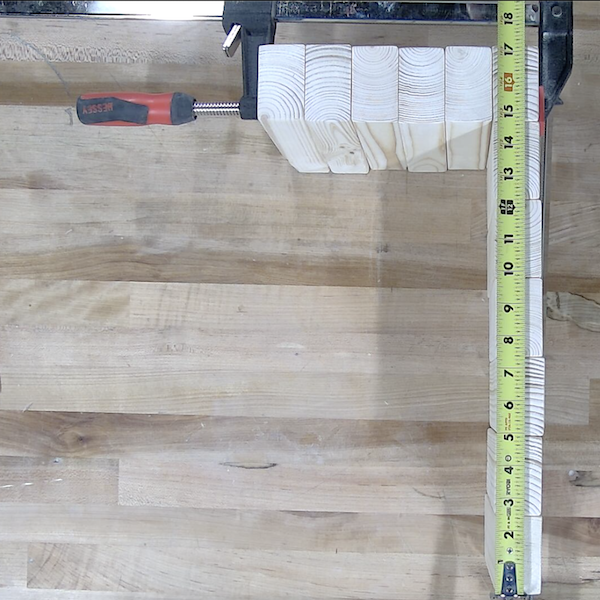
STEP 1
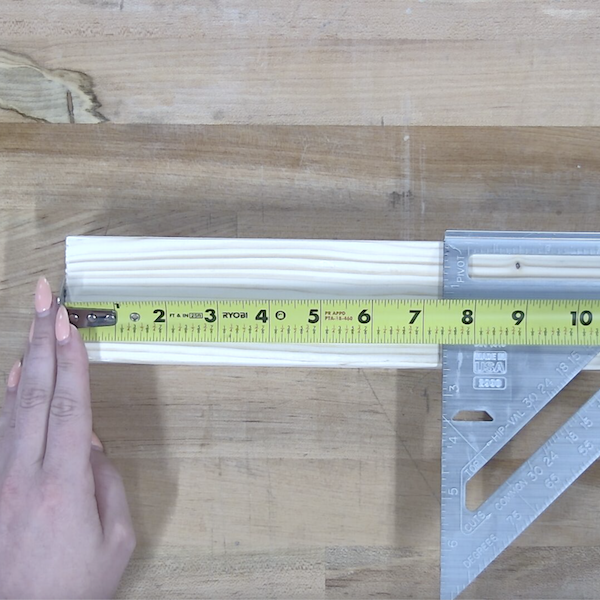
Line up three of the 2"x3" boards next to each other and measure. Use this measurement to mark how long each block will be on these boards, totaling to 42 blocks.
Materials
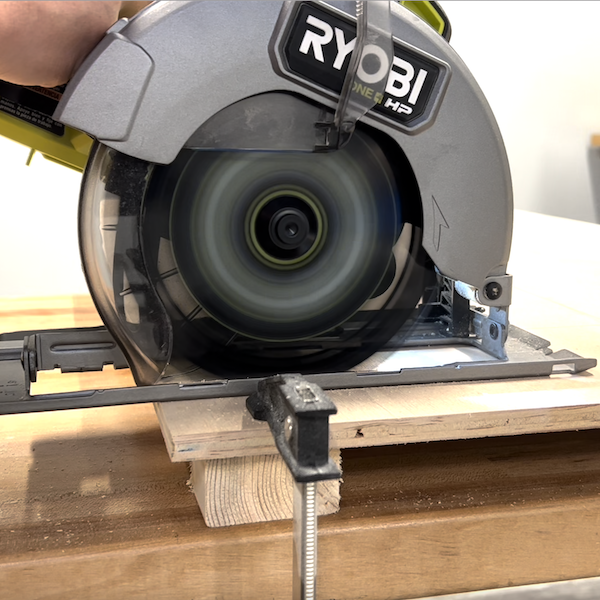
STEP 2
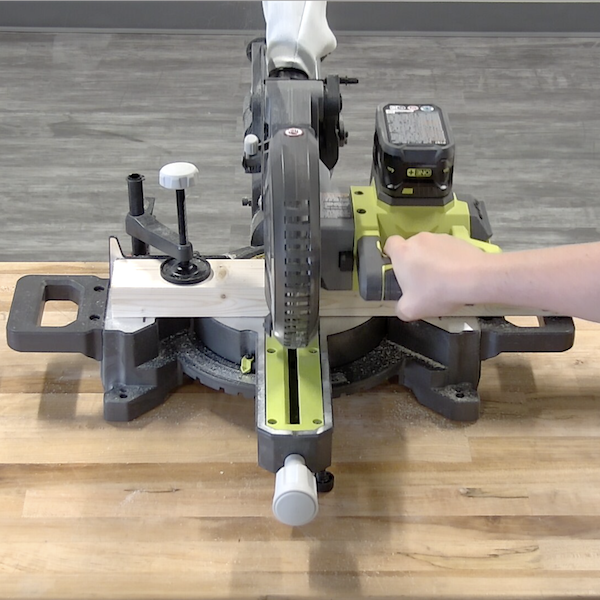
Use the miter saw to cut each of the blocks to size.
Tools
STEP 3
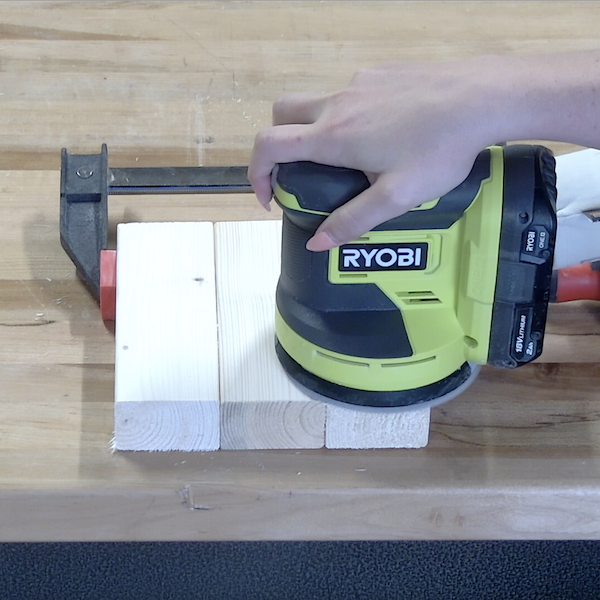
Sand all of the blocks to prepare for painting and to prevent splinters.
Tools
STEP 4
Line up all of the blocks on the table, 6 blocks wide by 7 blocks long. Measure both the width and the length of the blocks for the base of the carrying case.
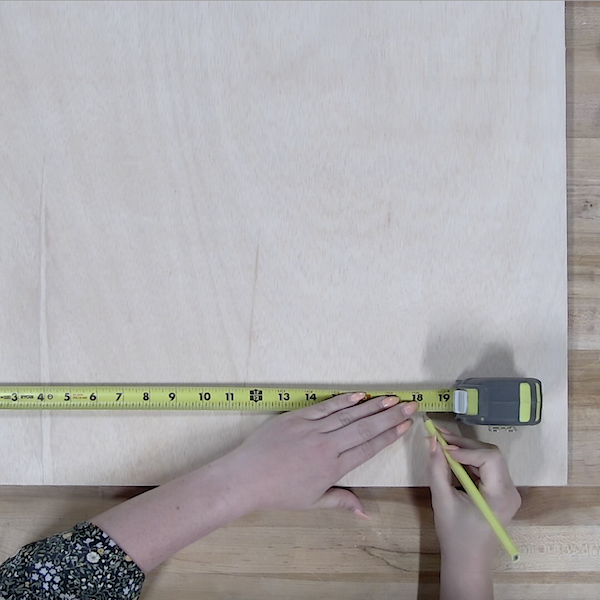
STEP 5
Use the width measurement of 6 blocks for the side pieces, with a height of 12." For the front and back pieces, add 1" to the length of the blocks. For the front and back pieces use the width of 7 blocks and a height of 3-7/8."
STEP 6
Make the cuts on the plywood that were marked in the previous step.
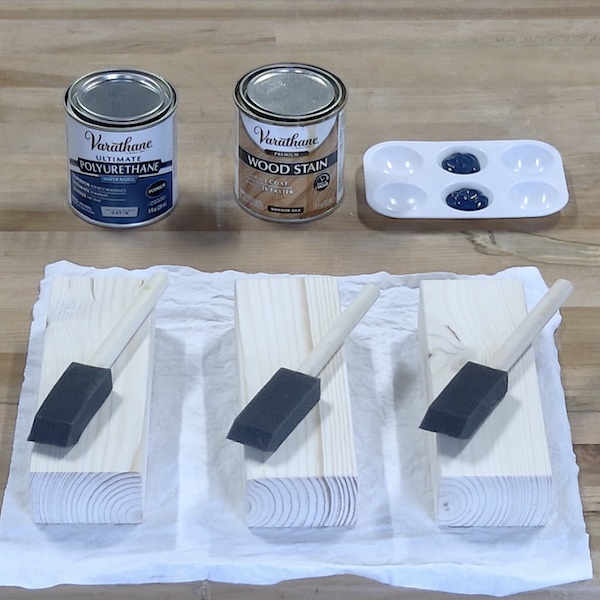
STEP 7
Paint all of the blocks and the pieces of the carrying case as desired. Allow for time to dry.
Materials
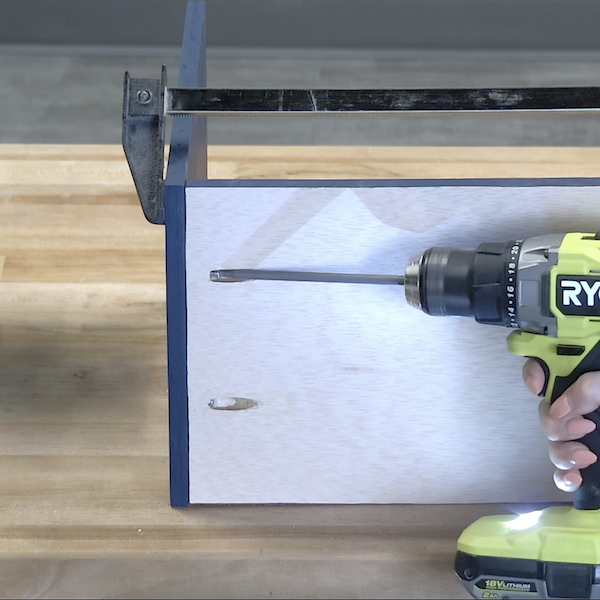
STEP 8
Screw 1/2" pocket holes on the under side of the base piece on both sides.
Tools
Materials

STEP 9
Attach the base to the side pieces using the pocket holes and 1" screws. Nail the front and back pieces onto the carrying case.
Tools
STEP 10
Attach the handle hardware on each side.
Tools
Materials