Steps
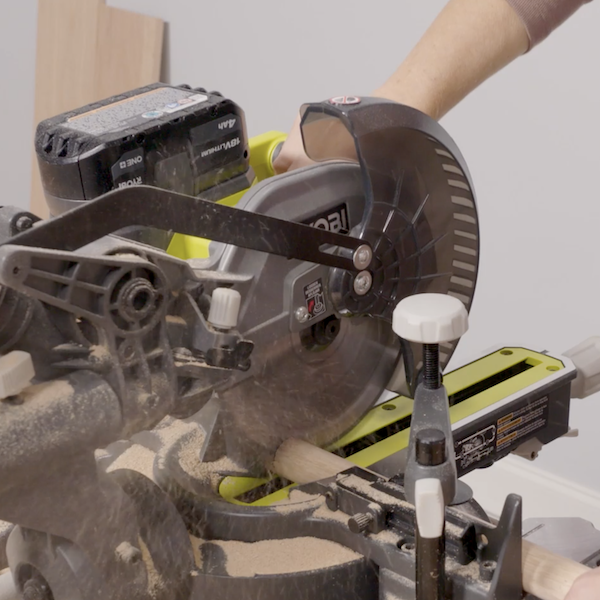
STEP 1
Cut all of the wood to size.
Tools
Miter Saw
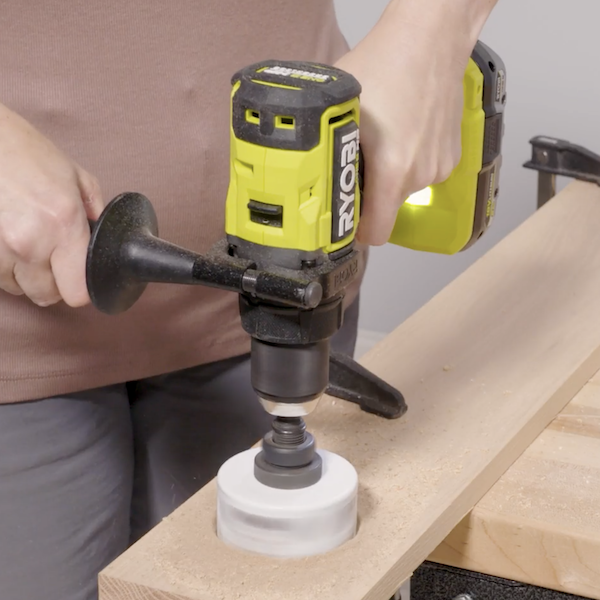
STEP 2
Drill holes on each side of the wood using the 1-1/2" Hole Saw.
Tools
Drill
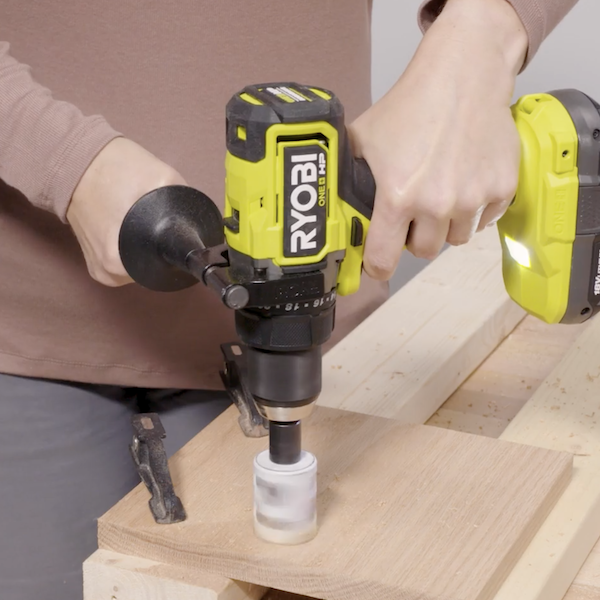
STEP 3
Drill two holes for cupholders using the 3" Hole Saw.
Tools
Drill
Materials
3" Hole Saw
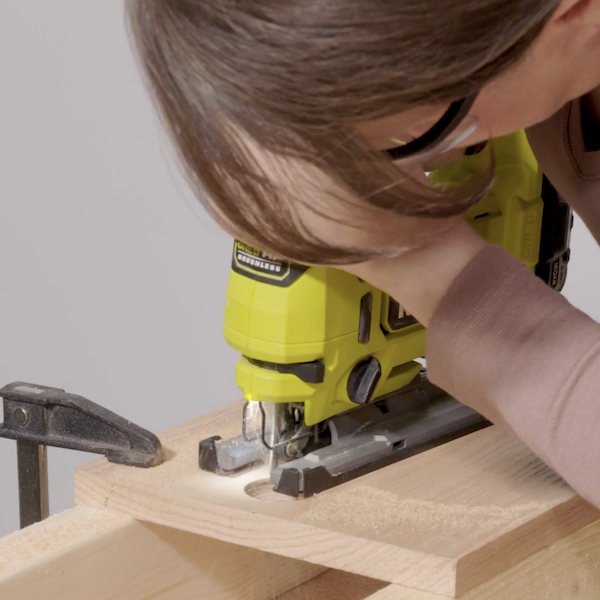
STEP 4
Cut out divets in the wood for the dowel that will hold the paper roll.
Tools
Jigsaw
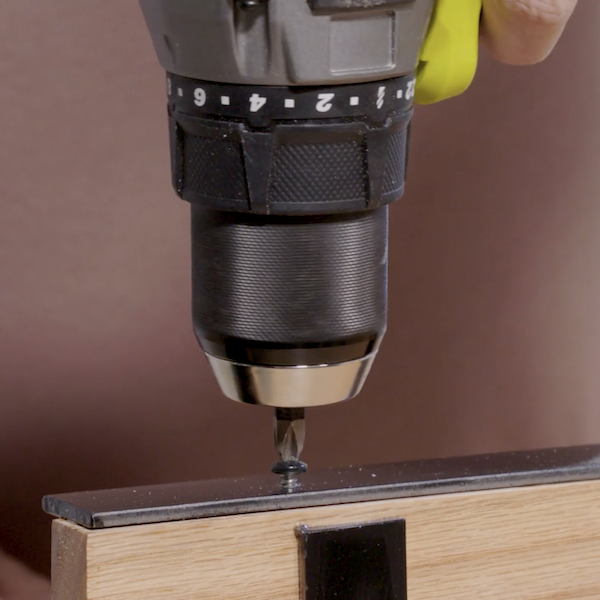
STEP 5
Drill pilot holes in the wood where the pieces will be attached together. Attach the pieces of wood together.
Tools
Drill

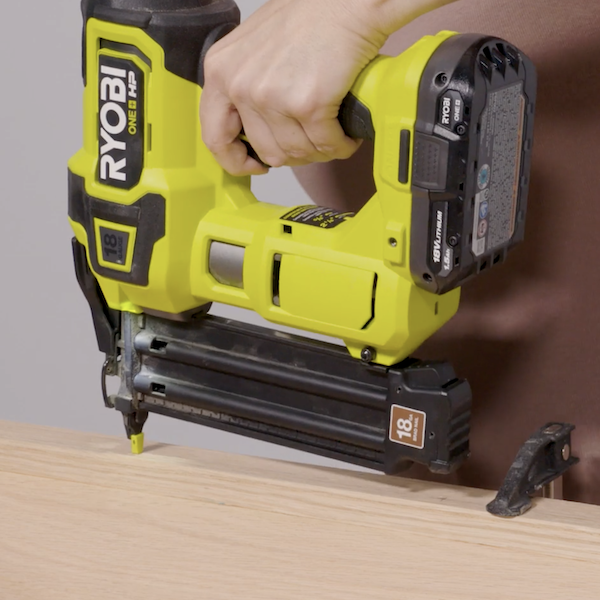
STEP 6
Nail the pieces of wood together for stability.
Tools
Brad Nailer
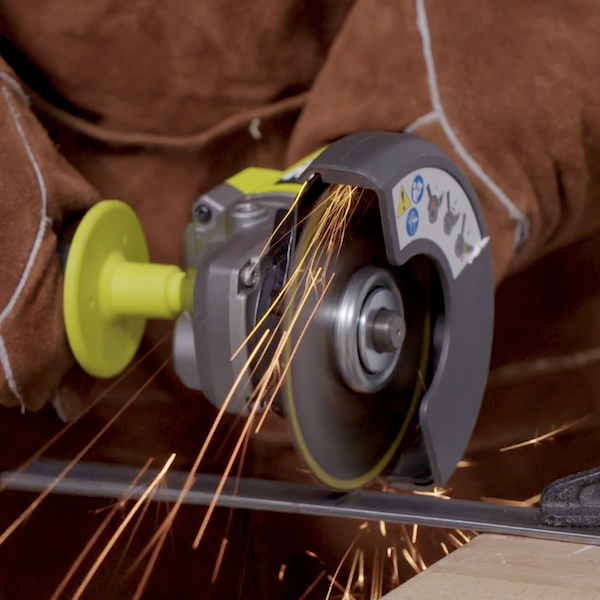
STEP 7
Cut the metal rod to the size of the top piece of the easel.
Tools
Angle Grinder
STEP 8
Attach the metal rod to the back of the top piece of the easel for support. Assemble the easel, attaching a roll of butcher paper, then mount on the desired wall.
Tools
Drill