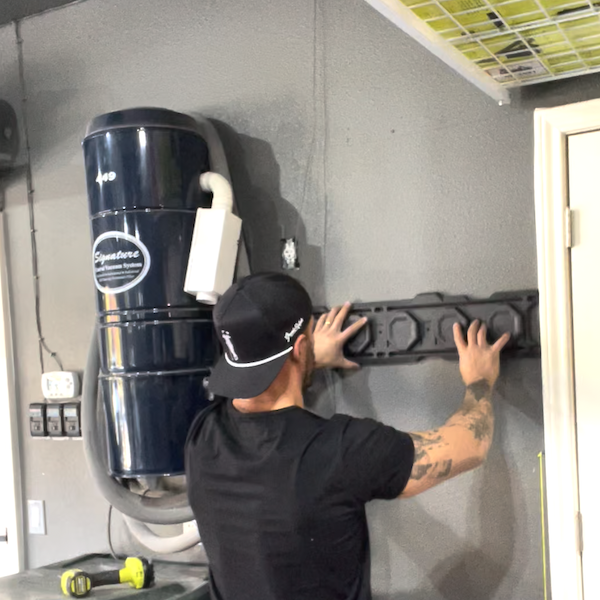
Steps
STEP 1
Locate the spot where the LINK Rail will be hung. Find the studs in the wall using a stud finder and line up the wall rail accordingly.
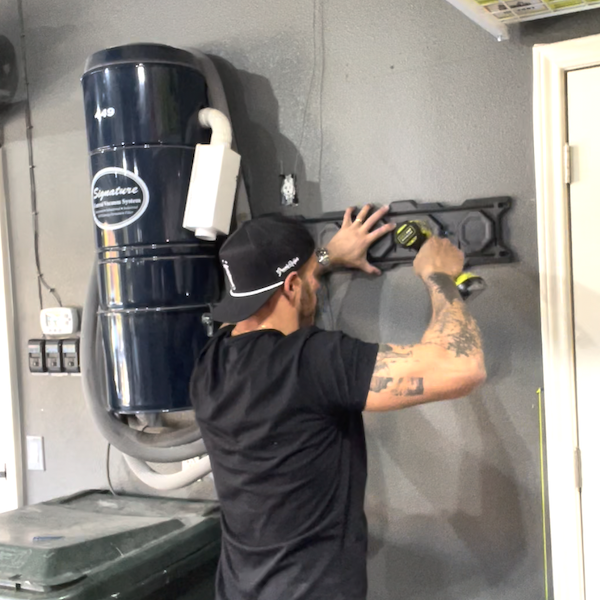
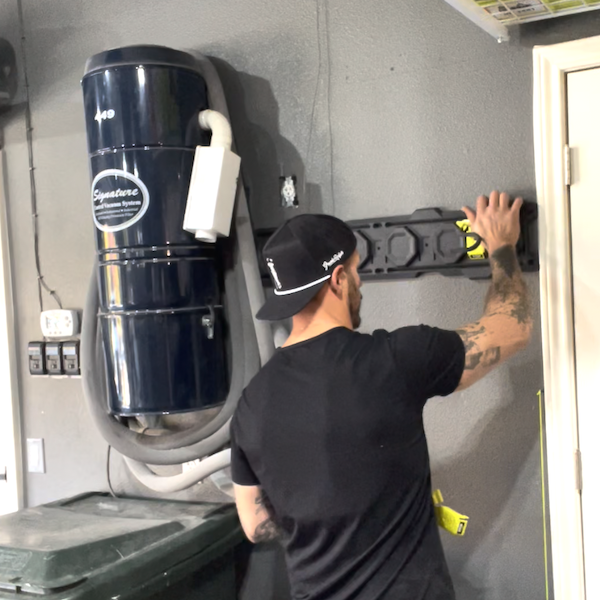
![lining up wall rail](https://2e1293630802db8d0d56-50fcdb1c10e3e49a3d1b0541a2f13b69.ssl.cf1.rackcdn.com/projects/steps/a05e369cb7514fa3862ac5c1c1b6fd50.png)
STEP 2
Use a level to make sure the rail is hung properly. Use a drill to secure one side of the rail, then adjust the other side accordingly.
![drilling in the wall rail](https://2e1293630802db8d0d56-50fcdb1c10e3e49a3d1b0541a2f13b69.ssl.cf1.rackcdn.com/projects/steps/c12f79a9bfc34d89af40469ed7cfcaa2.png)
STEP 3
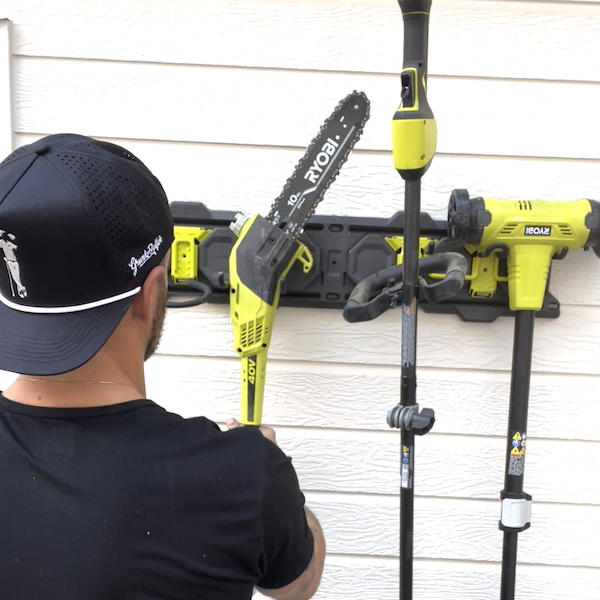
Place hooks or other rail accessories as desired, then hang up objects.
![hanging up tools](https://2e1293630802db8d0d56-50fcdb1c10e3e49a3d1b0541a2f13b69.ssl.cf1.rackcdn.com/projects/steps/fef27e7f79574c88b67235d3b0a0bab3.png)
STEP 4
Repeat this process as desired to fit your organization or storage needs.
![](https://2e1293630802db8d0d56-50fcdb1c10e3e49a3d1b0541a2f13b69.ssl.cf1.rackcdn.com/projects/steps/6c07c30c383240f686e78e6d01833dba.png)