Steps
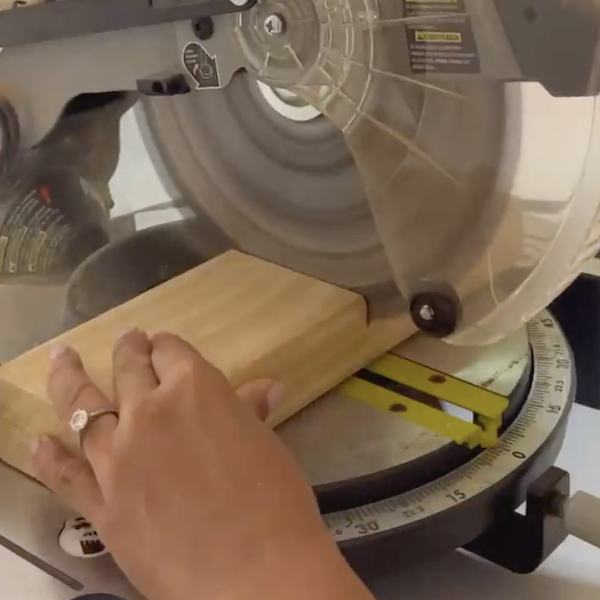
STEP 1
Cut wood to desired height for the homes, varying the sizes.
Tools
Miter Saw
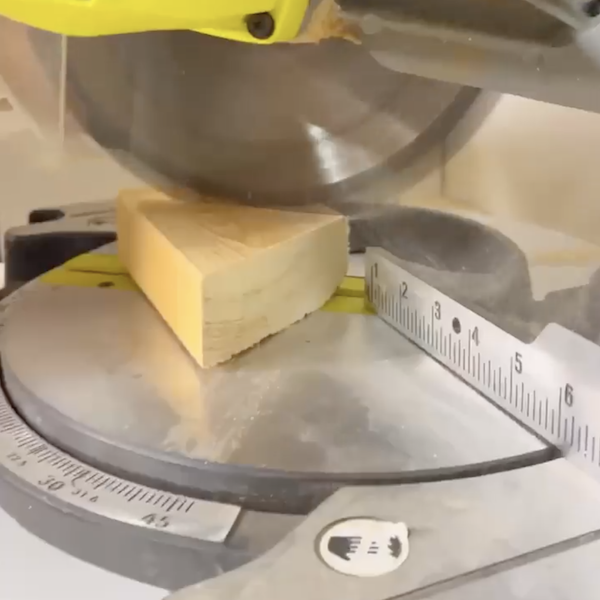
STEP 2
Adjust the miter saw to a 45° angle. Cut the tops for the houses by cutting 45° angles on each side of the wood to create a triangle. Cut mini pieces of wood to serve as chimney pieces.
Tools
Miter Saw
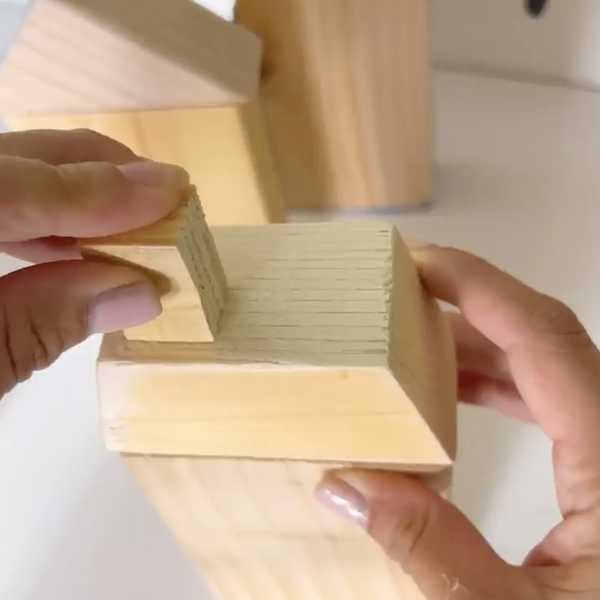
STEP 3
Use hot glue to glue the roofs to each of the house bases.
Tools
Glue Gun
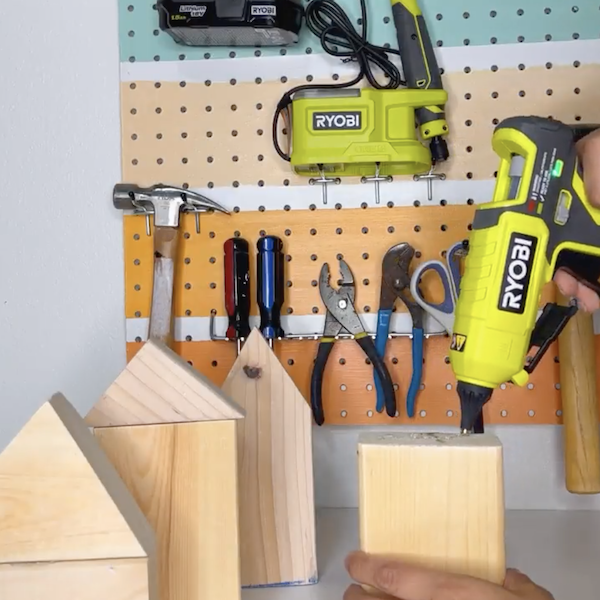
STEP 4
Hot glue the chimney pieces to the left side of the houses.
Tools
Glue Gun
STEP 5
Sand the houses to prepare for painting.
Tools
Rotary Tool

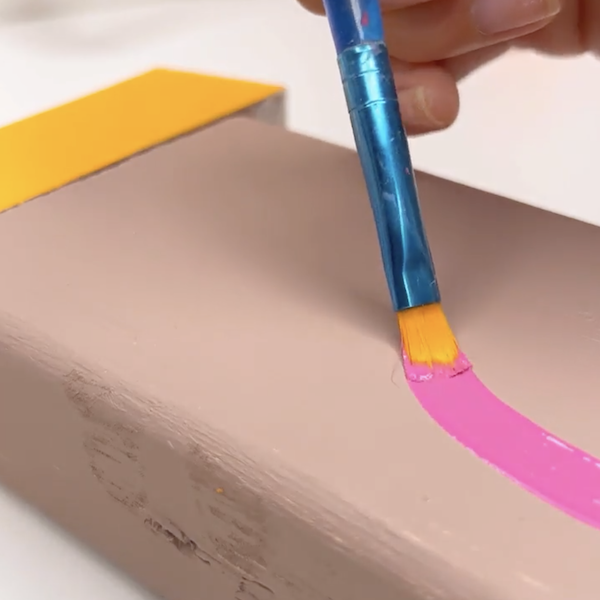
STEP 6
Paint each of the houses as desired.