Steps
STEP 1
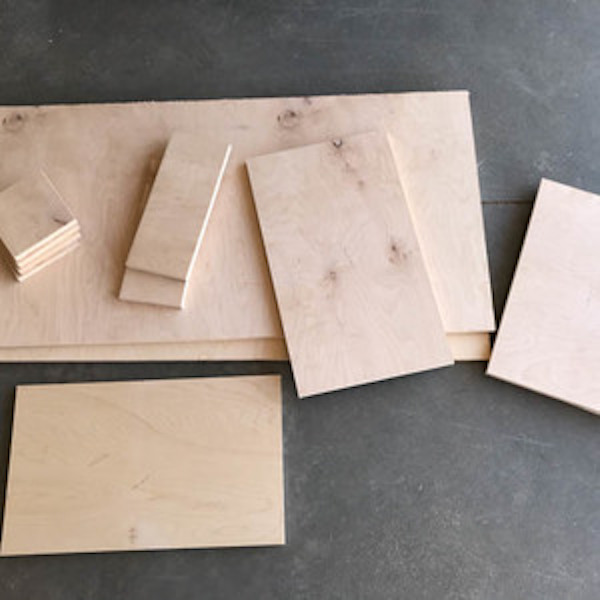
Cut all of your pieces to size, per the printable plans.
Tools
STEP 2
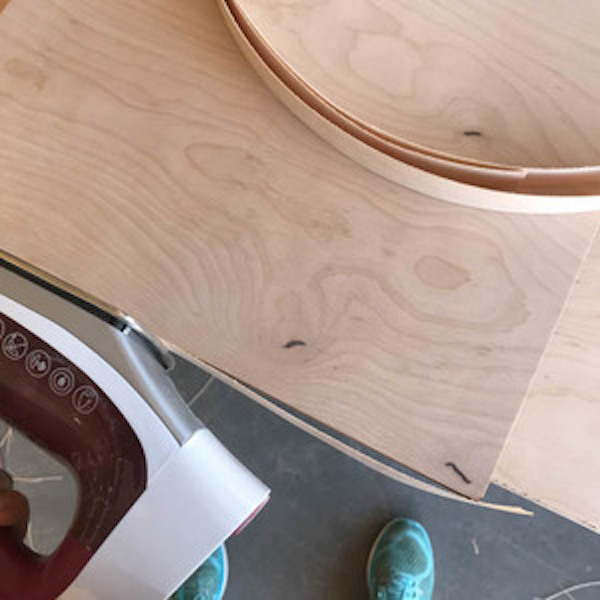
Using an iron, apply veneer banding to all edges of the coffee table top, bottom, and feet. Trim the veneer banding with a trimming tool or razor knife. Sand all of the pieces smooth.
STEP 3
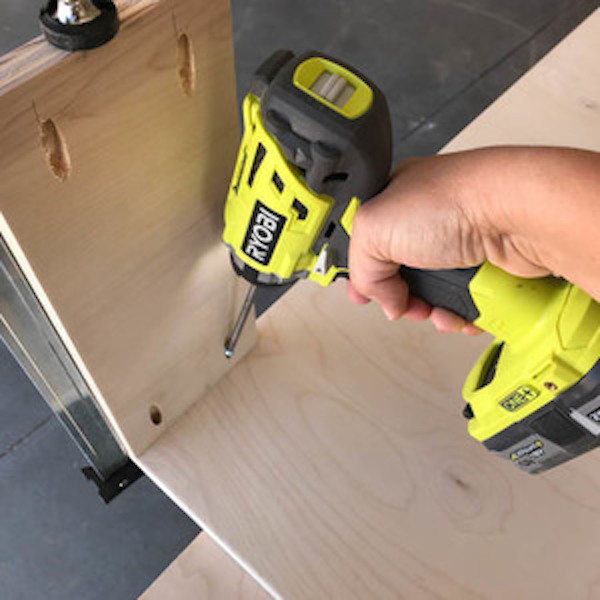
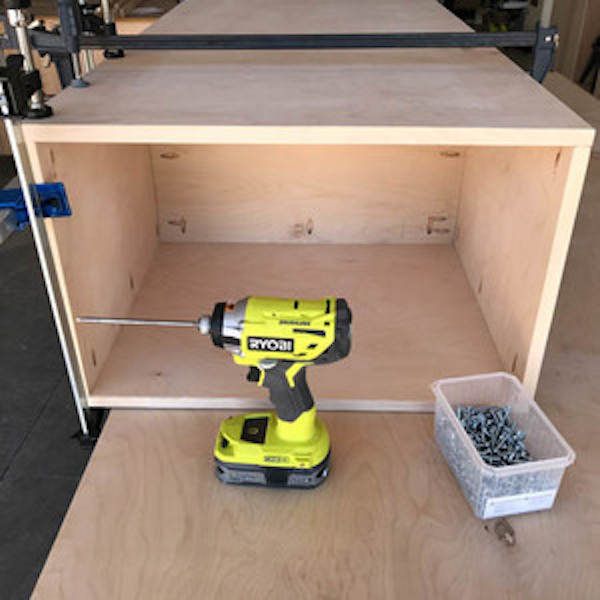
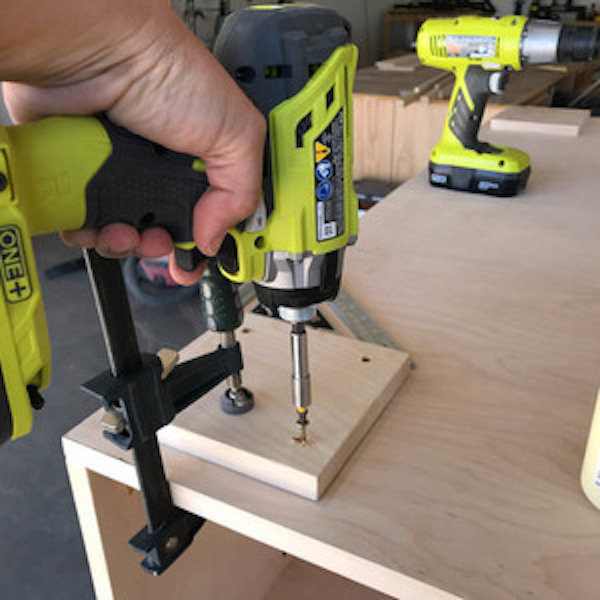
Drill 3/4” pocket holes into the upper and lower edges of the legs and side panels. Using wood glue and 1 1/4” pocket screws, attach the legs and side panels to the coffee table bottom.
Tools
STEP 4
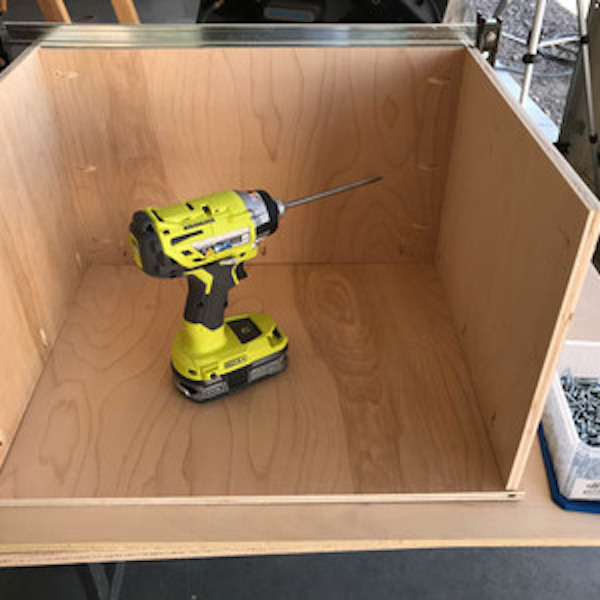
Using wood glue and 1 1/4” pocket screws attach the coffee table top to the legs and side panels, carefully clamping it into place and ensuring the panels and legs are square. Drill 3/4” pocket holes into all four edges of the rear panel.
Tools
STEP 4.1
Install flush with the edges of the side panels and clamp into place. Secure in place with 1 1/4” pocket screws.
Tools

STEP 5
Measure and mark 1” in from the corners of the coffee table bottom. Apply wood glue to the feet and set in place so that they are 1” in from each corner edge. Nail in place with 1 1/4” brad nails.
Tools
STEP 6
To build the drawer, drill 1/2” pocket holes into the bottom and front edges of the drawer sides as well as the bottom and side edges of the drawer back. Also drill 1/2” pocket holes into the front edge of the drawer bottom.
Tools

STEP 6.1
Using wood glue and 1” pocket screws, attach the drawer sides to the drawer back. Apply a bead of glue to the edges of the drawer sides and back, then line up the drawer bottom. Clamp in place and attach with 1” pocket screws.
Tools
STEP 7
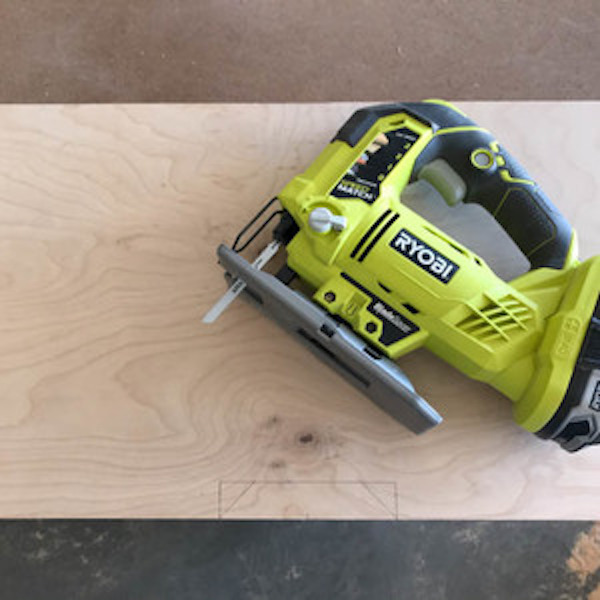
Measure and mark the notch for the drawer front, per the printable plans. Cut the notch out with a jigsaw.
Tools
STEP 8
Using wood glue and 1” pocket screws, attach the drawer front to the rest of the drawer box.
Tools
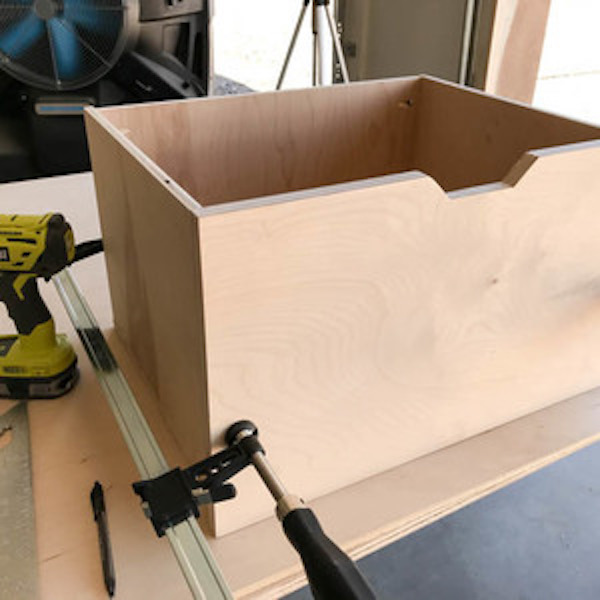
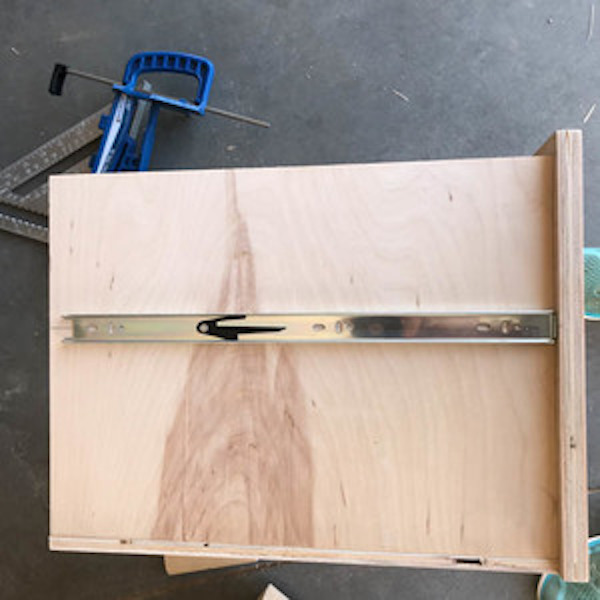
STEP 9
Attach drawer slides so that the drawer fits flush inside the coffee table with a 1/8” gap around all sides.
Tools
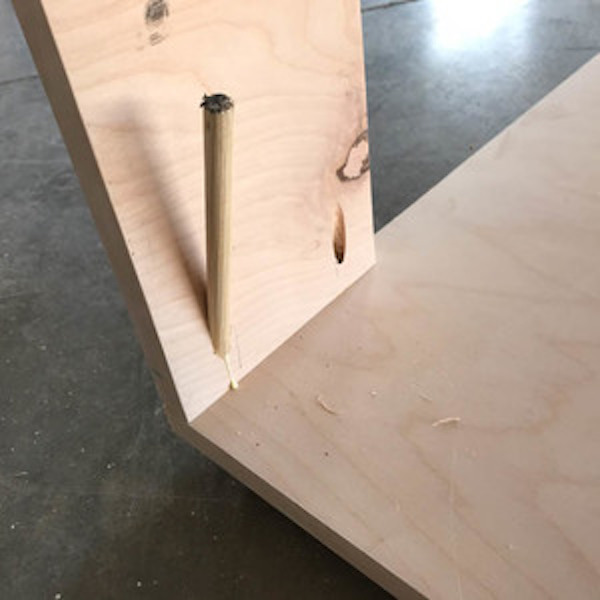
STEP 10
Use 3/8" dowels or wood filler to fill the pocket holes in the legs of the coffee table. Saw off with a hand saw and sand smooth. Finish coffee table with paint or stain.