Steps
STEP 1
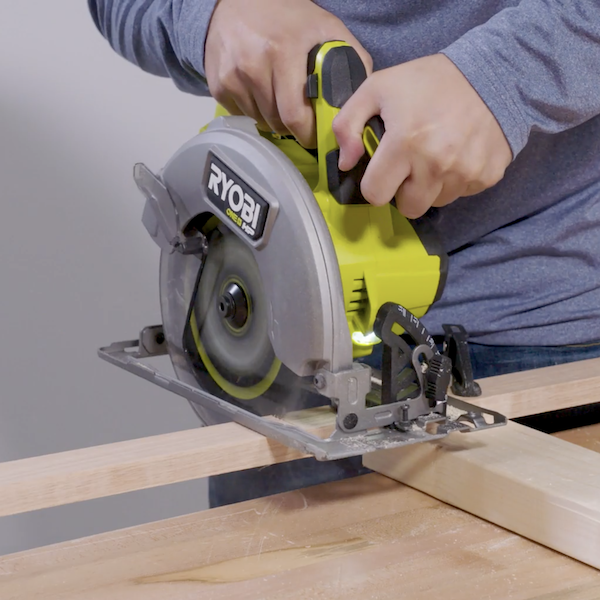
Cut out all material using the Lumber & Sheet Cut Layout Guide.
Tools
Circular Saw
STEP 2
Start by drawing a center line down the 1” x 2” x 18” oak board. Then place marks at 1-1/2” from each end. From there, place marks every 3”.
Tools
Drill Press
STEP 3
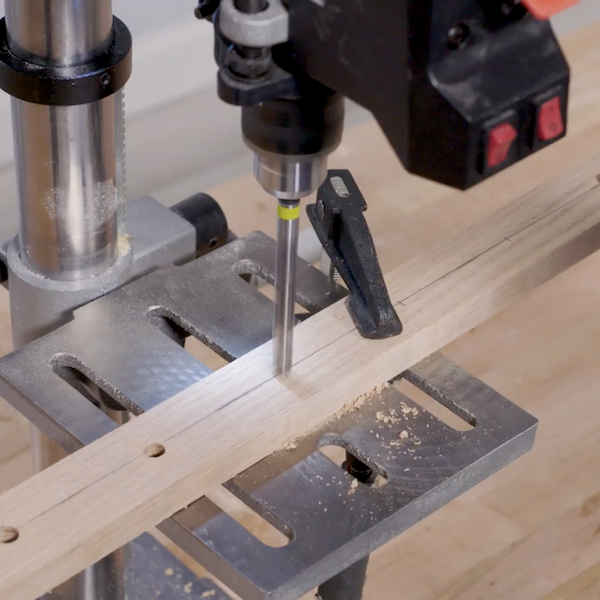
Use a drill press and a 3/8” forstner bit to drill holes through each mark. This piece will be the drill guide.
Tools
Drill Press
STEP 4
Mark a line 1-1/2” down from both the top and bottom of the 18” x 30” board. Then mark lines every 3” throughout the rest of the board.
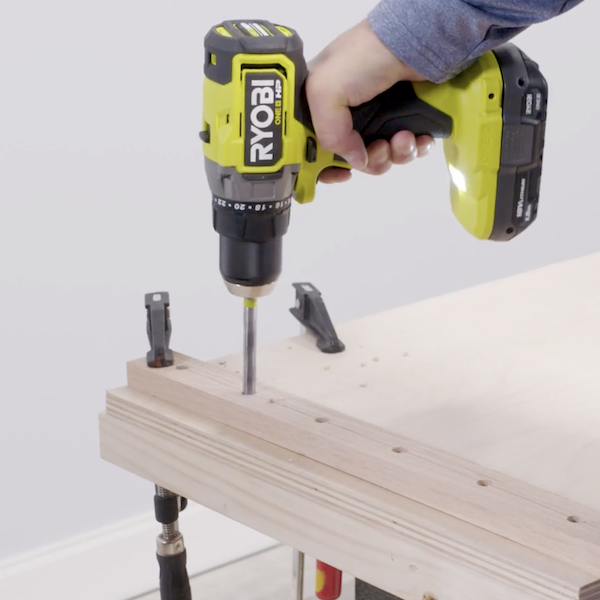
STEP 5
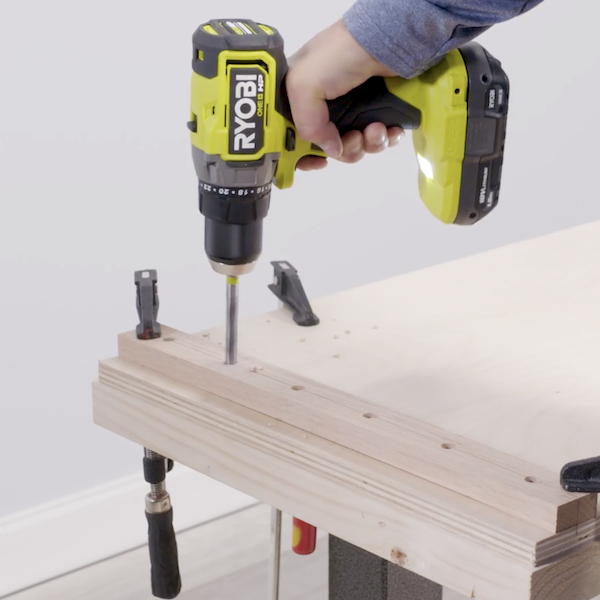
Align the drill guide with the lines on the 18” x 30” board. Clamp together to prevent movement. Drill through the guide holes and into the bottom board
Tools
Drilling holes
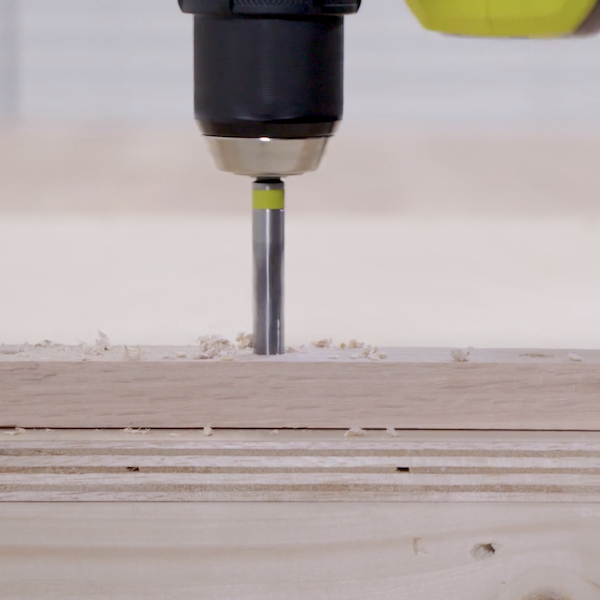
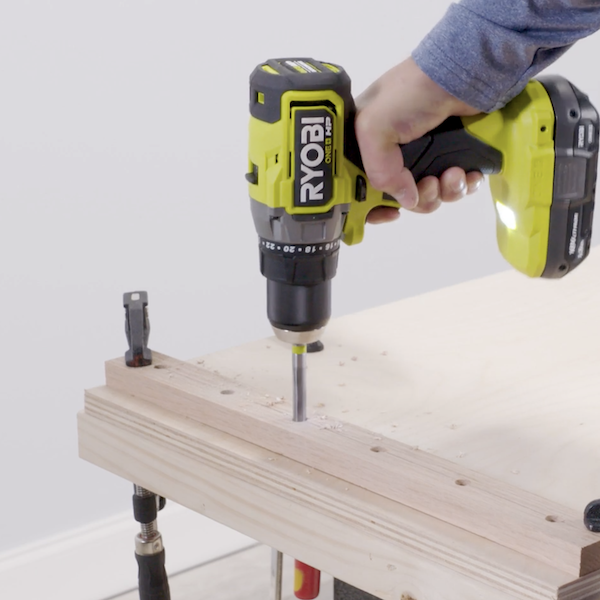
STEP 6
Repeat until all holes in the board have been drilled
Tools
Drill
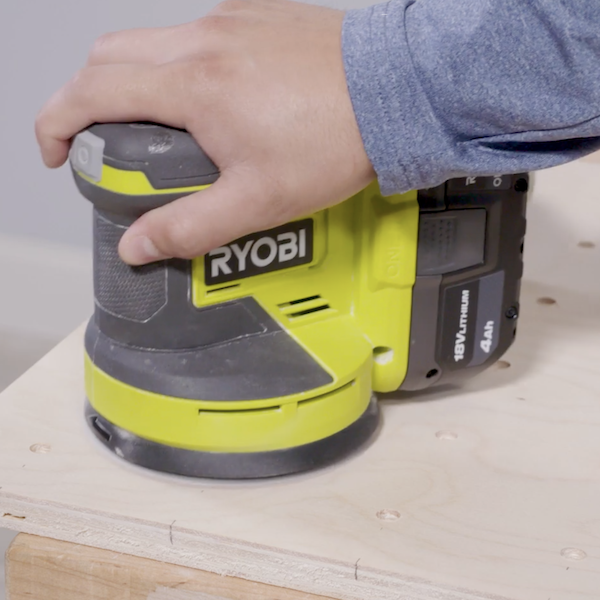
STEP 7
Sand and finish to your desire.
Tools
Sander
STEP 8
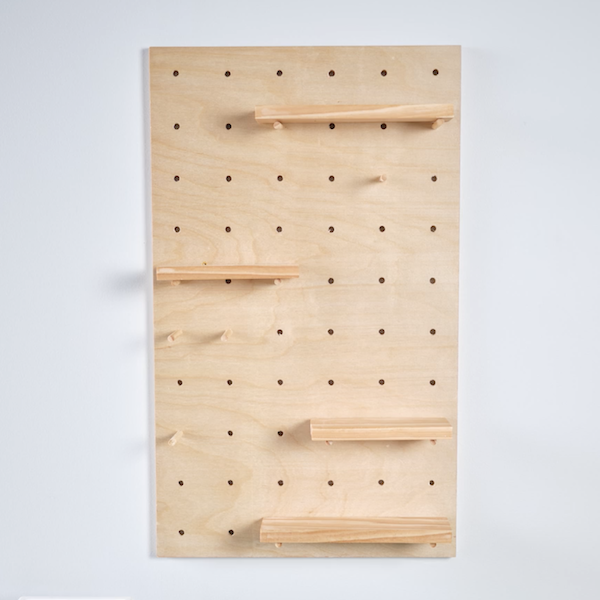
Place pegs and shelves into the board.