Steps
STEP 1
Cut out all material using the Lumber & Sheet Cut Layout Guide.
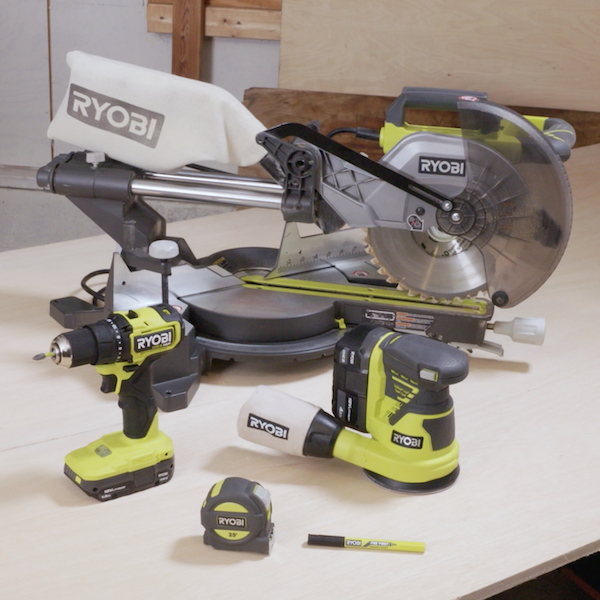
Tools
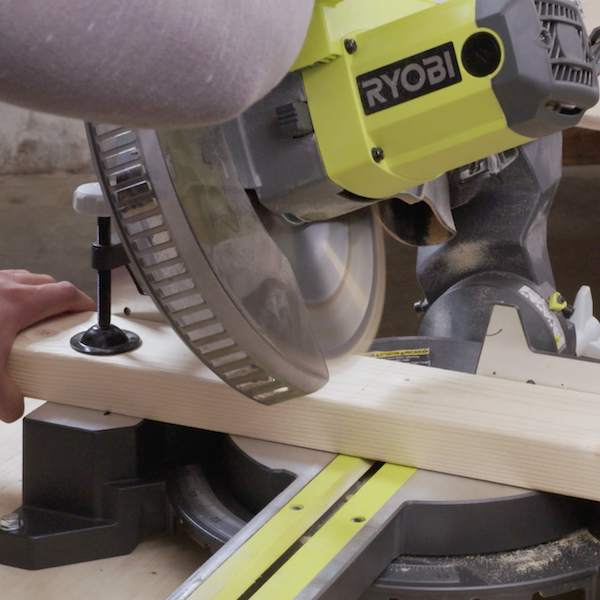
STEP 2
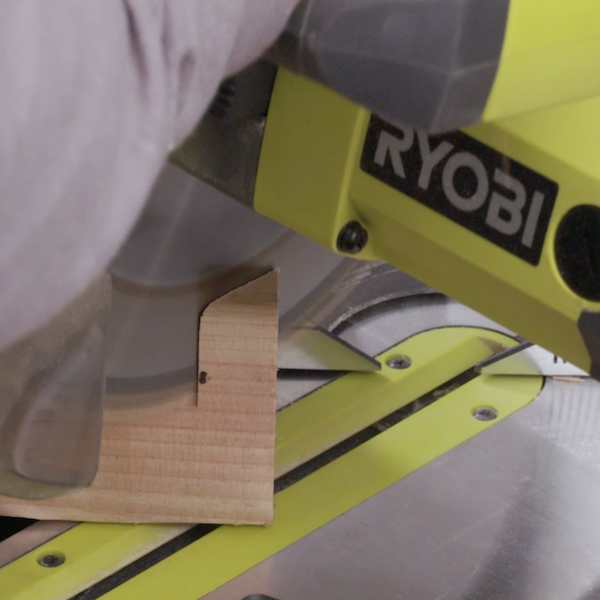
The cross bracing boards are all measured from the long dimensions and then cut with the Miter Saw. Use the Miter Saw and make a cut at 66.3° on both ends of the 38-7/8” boards. Cut the angles so they are running parallel to each other.
Tools

STEP 2.1
On the 19-1/8” short cross bracing board, cut a 66.3° angle on (1) end and a 47.4° angle on the opposite end. Make cuts so they are opposing each other.
Tools
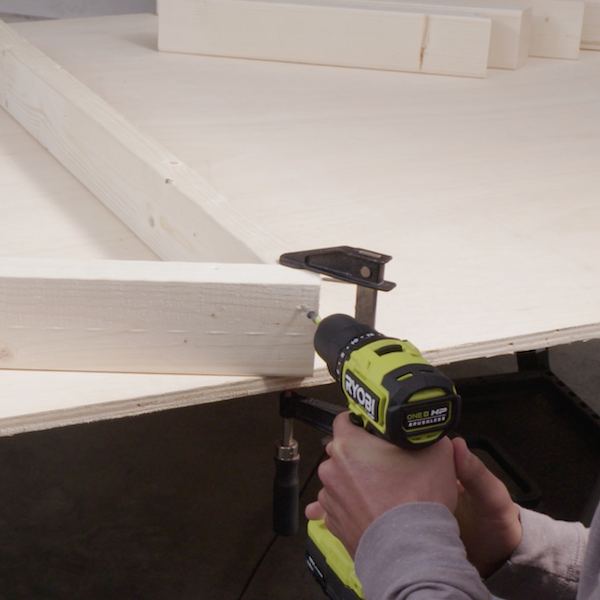
STEP 3
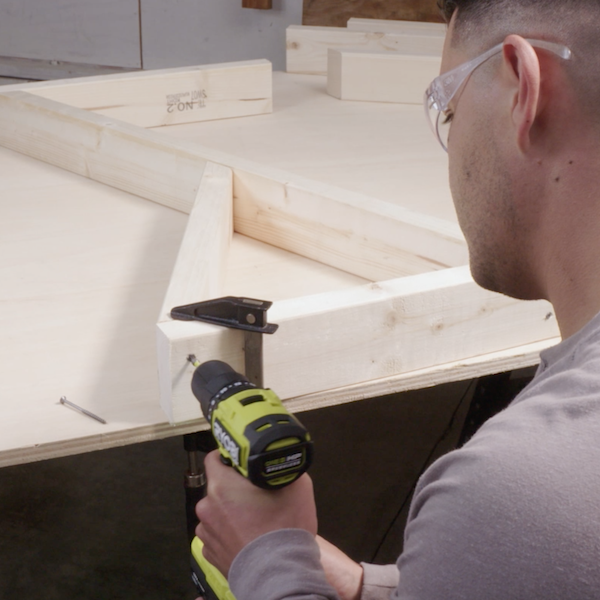
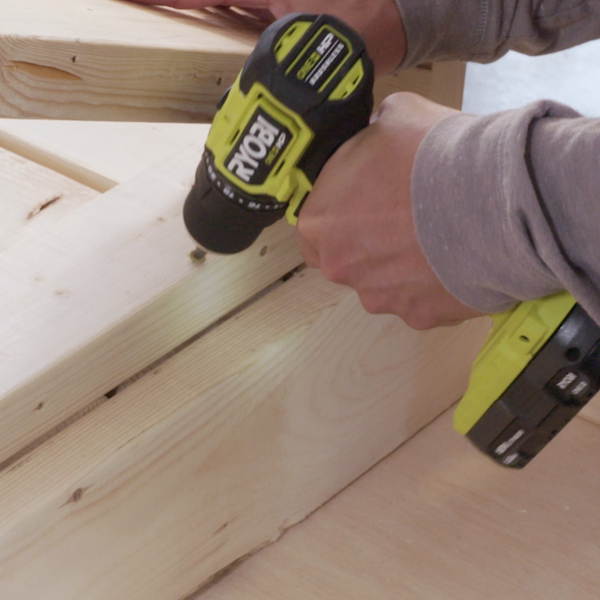
Attach (1) 18-1/2” support arm to a 38-7/8” long cross brace. Align the angle cut with (1) end of the cross brace board. Attach using 2-1/2” wood screws.
Tools
STEP 4
Attach (1) 18-1/2” arm support to the other end of the cross bracing. Leave 1-1/2” edge and attach with 2-1/2” wood screws
Tools

STEP 5
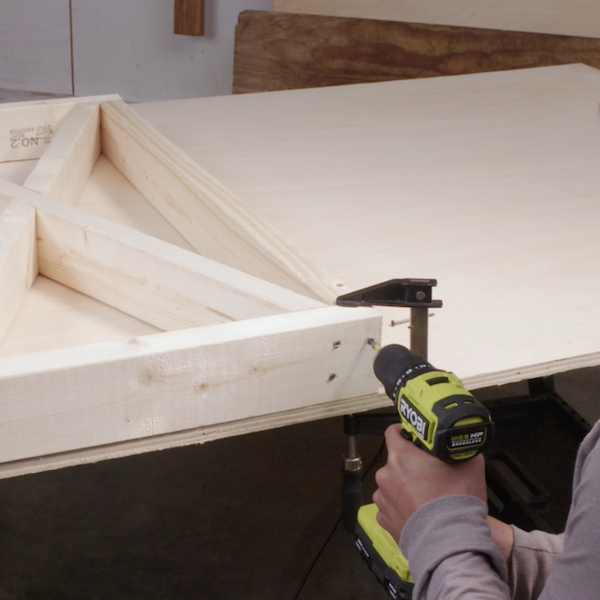
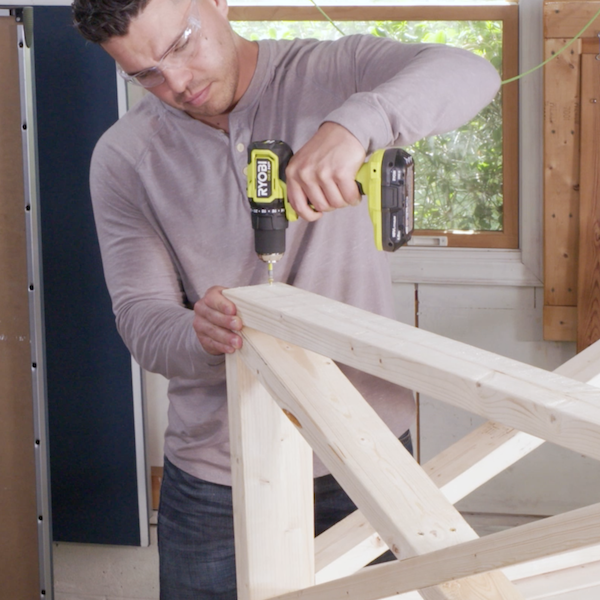
Add the 19-1/8” short crossing brace to the assembly. Make sure the lower brace is also offset 1-1/2” from the bottom edge. The upper brace should be even with the top edge of the arm support. Repeat to build all (6) of the arm assemblies.
Tools
STEP 6
Take (2) of the arm assemblies and attach a 35” stretcher to the bottom. It should fit snug in the 1-1/2” offset. Attach with 3” wood screws. Set aside for back rest.
Tools
STEP 7
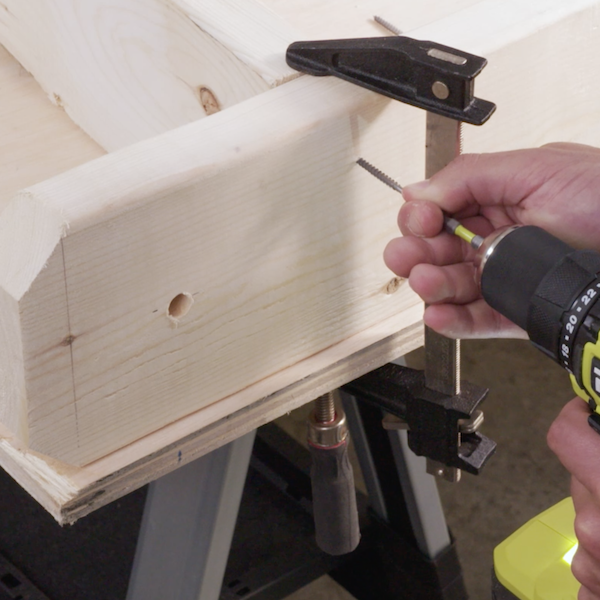
Take (2) 96” long rails and measure 1” from each corner. Set the Miter Saw to 45° and cut off each corner. Measure 3-1/4” from each end and mark a drill point. Drill a 1/2" hole at that point in each board.
Tools

STEP 8
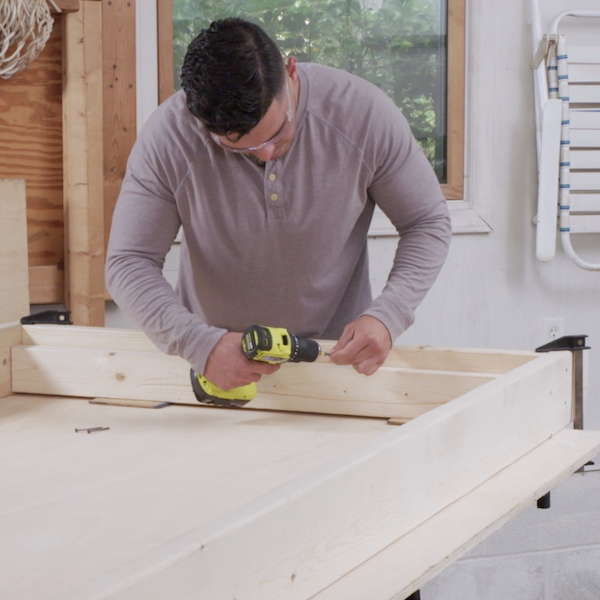
Measure 6-1/2” from the end of each of the 96” long rails and mark a line. Attach the 41-1/2” short rails using 3” wood screws.
Tools
STEP 9
Add the (2) 2” x 4” outer slats next to the inside of both 41-1/2 short rails. Offset the slats 1-1/2” below the top edge of the rails. This will leave a 1/2" gap on the bottom. Attach on the ends with 3” wood screws and use 2-1/2” screws on the inside.
Tools
STEP 9.1
Add the remaining (3) slats to the rail frame. Space the slats 18-1/8” apart and equal distance (EQ) from each other.
Tools

STEP 10
Add the 80” seat boards into the top offset of the rail frame. Leave a 1/2” gap in between each board. Attach with 3” wood screws.
Tools

STEP 11
Add the remaining (2) 35” stretchers to each end of the assembly. Leave a 1-1/2” space on the front edge of the short rail and seat board. Align the side of the stretcher with the side of the rail. Attach from the top using 3” wood screws.
Tools
STEP 12
Set the (2) arm assemblies without the stretchers onto the seat assembly. Attach at the base with 3” wood screws on both ends.
Tools
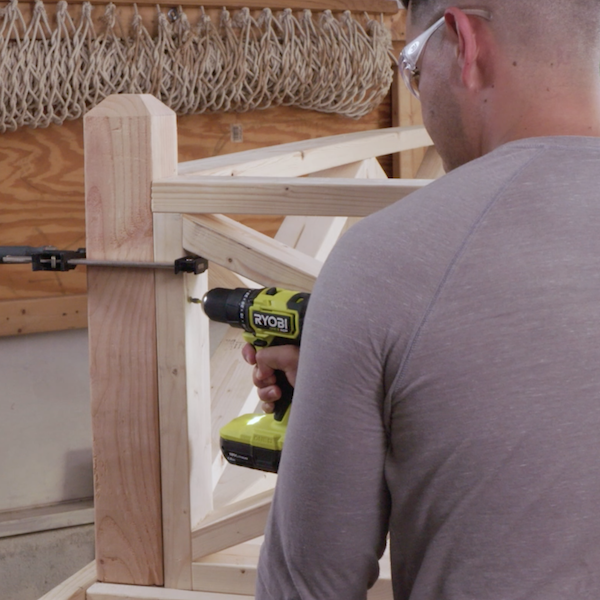
STEP 13
Attach the 38” arms to the top of the arm assemblies using 3” wood screws.
Tools
STEP 14
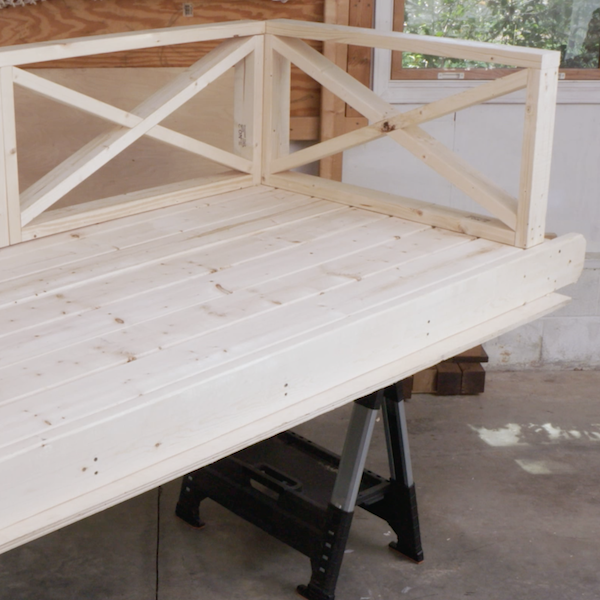
Align (1) of the back rests to the inside edge of the arm assemblies and back edge of the last seat board. Using 2-1/2” screws, attach the back rest to the seat boards through the stretcher under the cross bracing.
Tools
STEP 15
Repeat Step 14 and attach the 2nd back rest.
Tools

STEP 16
Align the 76” top rail to the back rest. Attach using 3” wood screws. Flip the bench assembly over and add 3” wood screws through the back seat board into the stretchers on the back rest.
Tools

STEP 16.1
On (1) end of each post, mark a 1” line around the 4” x 4” posts. Using a Miter Saw, cut a 45° angle on all (4) sides. Align the 4” x 4” posts to the back corners of the bench. Attach post with 3” wood screws.
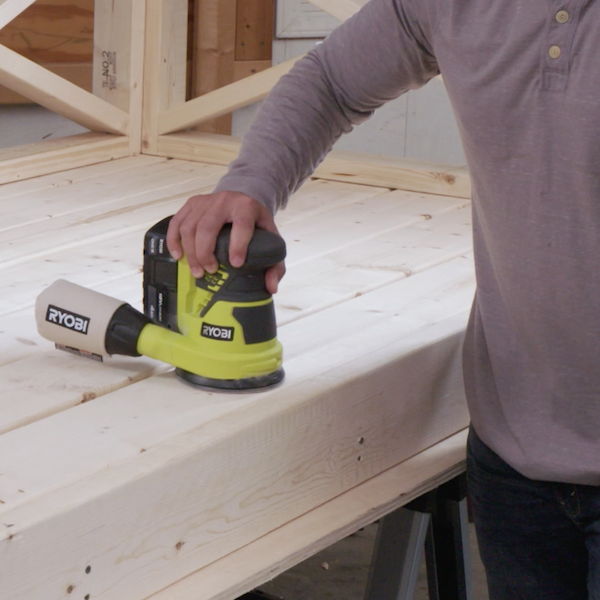
STEP 17
Sand any sharp edges and finish to your desire. Insert eye bolts through holes on the rails.
Tools
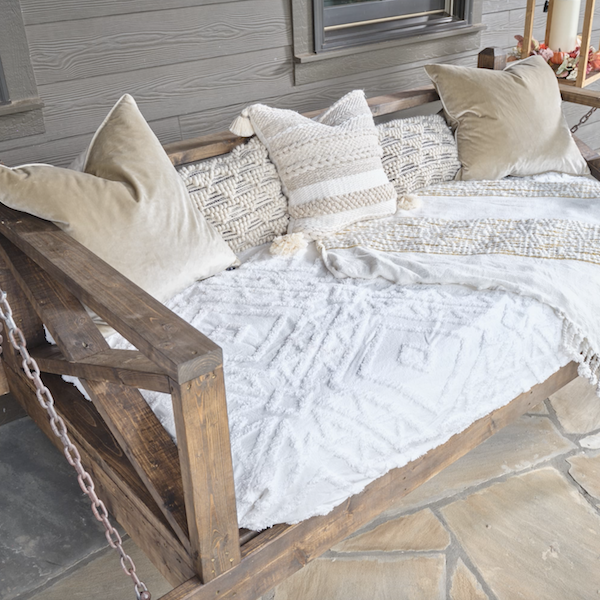
STEP 17
A standard twin mattress will fit the porch bench. Use heavy duty rope to hang bench where you desire.