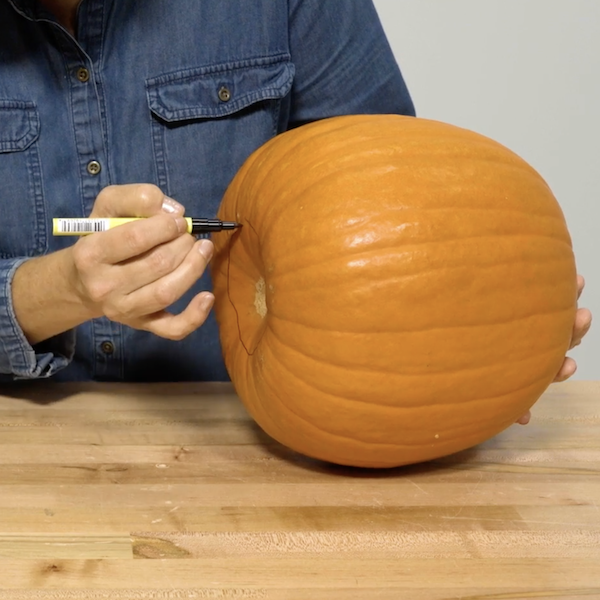
Steps
STEP 1
Use a marker to trace a circle on the bottom of the pumpkin for the tea light.
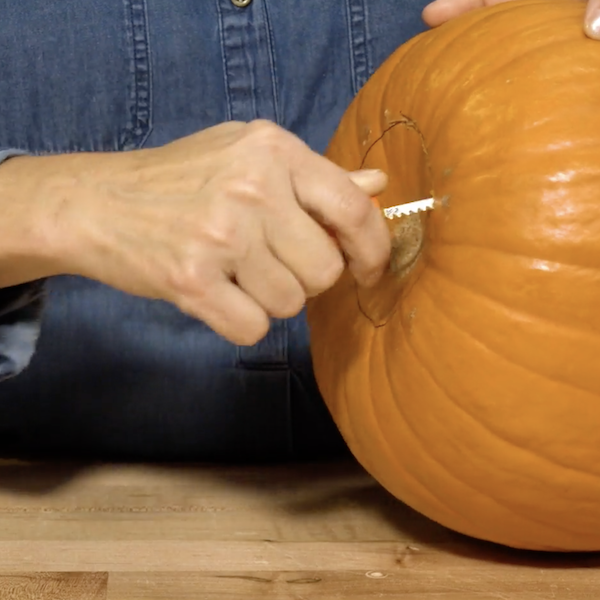
![tracing a circle on the bottom of the pumpkin](https://2e1293630802db8d0d56-50fcdb1c10e3e49a3d1b0541a2f13b69.ssl.cf1.rackcdn.com/projects/steps/dfe285e5793c4c8eb36934f118da2989.png)
STEP 2
Cut out the circle on the bottom of the pumpkin.
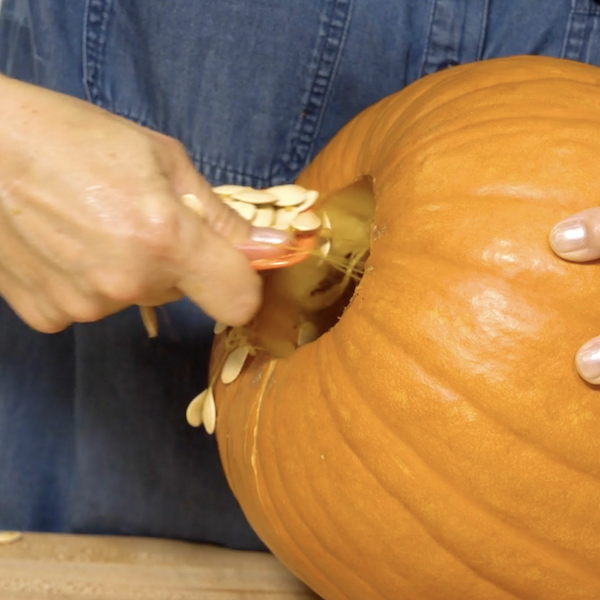
![Cutting the bottom of the pumpkin out](https://2e1293630802db8d0d56-50fcdb1c10e3e49a3d1b0541a2f13b69.ssl.cf1.rackcdn.com/projects/steps/2e1bb51445144055ac3b26807d03c20f.png)
STEP 3
Scoop and clean out the insides of the pumpkin.
![Cleaning out the insides of the pumpkin](https://2e1293630802db8d0d56-50fcdb1c10e3e49a3d1b0541a2f13b69.ssl.cf1.rackcdn.com/projects/steps/1d41b71aa7e44b6cb3eee0593aaa6e51.png)
STEP 4
Imprint the template onto the pumpkin using a hand tool to mark dots on the template.
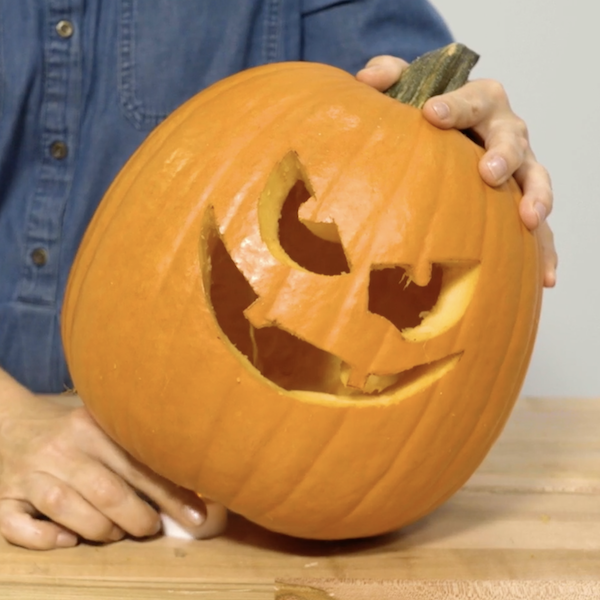
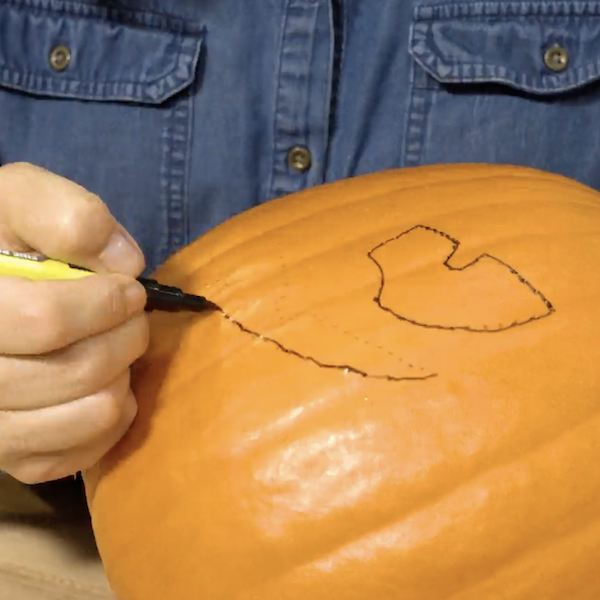
![Applying template to pumpkin](https://2e1293630802db8d0d56-50fcdb1c10e3e49a3d1b0541a2f13b69.ssl.cf1.rackcdn.com/projects/steps/27b39c6867fd40e49e070ef771ce29c0.png)
STEP 5
Connect all of the dots using a marker.
![](https://2e1293630802db8d0d56-50fcdb1c10e3e49a3d1b0541a2f13b69.ssl.cf1.rackcdn.com/projects/steps/67ae7f793dfd407591bb78e0439eefce.png)
STEP 6
Cut out each of the stencils.
![Cutting out pumpkin pieces](https://2e1293630802db8d0d56-50fcdb1c10e3e49a3d1b0541a2f13b69.ssl.cf1.rackcdn.com/projects/steps/cad8c69bb37f4010bc9a6faac6e2c37c.png)
STEP 7
Place the tea light through the bottom of the pumpkin.
![placing tea light in pumpkin](https://2e1293630802db8d0d56-50fcdb1c10e3e49a3d1b0541a2f13b69.ssl.cf1.rackcdn.com/projects/steps/2ea757868846485db18fda4fe6af4001.png)