Steps
Step 1
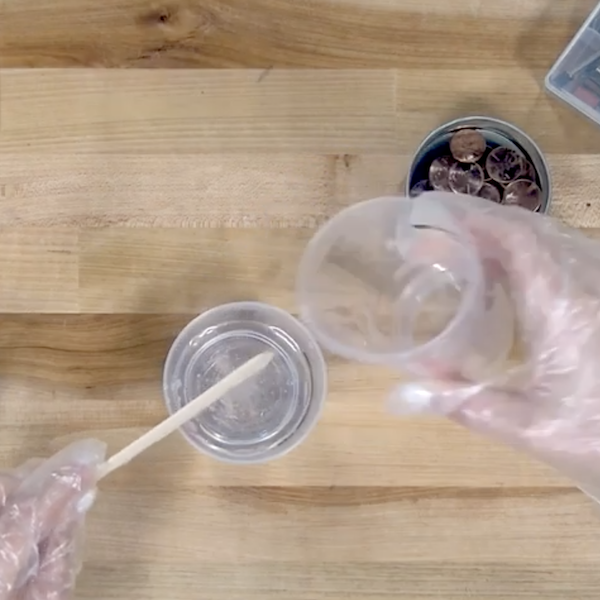
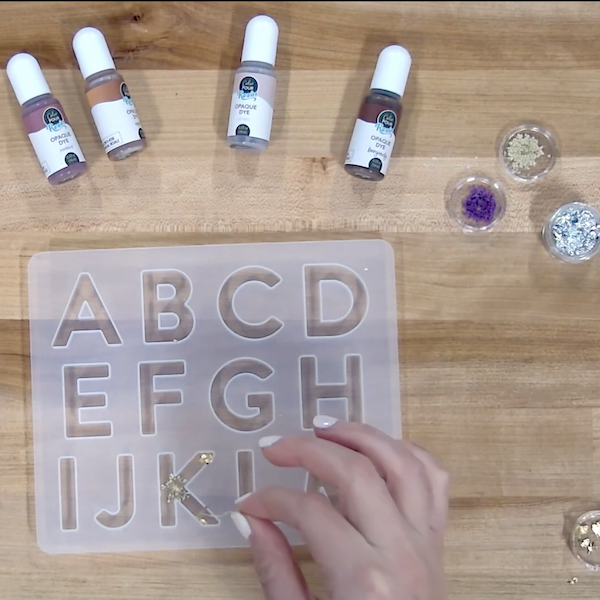
Measure equal parts of resin and resin hardener, equaling 4oz in total. Mix together thoroughly, until there are no longer any swirls, about 3-5 min. Layout decor in the molds before pouring the resin mixture.
Materials
Step 2
Once decor has been placed, use pipettes or pour the resin carefully into each of the molds. (Optional): Add dye to the resin, making sure to use it sparingly. Allow the resin to cure 24 - 48 hours.
Materials
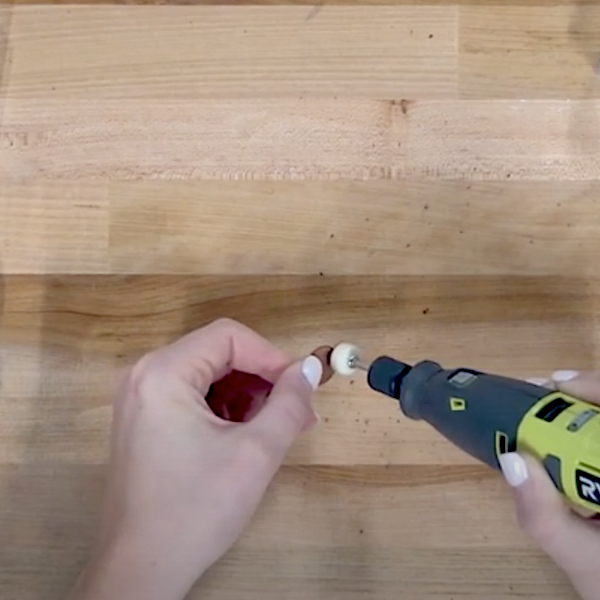
Step 3
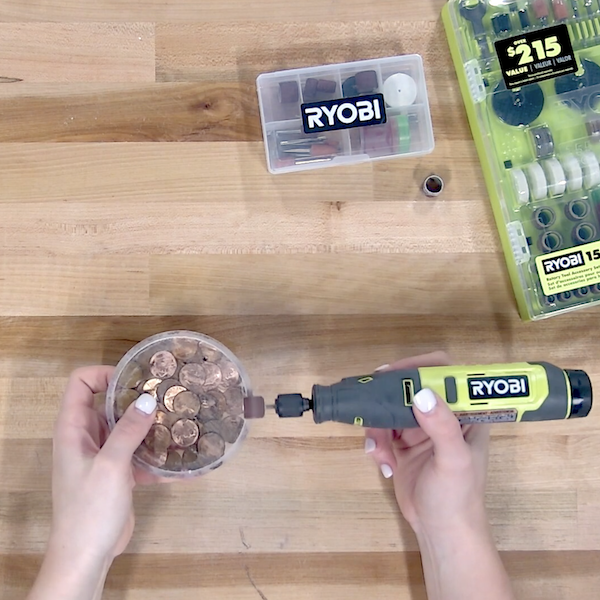
Remove each of the resin pieces from their molds once they are dry. Insert the Sanding Drum with a Sanding Band attached and sand out any imperfections. Start with a lower grit and work up to a higher grit.
Tools
Step 4
Switch the accessory in the USB Lithium Rotary Tool to the Polishing Pad and apply the compound. Polish the resin coasters and letters.
Tools
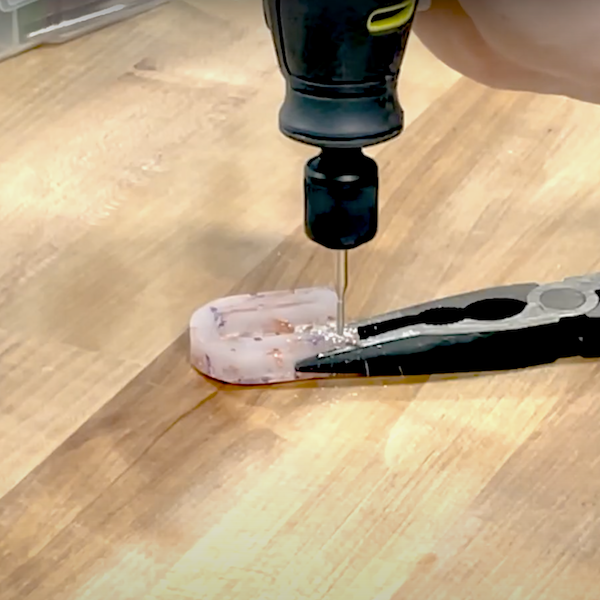
Step 5
For the letters, use the Diamond Tip Engraving Burr to carefully drill a hole into the desired letters. Insert the jump ring into the letter hole, then slide the jump ring onto the lobster clasp key chain loop.
Tools
Materials