Steps
STEP 1
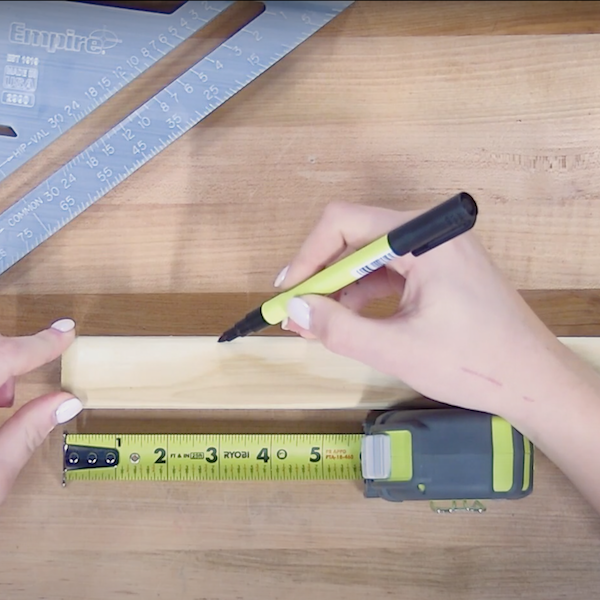
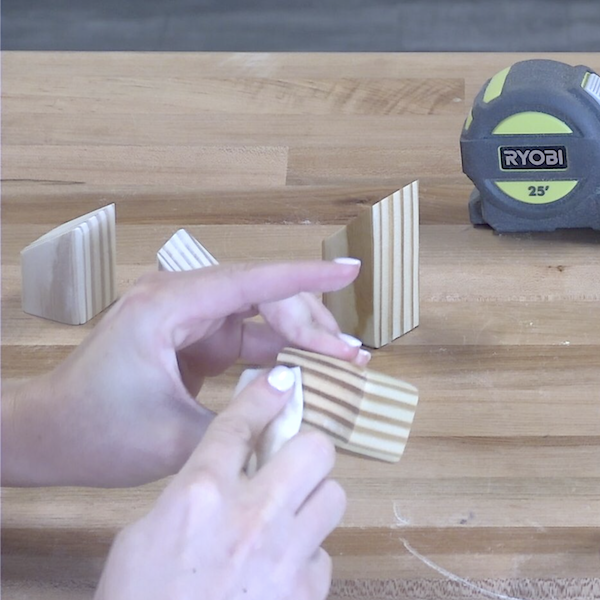
Mark lines on the wooden dowel to make blocks that are 3", 3", 2 1/2", and 2." Create slight diagonal cut lines for each ring holder at the top. Place wooden dowel in the vise and tighten.
Tools
Materials
STEP 2
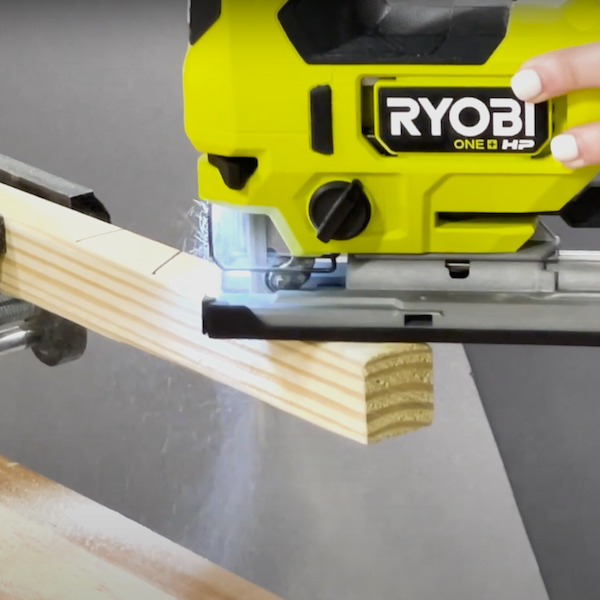
Once all the lines are marked, insert the 10 TPI Smooth Wood Cutting Blade into the 18V ONE+ Orbital Jigsaw. Set the speed to high and carefully cut along the marked lines until each piece is cut out.
Tools
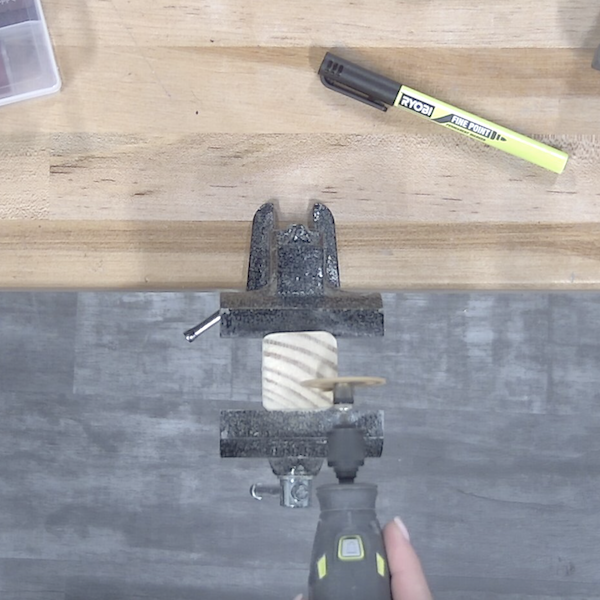
STEP 3
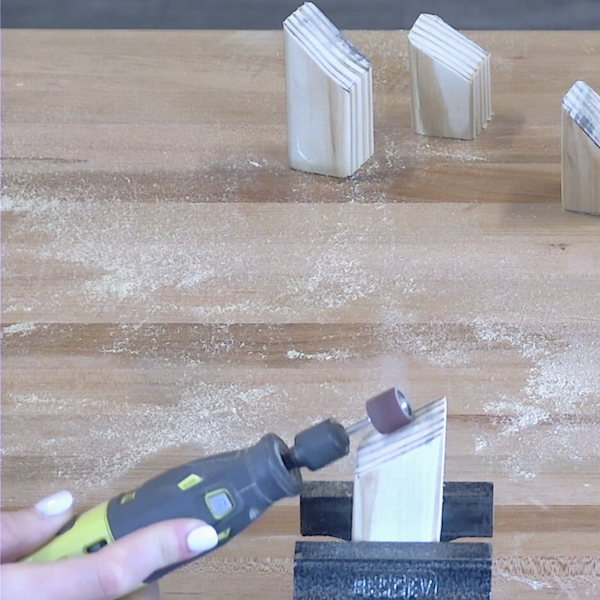
Insert the Sanding Drum into the USB Lithium Rotary Tool and start with a Sanding Band with a lower grit. Sand out any rough edges and then go over again with a higher grit Sanding Band. Repeat this process until ready to stain.
Tools
STEP 4
Shake the can of wood gloss thoroughly. Dip the staining cloth into the gloss and apply the stain using full strokes in the direction of the grain. Allow the blocks to dry.
Materials
STEP 5
Cut a straight line into the next block starting at the highest edge and cutting about an inch in length. Cut down until the line is deep enough to hold a ring. You can add one straight line, two straight lines, or another triangular cut on each.
Tools
Materials
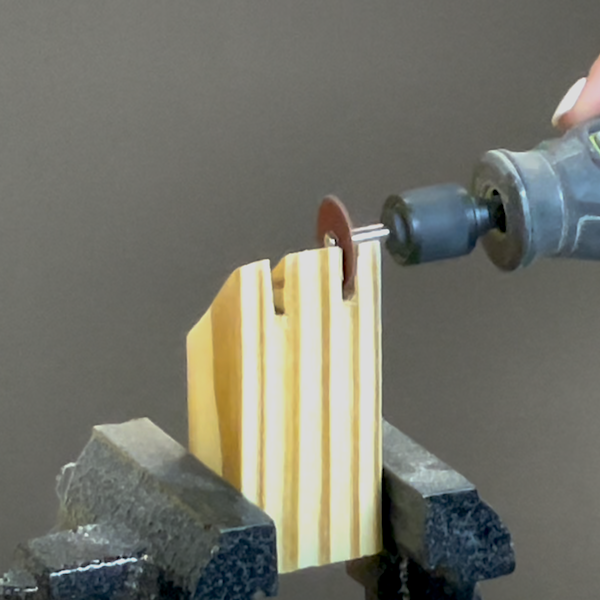
STEP 6
Switch the accessory on the mandrel to the 220 Grit Sanding Disc. Turn the USB Lithium Rotary Tool on and set to medium-high speed. Use the disc to smooth out the insides of the cuts made on each of the blocks.
Tools
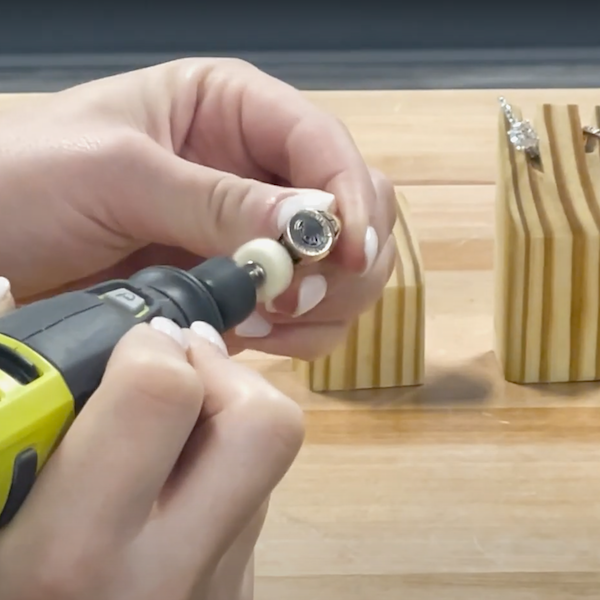
STEP 7
Switch the accessory to the Mandrel with a Polishing Pad on top. Apply the Polishing Compound to the Polishing Pad and polish the ring(s) that will go on the blocks.
Tools