Steps
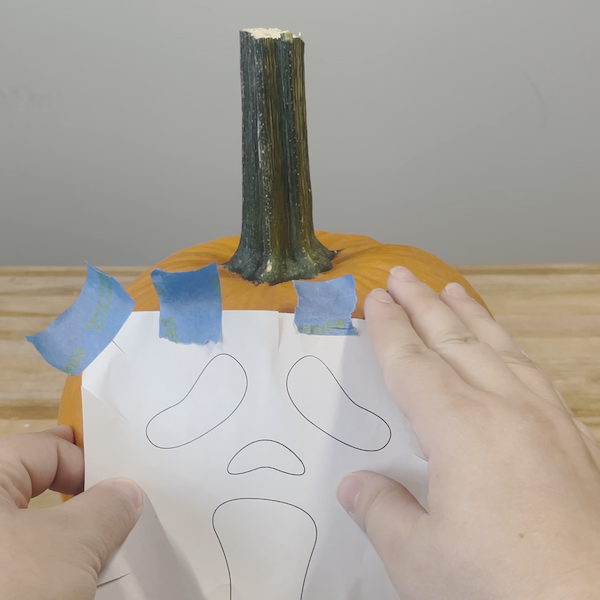
STEP 1
Print out a design template. Attach the template to the pumpkin using tape.
Materials
Painter's Tape, Design Template
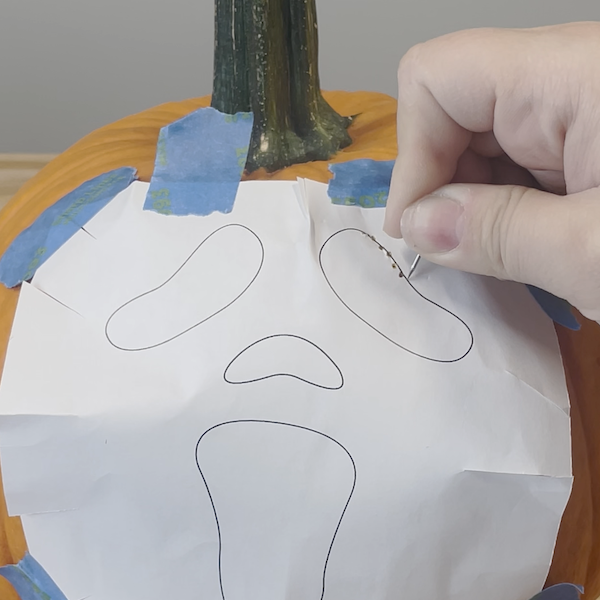
STEP 2
Use a thumbtack to imprint the design onto the pumpkin by poking holes along the lines of the design.
Materials
Thumbtack
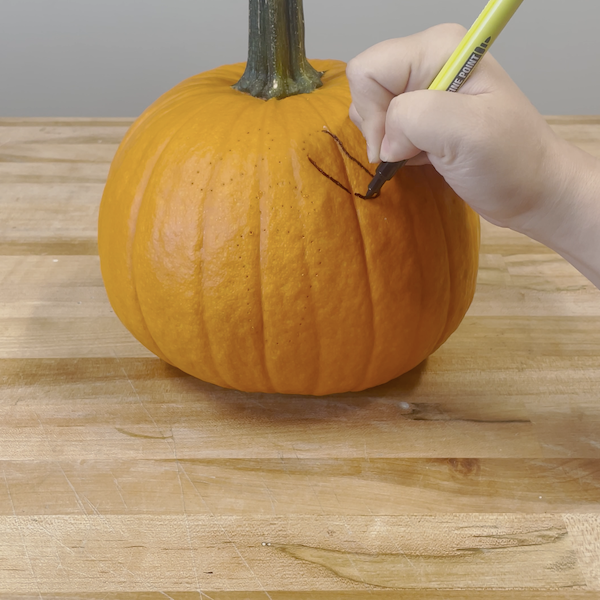
STEP 3
Connect all of the poked holes together using a marker.
Materials
Marker
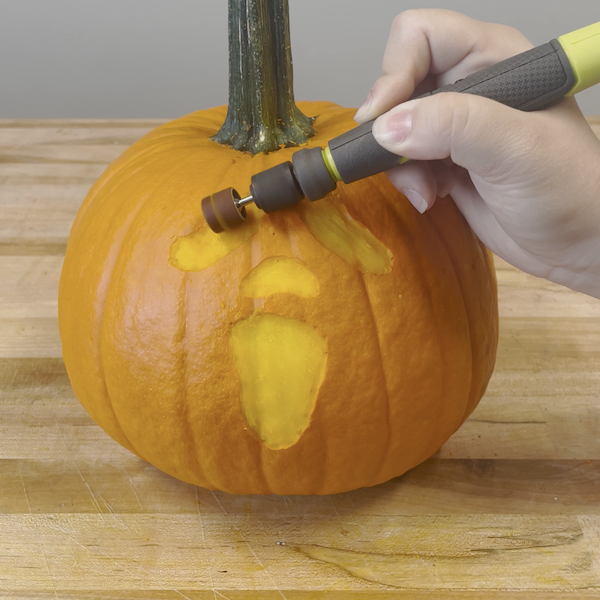
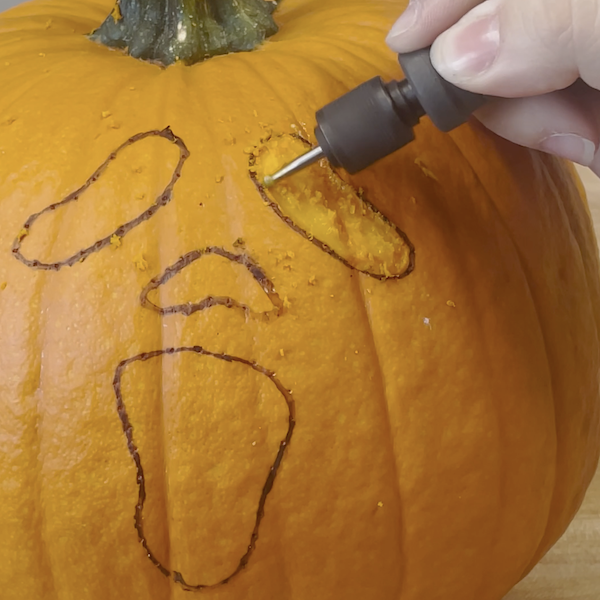
STEP 4
Use a Ball Engraving Burr to carve the design into the pumpkin.
Tools
Rotary Tool
STEP 5
Use a sanding band to smooth and refine the design.
Tools
Rotary Tool