Steps
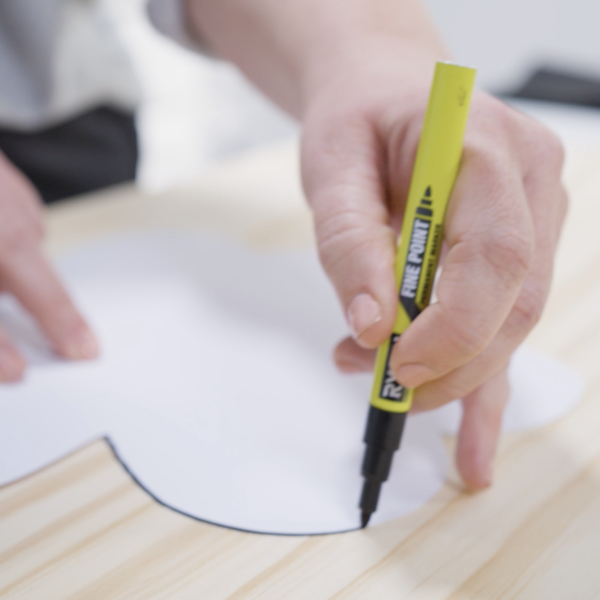
STEP 1
Trace a shamrock onto a piece of 1/4" plywood.
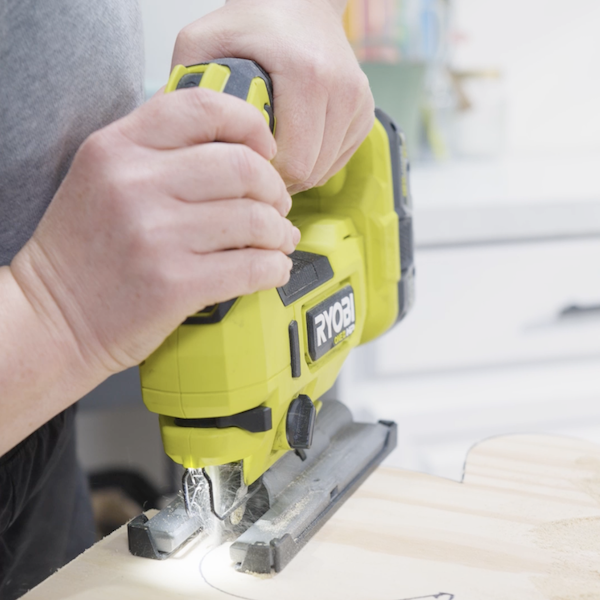
STEP 2
Cut out the shamrock using a smooth cut Jigsaw Blade.
Tools
Jigsaw
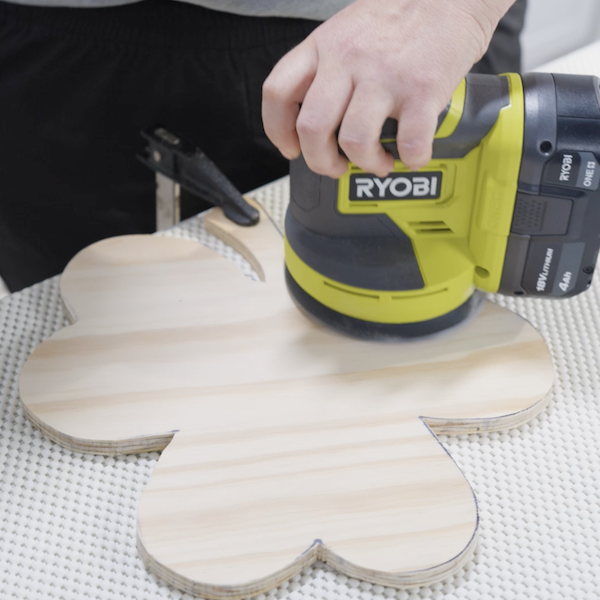
STEP 3
Sand the shamrock to refine any rough edges or bumps.
Tools
Random Orbit Sander
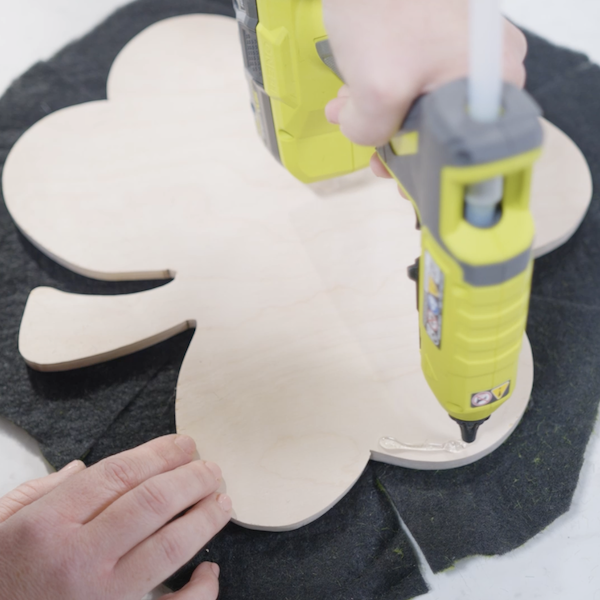
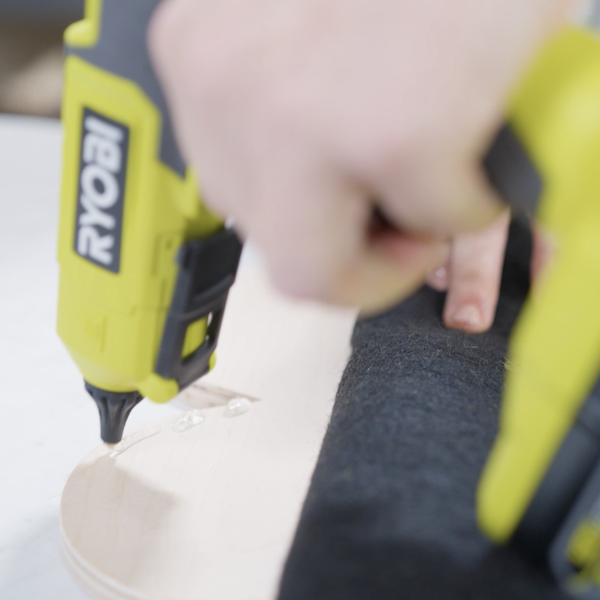
STEP 4
Apply hot glue to the outer edges of the shamrock to attach to the moss fabric.
Tools
Glue Gun
STEP 5
Cut a narrow circle around the shamrock to remove a majority of the extra fabric.
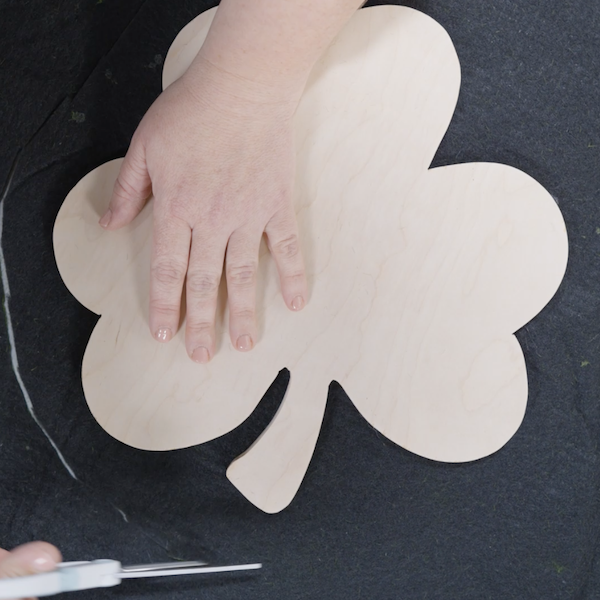
STEP 6
Cut slits in the fabric around the corners of the fabric. Fold the fabric over each of the clover leaves to fully cover the shamrock. Attach a ribbon to hang.
Tools
Glue Gun