Steps
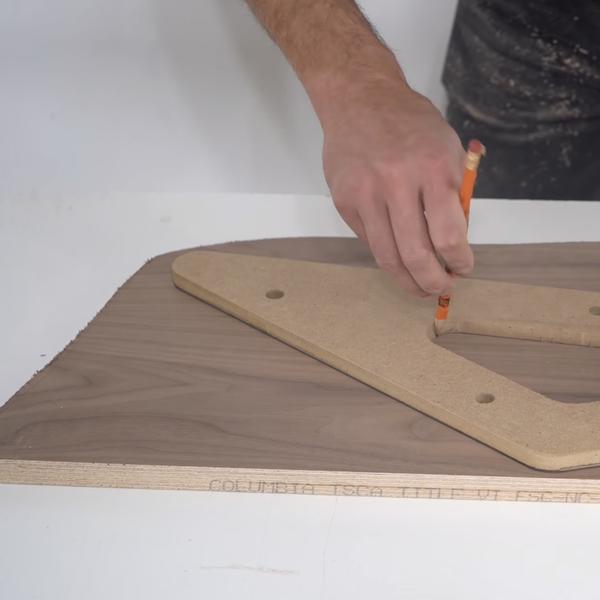
STEP 1
Trace MDF templates on top of the plywood, splitting the template into a few pieces to reduce material waste.
Materials
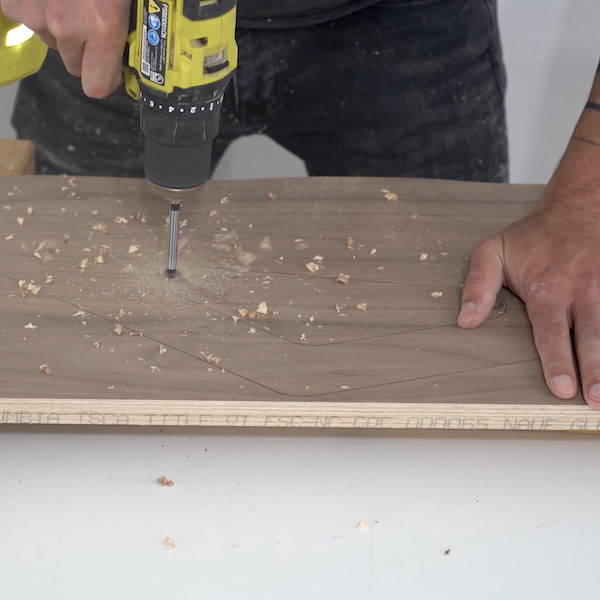
STEP 2
Drill two holes on the inside of the outline to allow easier cutting with the jigsaw.
Tools
Materials
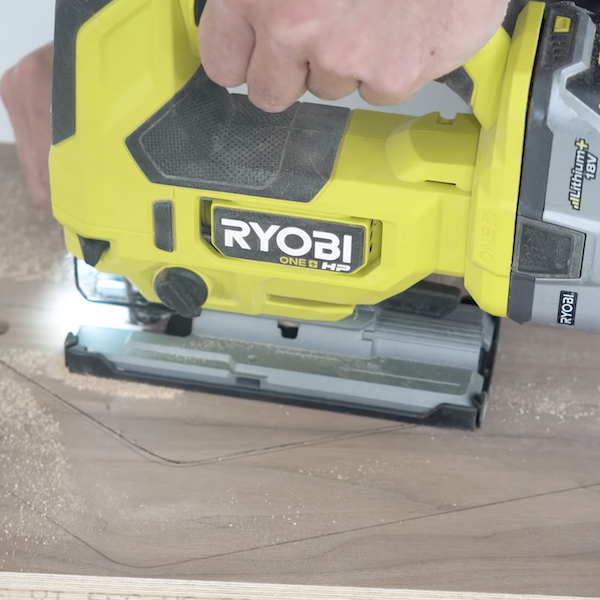
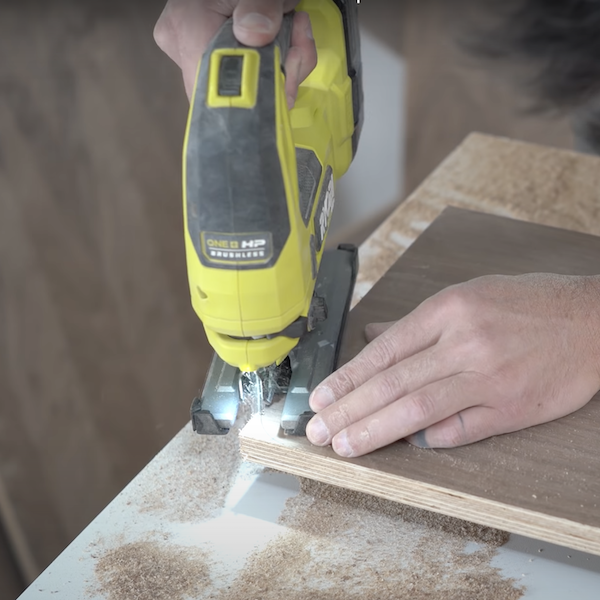
STEP 3
Cut along the traced lines with the jig saw, cutting 1/8-1/16th of an inch outside of the outlines so that the lines can be refined.
Tools
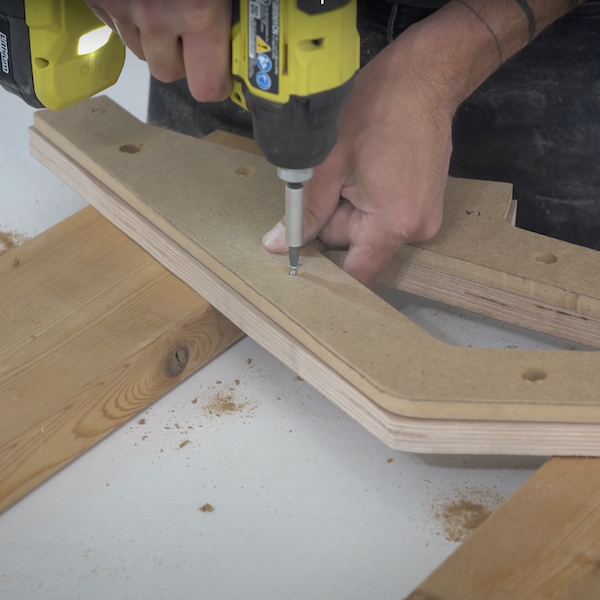
STEP 4
Attach the mdf template to the plywood using small screws.
Tools
Materials
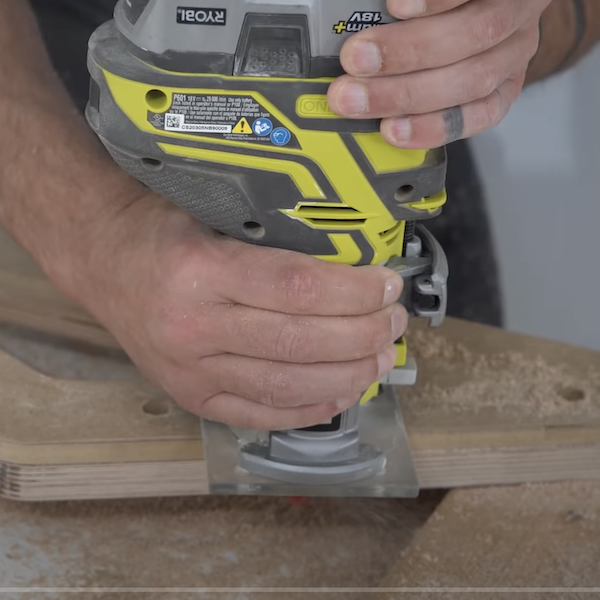
STEP 5
Use the router with the flush trim bit to trim the plywood to the exact size without using a CNC tool.
Tools
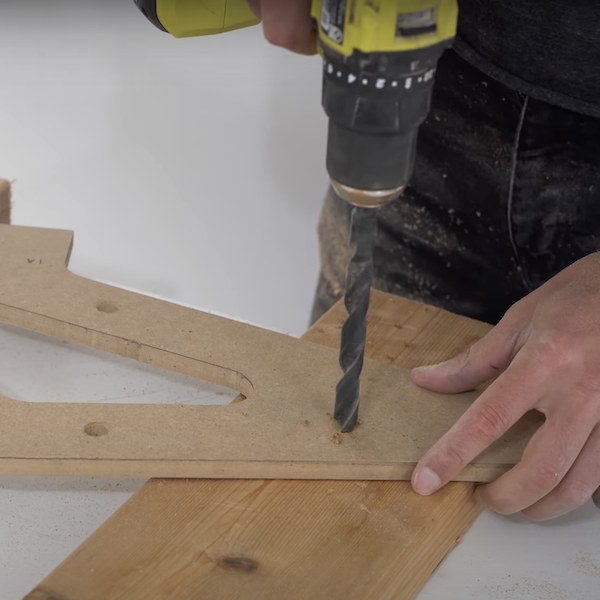
STEP 6
Drill ½” Holes across the cutout plywood piece and remove the screws to detach the mdf template from the plywood.
Tools
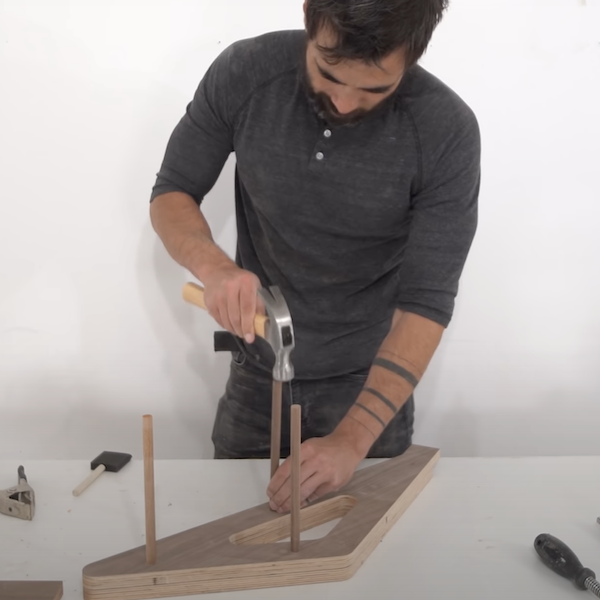
STEP 7
Attach two layers of the plywood together using wood glue and inserting ½” dowels into the holes made in the previous step. Trim the dowels so that they lay flush. Clamp the pieces together while the wood glue dries.
Materials
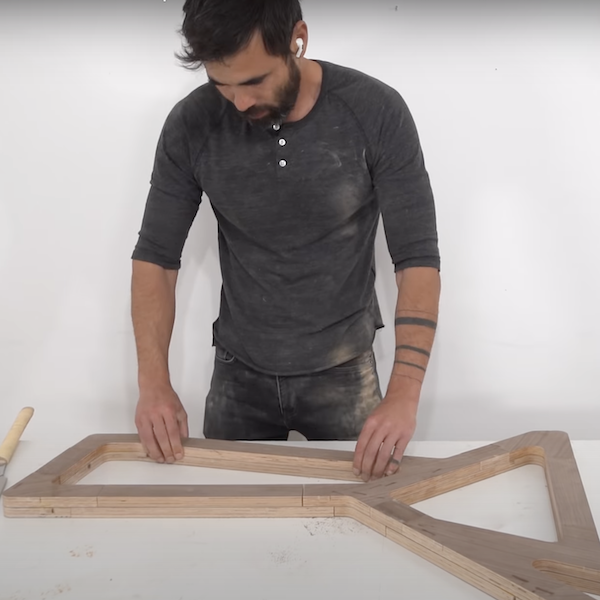
STEP 8
Glue together the complex joints and corner pieces using wood glue and allow the glue to cure. Attach these pieces to the straight pieces that go in between with wood glue, building the loop that goes under the cushion first.
Materials
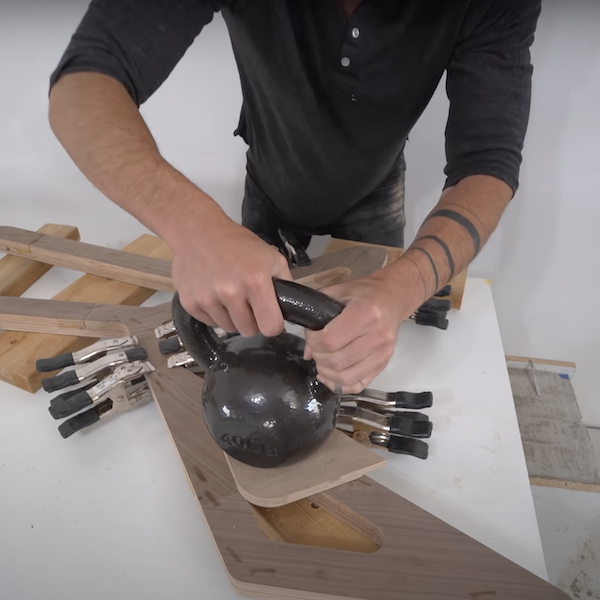
STEP 9
Once both of the pieces have been built, clamp everything together using spring clamps and weight for stability.
Materials
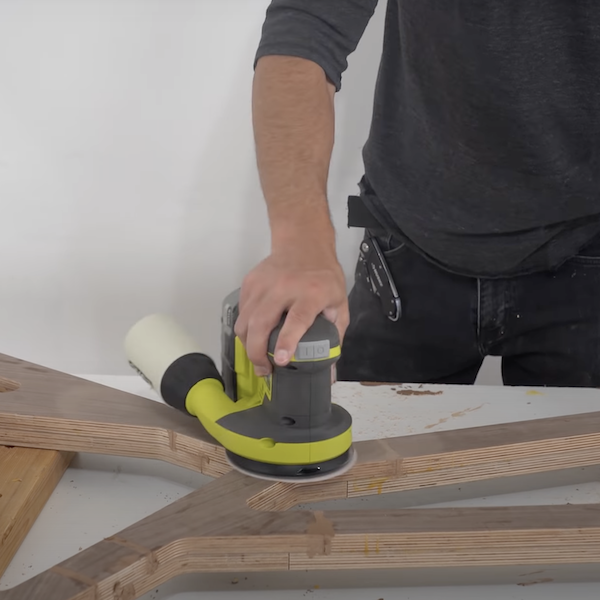
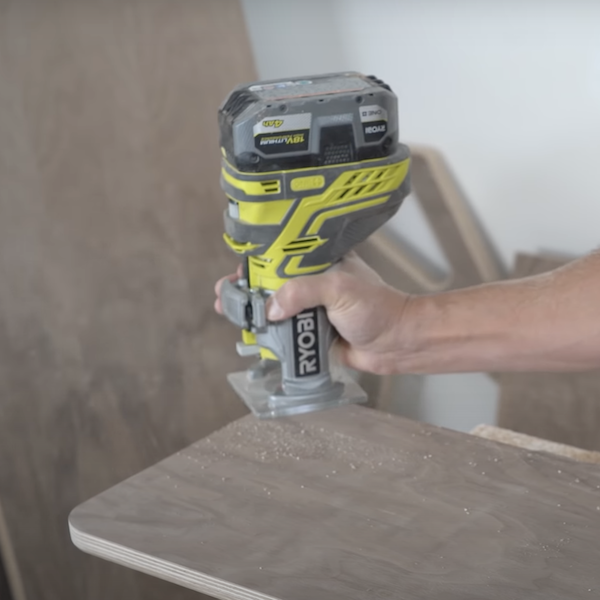
STEP 10
Once everything has cured, apply wood putty where there are any gaps in between the joints. Sand all over to finish once the wood putty has dried down. Use the palm router to round out all of the corners.
Tools
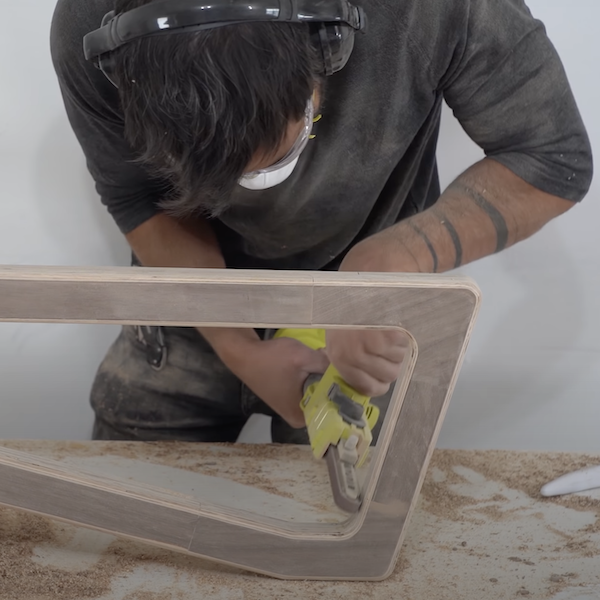
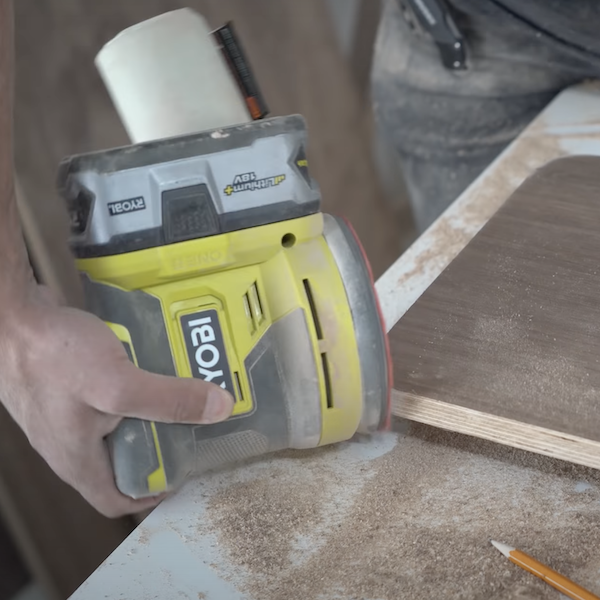
STEP 11
Use a mini belt sander to sand all the inside corners and edges.
Tools
STEP 12
Use a circular saw to cut linear supports that will go under the cushions and desk. Use the router to the round over the edges to match the other pieces
Tools

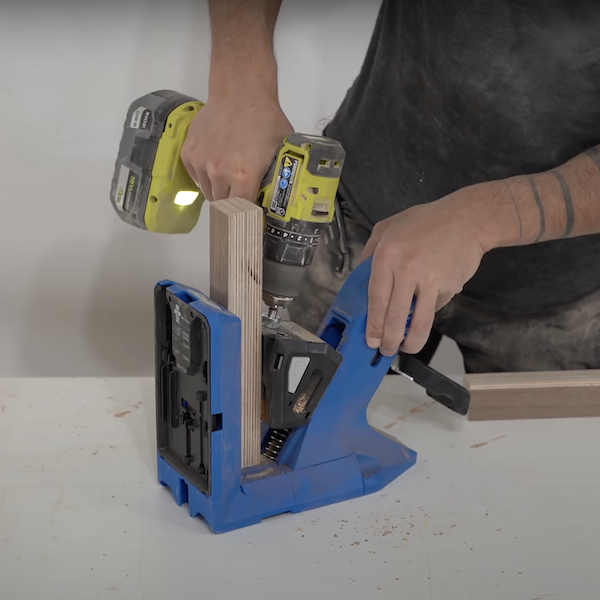
STEP 13
On the short pieces, drill pocket holes.
Tools
Materials
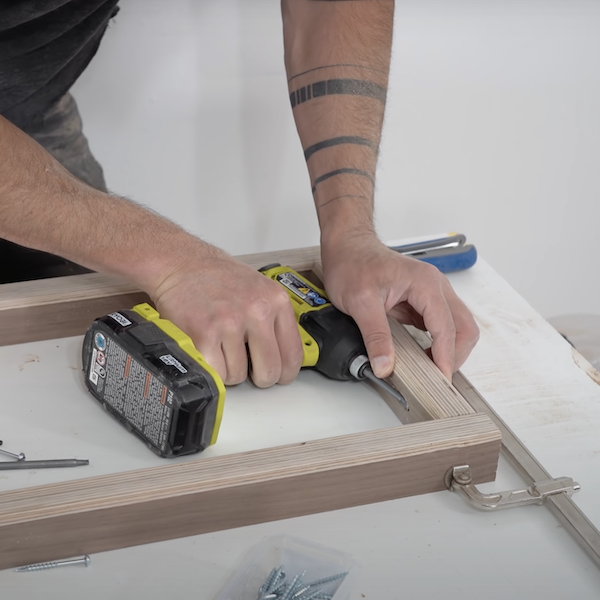
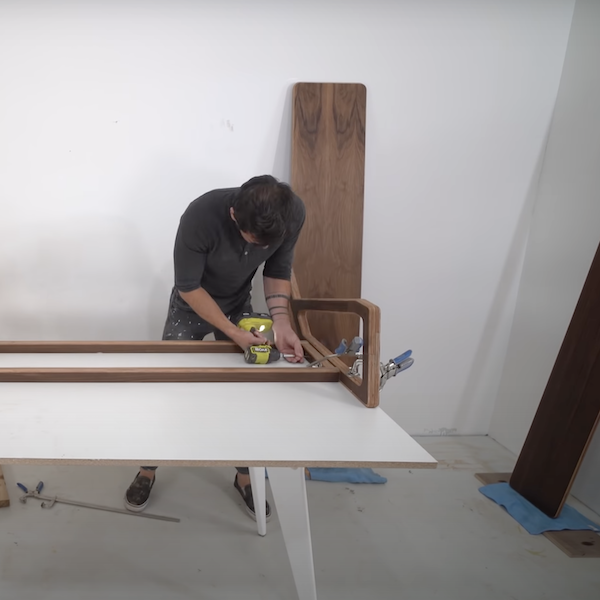
STEP 14
Use corner clamps to secure the short pieces to the long pieces, then screw them together using the pocket holes
Tools
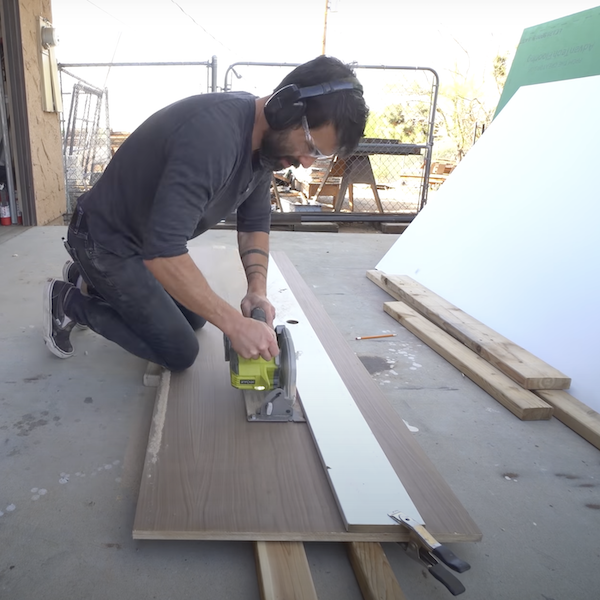
STEP 15
Use a circular saw to cut pieces from a full piece of plywood to use for the seat back rest and desk.
Tools
Materials
STEP 16
Use a cup to trace quarter circles on the edges of these pieces, then use a jigsaw to cut the quarter circles out. Smooth out the edges using a sander.
Tools
Materials
STEP 17
Use a router to round out the edges.
Tools
Materials
STEP 18
Sand all of the pieces with a high-grit sand paper to prep for wood finishing coat.
Tools
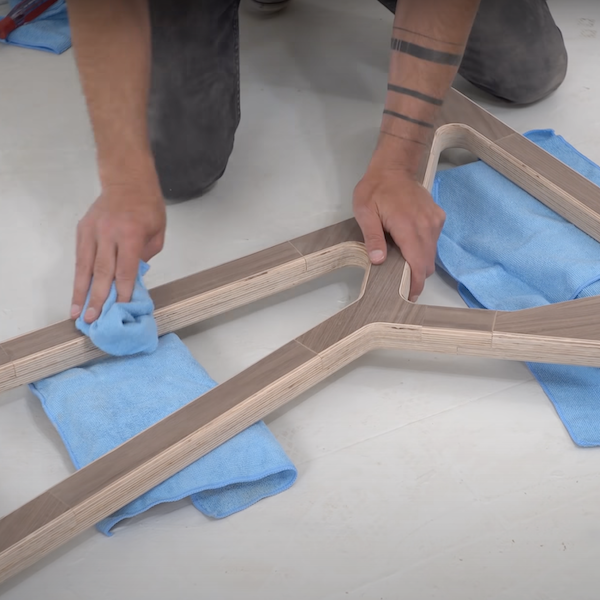
STEP 19
Wipe all of the dust off of the wood, then apply the wood finish to all of the wood pieces.
Materials
STEP 20
Attach the support frame together under the seat using screws and clamps.
Tools
STEP 21
Screw on the seat panel, back rest, desk support, and desktop using screws and a tape measure to ensure everything is lined up. Place leather cushions on the back rest and seat.
Tools
Materials