Steps
STEP 1
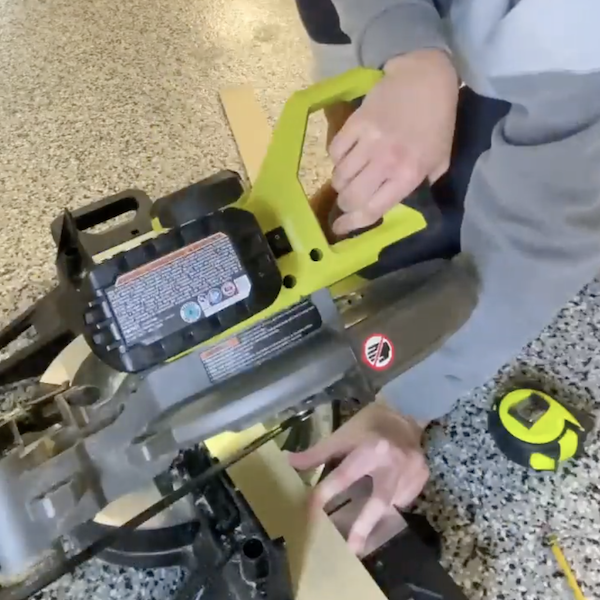
Cut wood to size to the dimensions of the inside of the drawer to create a rectangle using a 45• angle.
Tools
Miter Saw
![Cutting wood](https://2e1293630802db8d0d56-50fcdb1c10e3e49a3d1b0541a2f13b69.ssl.cf1.rackcdn.com/projects/steps/d00b6a942eca42c9a087e1e1d4418689.png)
STEP 2
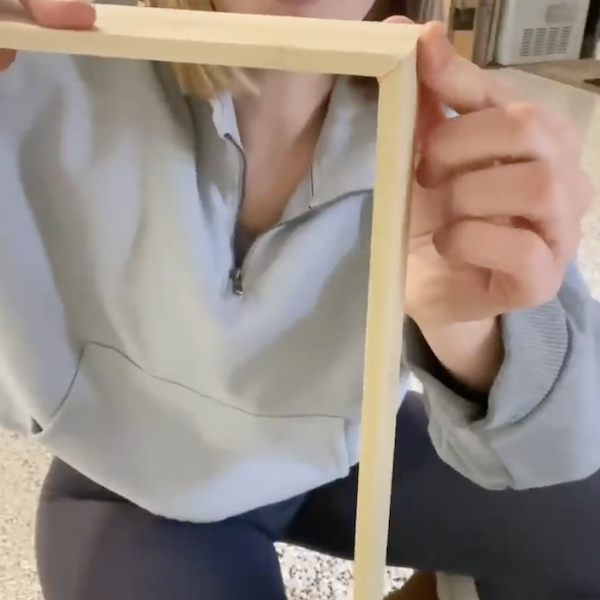
Line up pieces using the created 45• angles on the end.
![lining up frame of organizer](https://2e1293630802db8d0d56-50fcdb1c10e3e49a3d1b0541a2f13b69.ssl.cf1.rackcdn.com/projects/steps/195c69659ac346bc8fa78ac650d9eb09.png)
STEP 3
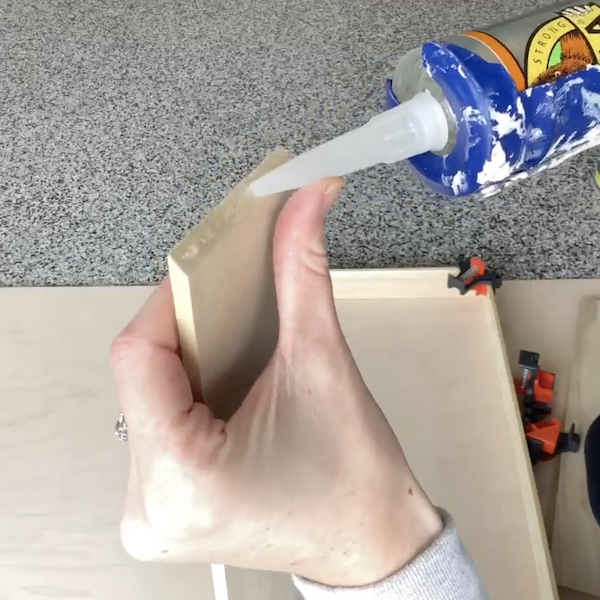
Use liquid nails glue to attach the outside frame of the organizer together.
![Attaching pieces together](https://2e1293630802db8d0d56-50fcdb1c10e3e49a3d1b0541a2f13b69.ssl.cf1.rackcdn.com/projects/steps/d925154e130a413ba60b425ea35a5ae1.png)
STEP 4
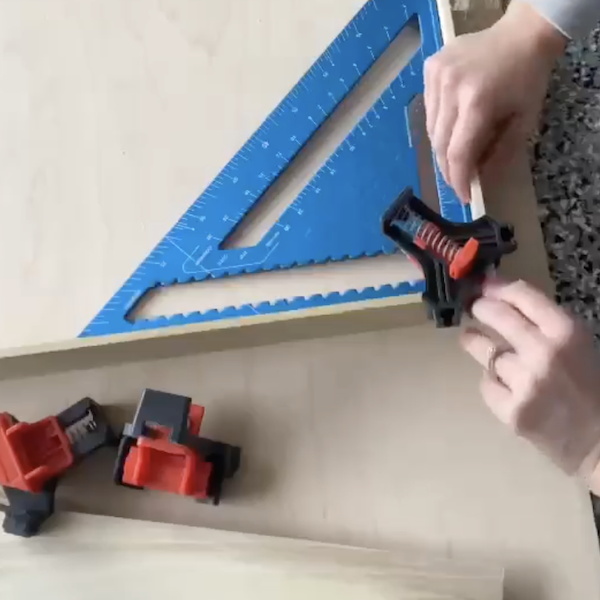
Use clamps and a rafting square to secure the frame of the organizer into place.
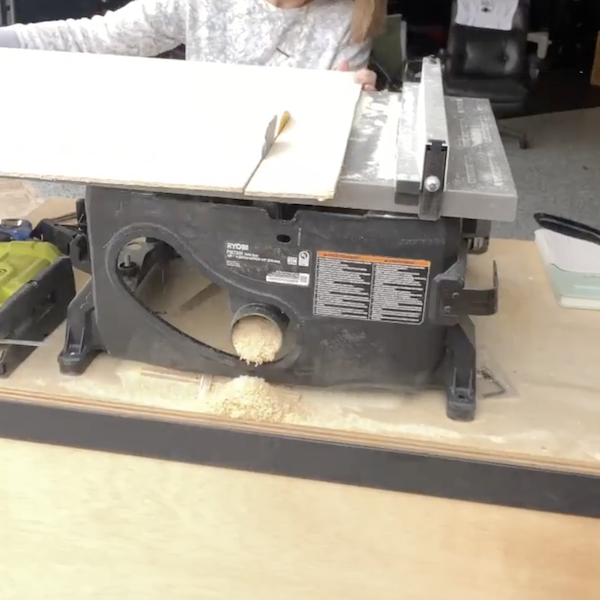
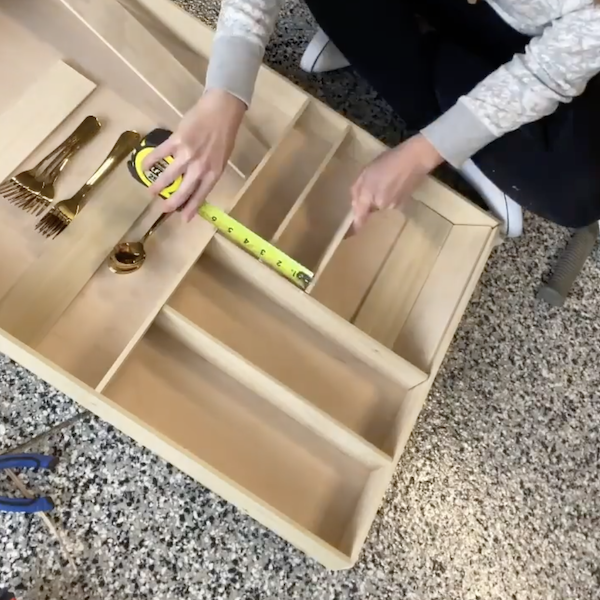
![clamping organizer together](https://2e1293630802db8d0d56-50fcdb1c10e3e49a3d1b0541a2f13b69.ssl.cf1.rackcdn.com/projects/steps/8d857d7b9dad4ca9aed16fa1d6c4f6c4.png)
STEP 5
Cut strips of wood to size based upon utensil sizes. Cut to size a back piece for the organizer based on the outside frame's dimensions.
Tools
Table Saw
![cutting wood to size](https://2e1293630802db8d0d56-50fcdb1c10e3e49a3d1b0541a2f13b69.ssl.cf1.rackcdn.com/projects/steps/a63678ee76e1494e841014cef9d8b35c.png)
STEP 6
Use wood glue to attach the back of the organizer and the wood divider pieces.
![attaching divider and back](https://2e1293630802db8d0d56-50fcdb1c10e3e49a3d1b0541a2f13b69.ssl.cf1.rackcdn.com/projects/steps/4b529dc0845d4de48246f0506aba24fb.png)
STEP 7
Apply stain to the finished divider as desired.
![staining wood](https://2e1293630802db8d0d56-50fcdb1c10e3e49a3d1b0541a2f13b69.ssl.cf1.rackcdn.com/projects/steps/71704eea799b4cf788dafc48825edf0e.png)