Steps
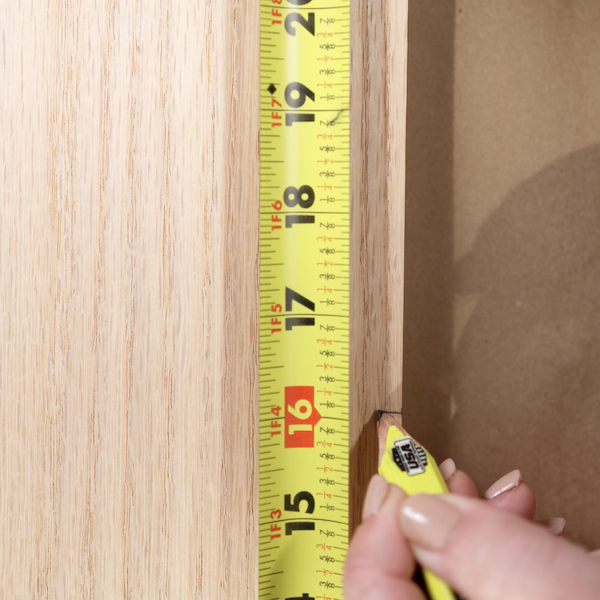
STEP 1
Measure 16" on the 1"x10" board.
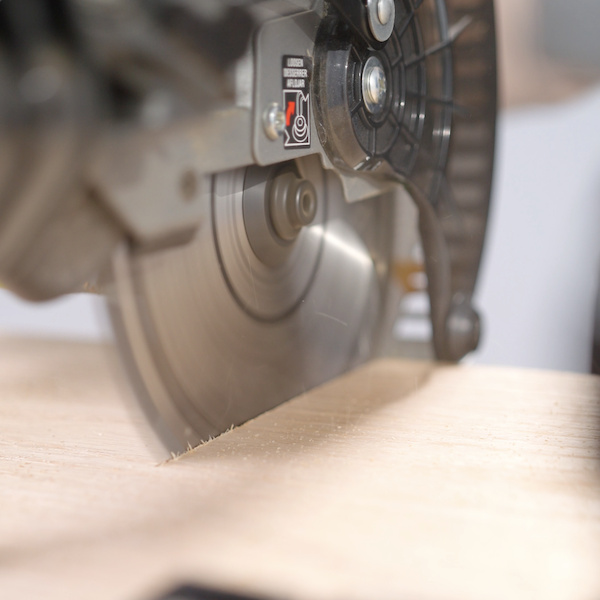
STEP 2
Cut the wood to size.
Tools
Miter Saw
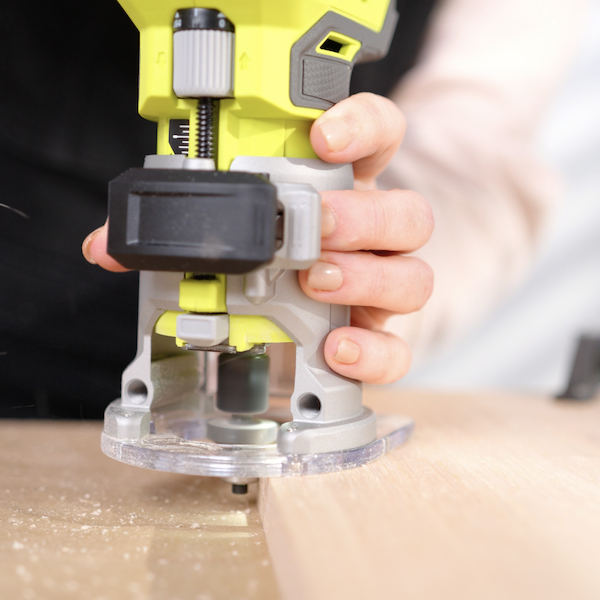
STEP 3
Use a router to refine the edges all around the board.
Tools
Router
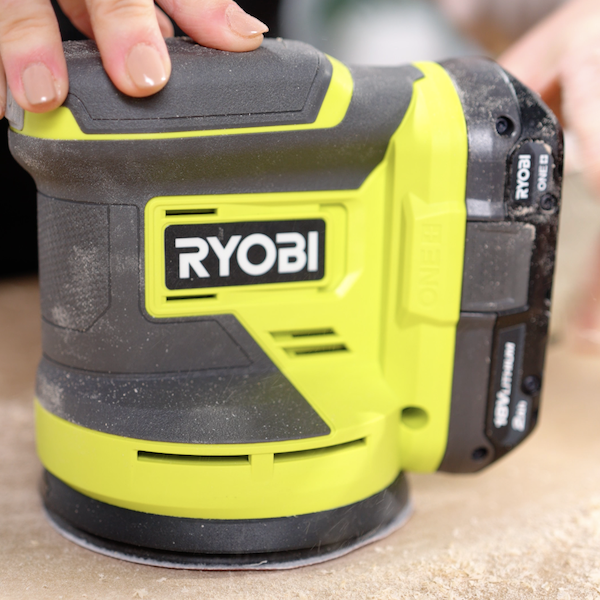
STEP 4
Sand the piece to smooth and refine the wood.
Tools
Random Orbit Sander
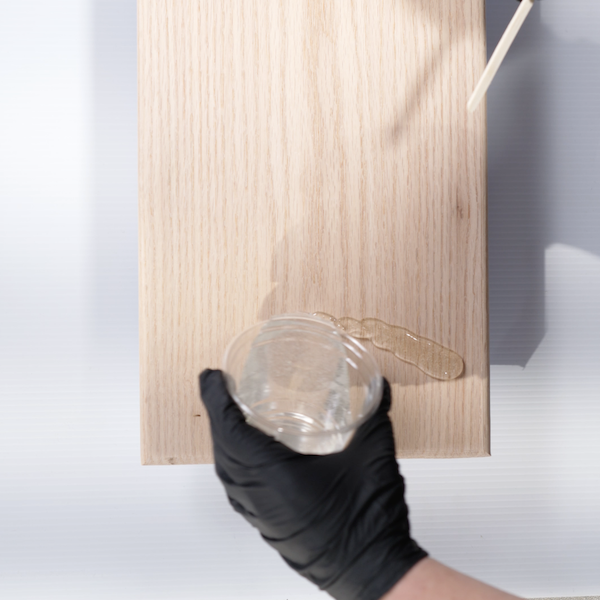
STEP 5
Mix several cups of resin together in desired colors.

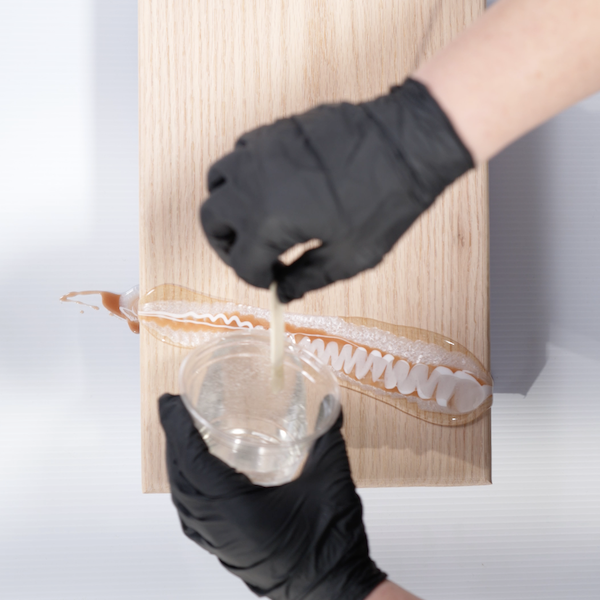
STEP 6
Pour an initial layer of resin over half of the piece.
STEP 7
Pour additional layers and colors of resin as desired. Add gold flaking if desired.
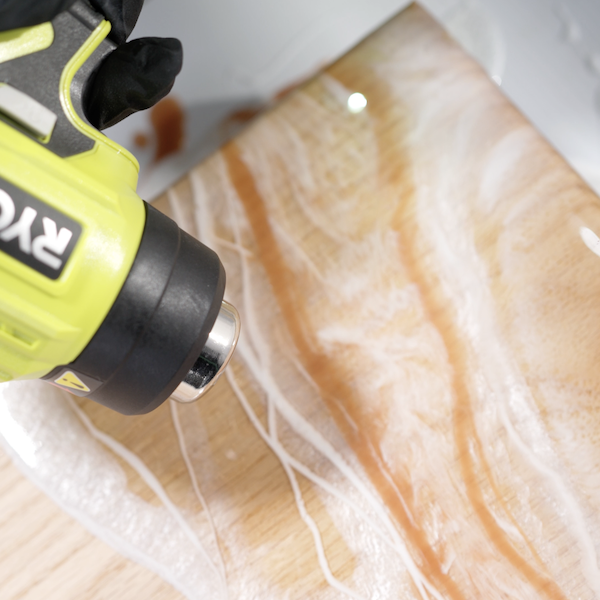
STEP 8
Use the heat gun to remove any air bubbles in the resin.
Tools
Heat Gun
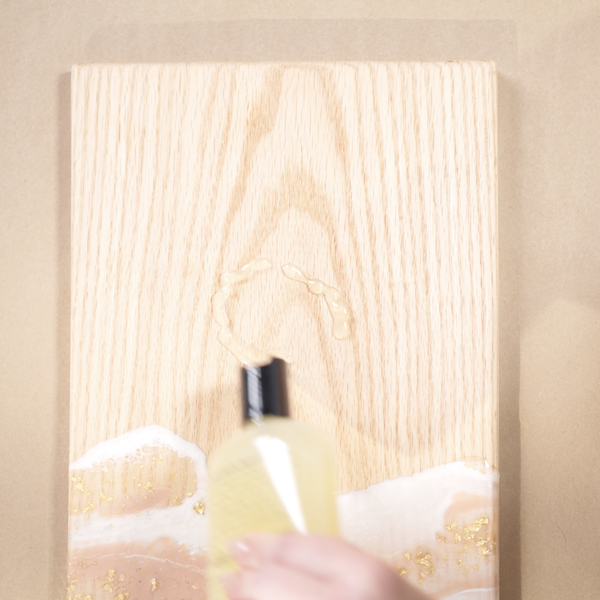
STEP 9
Pour food-safe danish oil over the resin-free side of the piece.