Steps
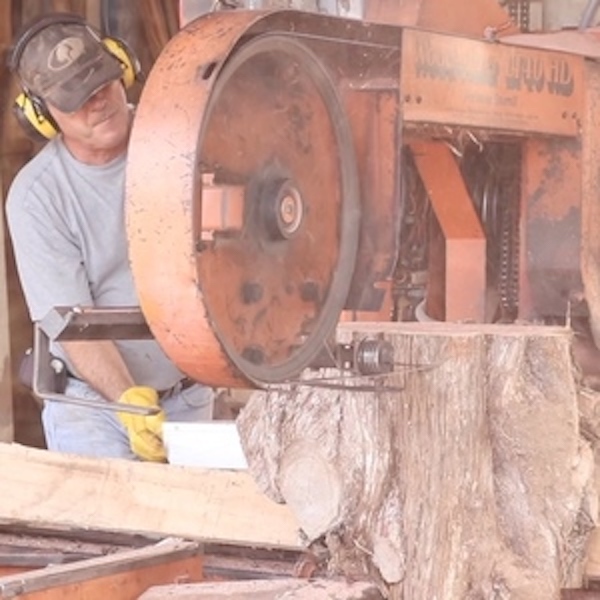
STEP 1
I visited a local sawmill to get a few red cedar slabs that are approximate 20" in diameter and 3" thick.
STEP 2
I used a chisel to remove the outer bark to reveal a smooth, paint-ready surface.
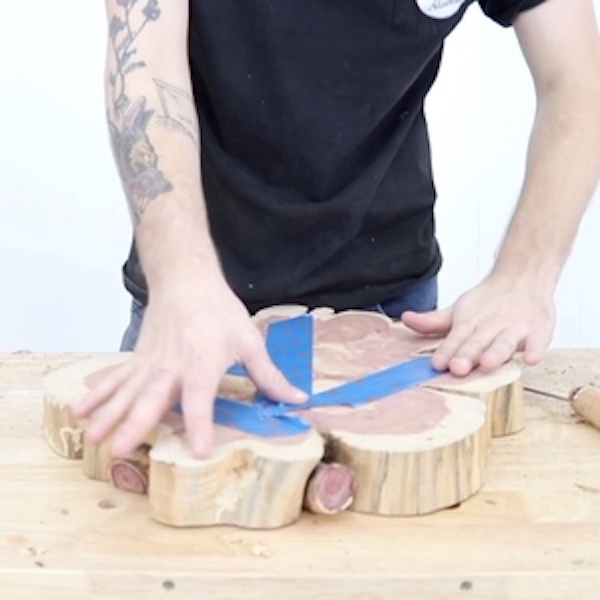
STEP 3
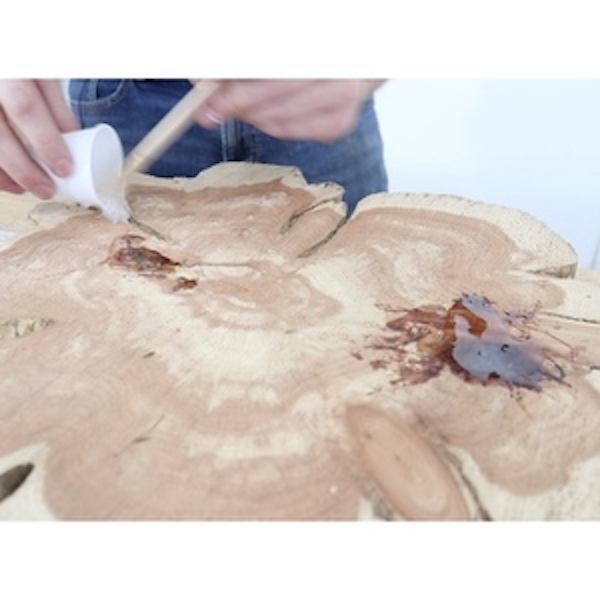
Before pouring epoxy into any cracks and voids in the top of the slab, I used masking tape on the bottom of the slab to prevent any leaks.
STEP 4
I over-poured the epoxy so that I could smooth everything out with a belt sander once it was cured.
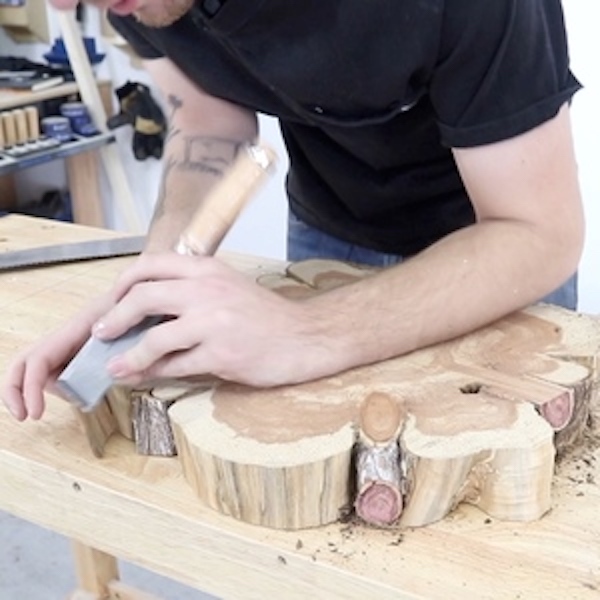
STEP 5
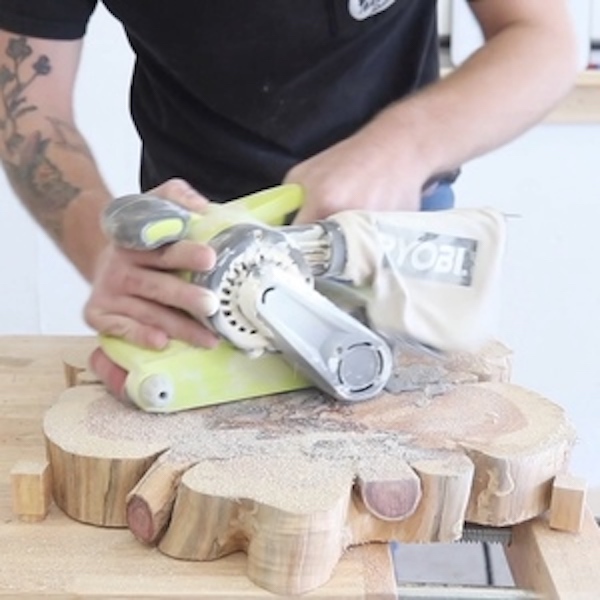
I used an 80 grit belt to remove the bulk of the material, then used a 150 grit belt to remove the sanding marks from the more aggressive belt.
Tools
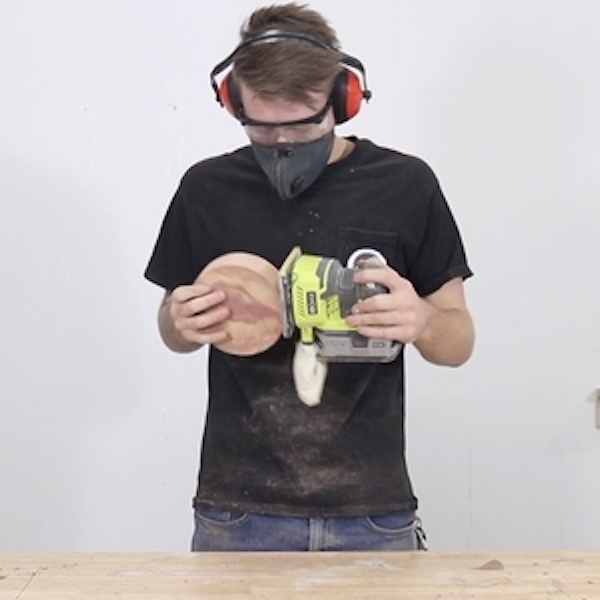
STEP 6
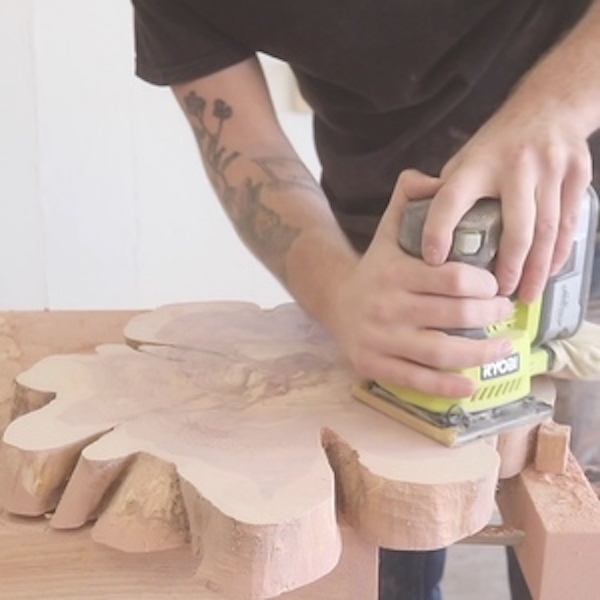
I sanded the top to 400 grit with my palm sander.
Tools
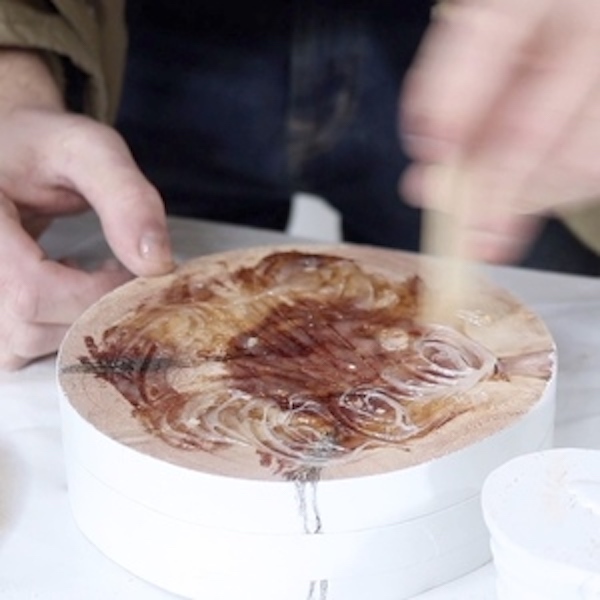
STEP 7
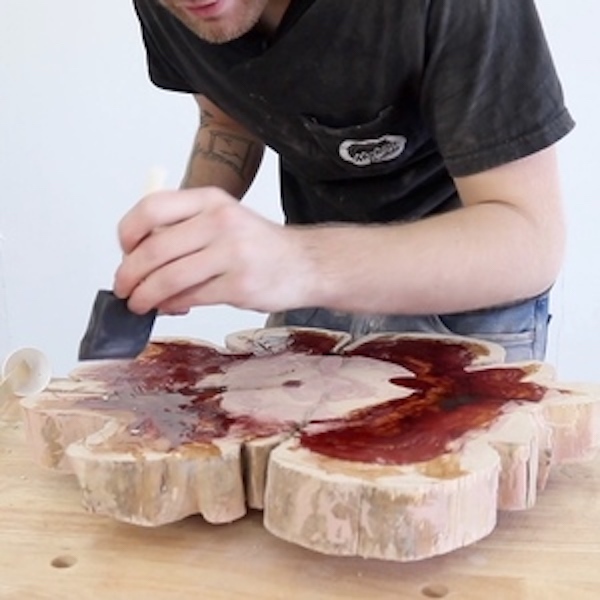
I applied a coat of epoxy to the bottom of the slab. this epoxy will work into the crack and help to prevent them from getting any larger as the slab continues to cure.
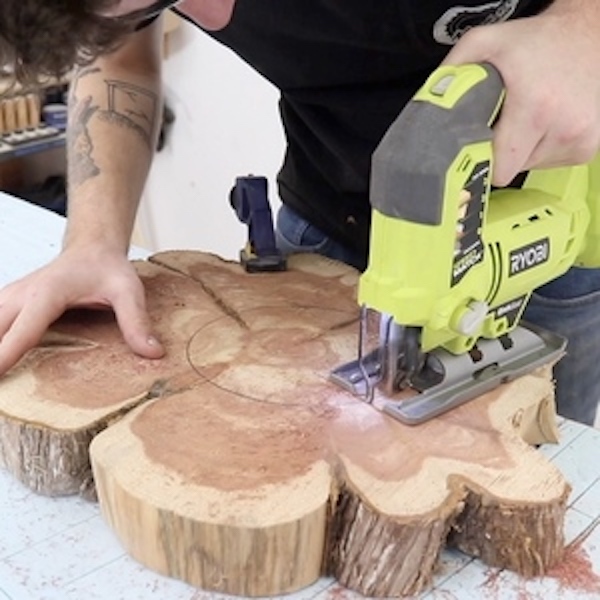
STEP 8
Out of a second slab, I cut a circle 6.5" in diameter with my jigsaw.
Tools
STEP 9
I used a disk sander to smooth out my cuts, then palm sanded the base to 220 grit.
Tools
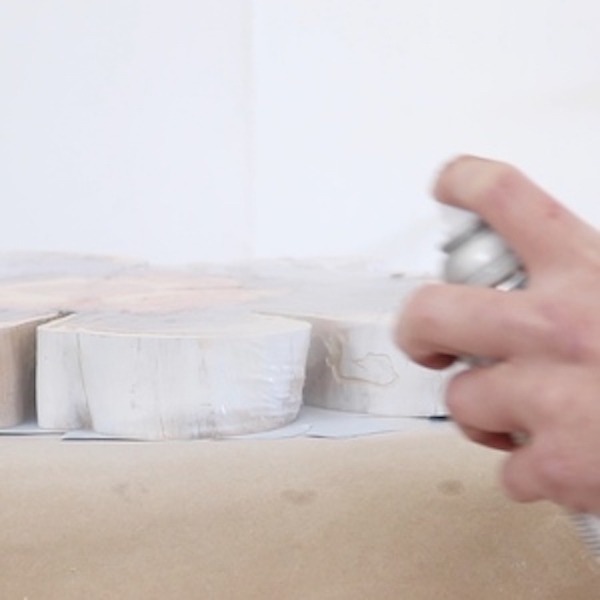
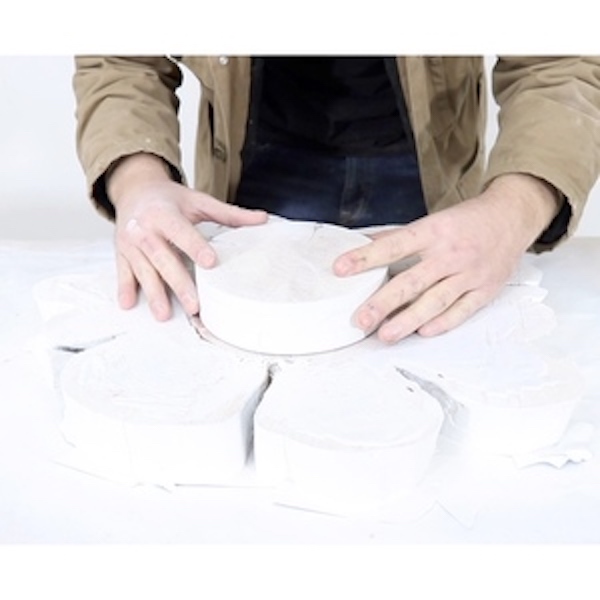
STEP 10
After masking the base and the top of the slab, I applied 4 light coats of satin white spray paint.
STEP 11
I epoxy'd the base to the center of the bottom of the slab.
STEP 12
After the epoxy set, I added a couple more coats of paint to blend everything.
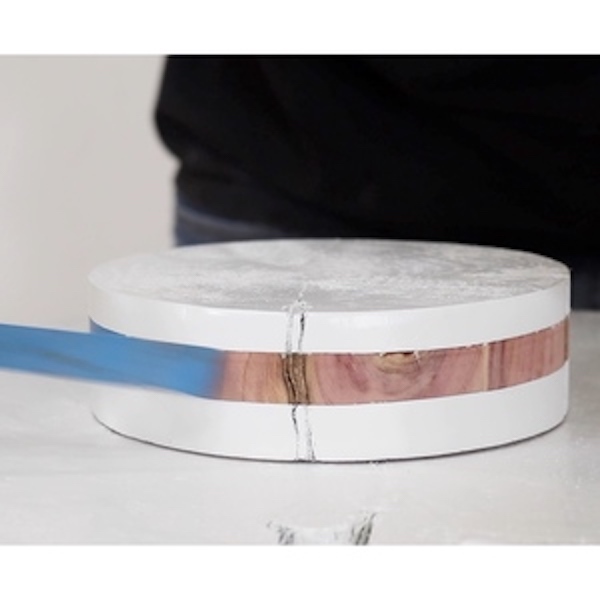
STEP 13
Once the paint cured overnight, I removed all my masking tape to reveal the beautiful cedar underneath.
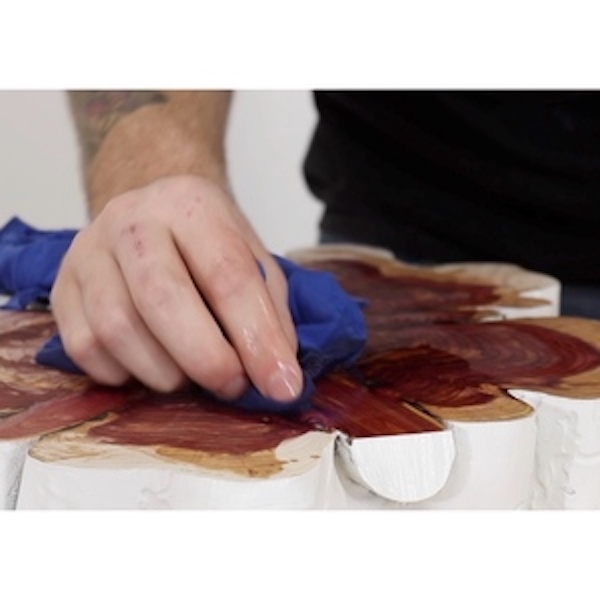
STEP 14
I used cutting board oil as a finish. it's food safe and easy to apply.