Steps
Step 1
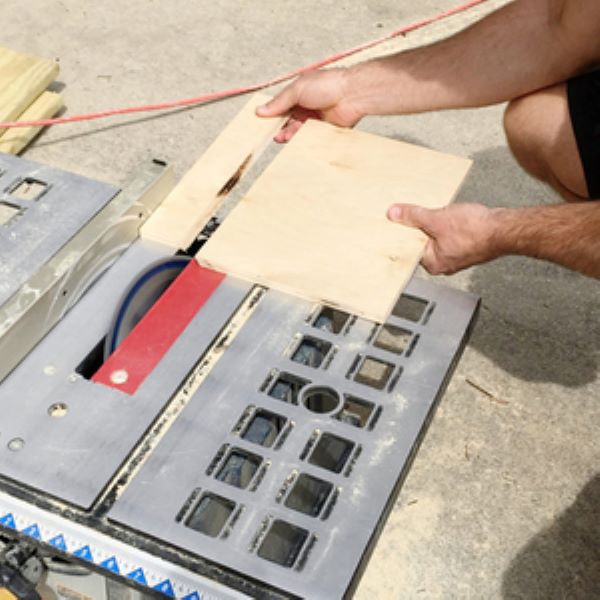
Cut your 1/2" plywood into two pieces. These should be 12"x14" and 12"x3". The smaller piece should have one long side cut at a 12 degree angle. NOTE - the larger board will have a margin that is larger on one end than the other.
Tools
Materials
Step 2
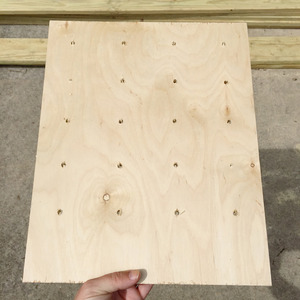
Mark 12"x14" board with a grid, the intersecting lines should indicate the centers of your kcup holes. Use your drill and 2.5" hole saw bit to drill half way through each marked spot.
Tools
Materials

Step 3
Flip your board over and drill through the rest of the hole. Optional - use a palm router to smooth out each hole edge and make it clean.
Tools
Materials
step 4
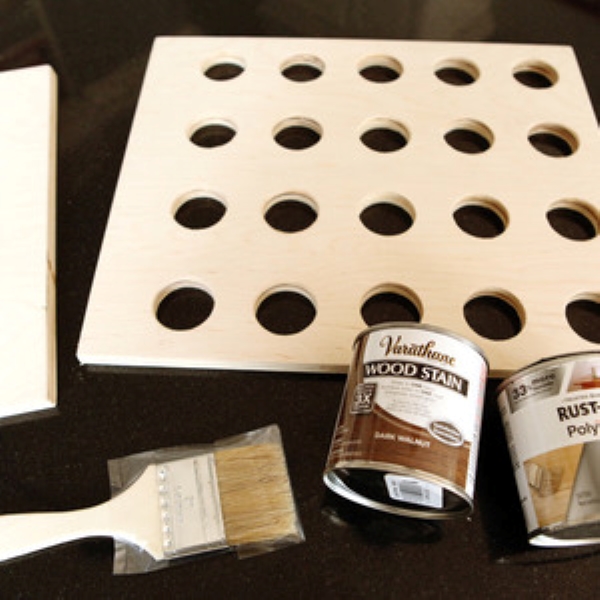
Sand all sides of both boards and stain/paint to your desired finish.
Tools
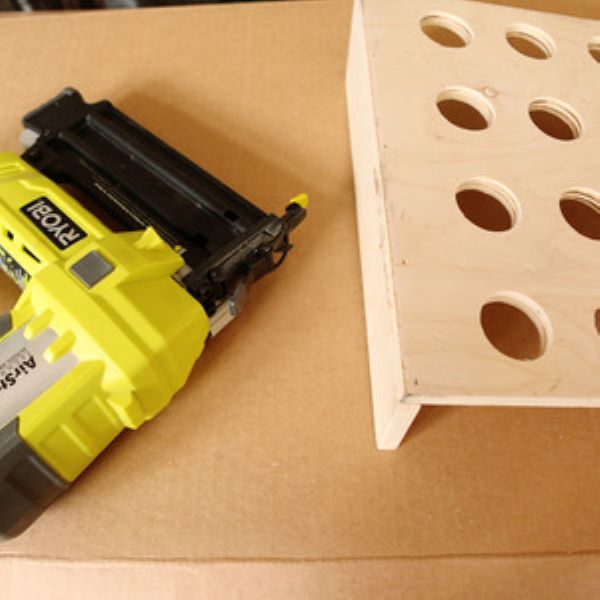
step 5
Using a brad nailer, attach the smaller board to the larger board. Note that the larger margin on the larger board should be at the bottom.
Tools
step 6
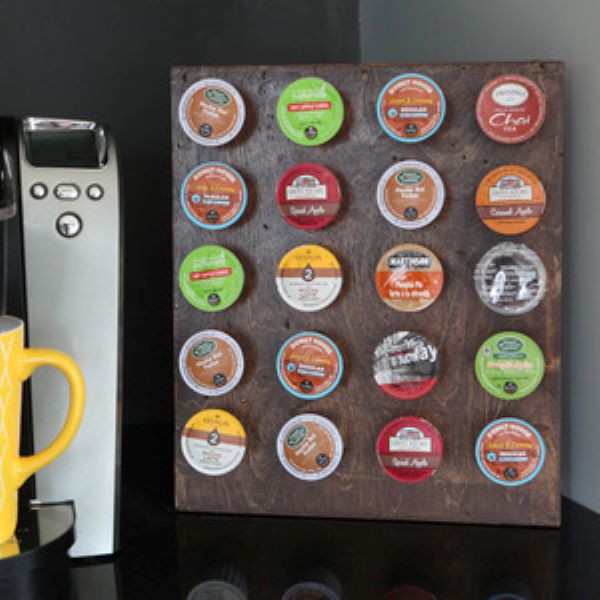
Load up your new storage solution with a variety of k-cups and enjoy your favorite cup of coffee while admiring your work.