Steps
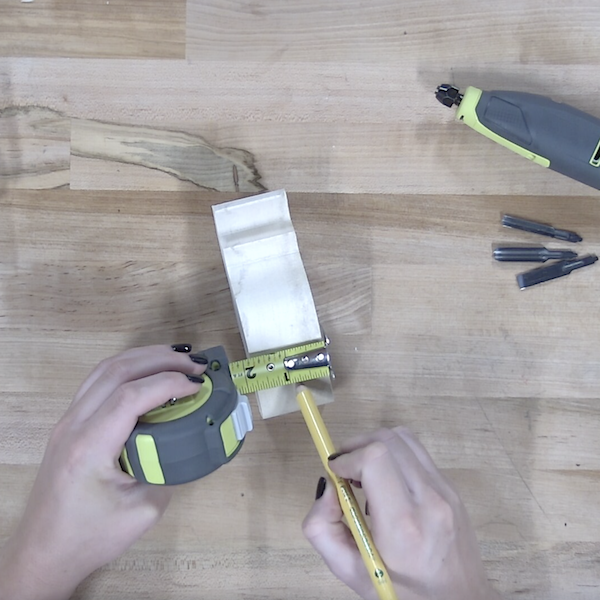
STEP 1
Use a marker to draw a line down the middle of the rhino.
Tools
Black Marker
Materials
Wooden Roughout
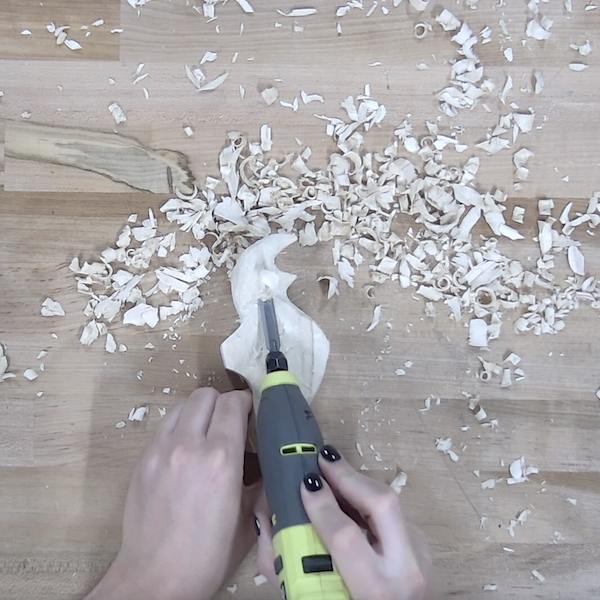
STEP 2
Insert the straight chisel blade into the USB lithium power carver. Begin shaping the rhino, carving out small pieces of wood at a time to help shape and round out the body of the rhino. Continue removing and shaping until satisfied with the shape.
Tools
Power Carver, Straight Chisel Blade
Materials
Wooden Roughtout
STEP 3
Insert the sanding mandrel with the sanding band into the USB lithium rotary tool. Start with a lower grit, then work up to a higher sanding grit. Sand the rhino all over until all of the ridges are smoothed out.
Tools
Rotary Tool, Sanding Bands
Materials
Wooden Roughouts

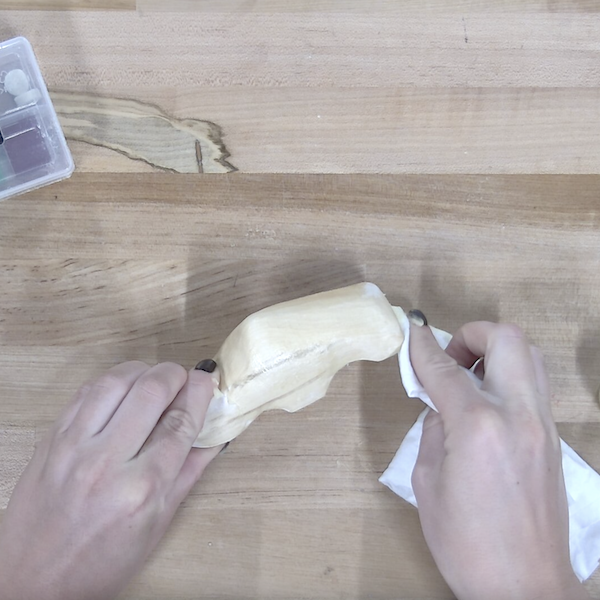
STEP 4
Coat the rhino in beeswax to protect the wood overtime.
Materials
Wooden Roughout, Beeswax