Steps
STEP 1
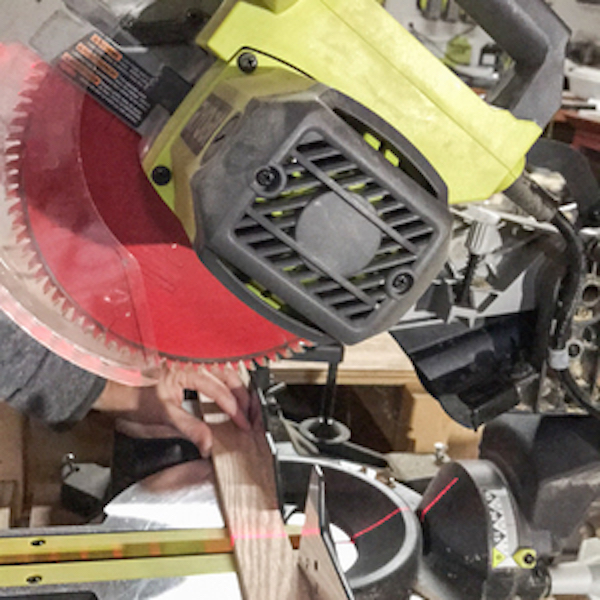
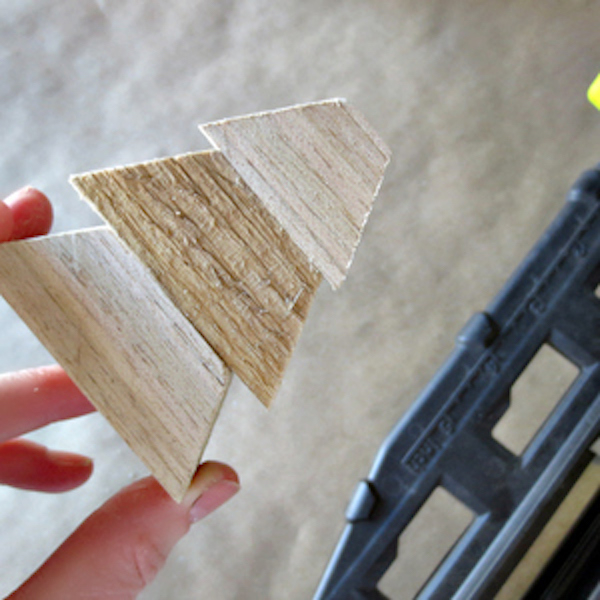
Cut three sections at 30°, each one slightly longer than the previous one. Alternate flipping the wood over after each cut to get the correct angle direction.
Tools
STEP 2
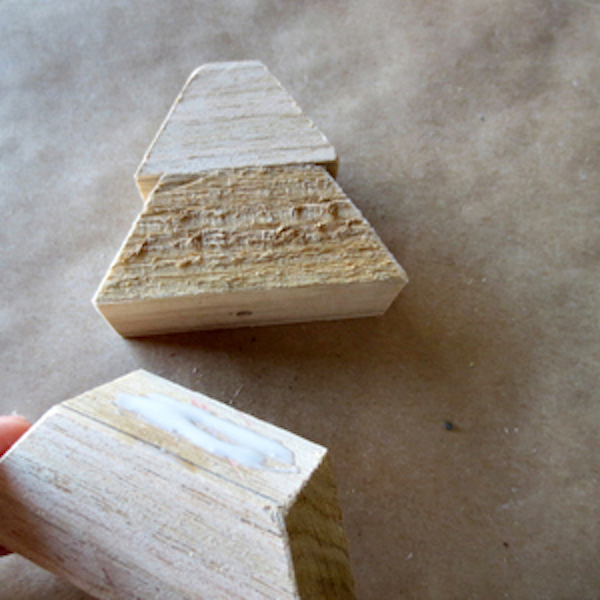
Glue and nail the middle section, to the top section of the tree. (The nail needs to go in an upward direction, towards the top of the tree. This will leave the very top of the tree nail-free, so an eye screw can be added later.)
Tools
STEP 3
Glue and nail bottom section to the middle, in the same direction as the previous one. (Nail aiming towards the top section.)
Tools
STEP 4
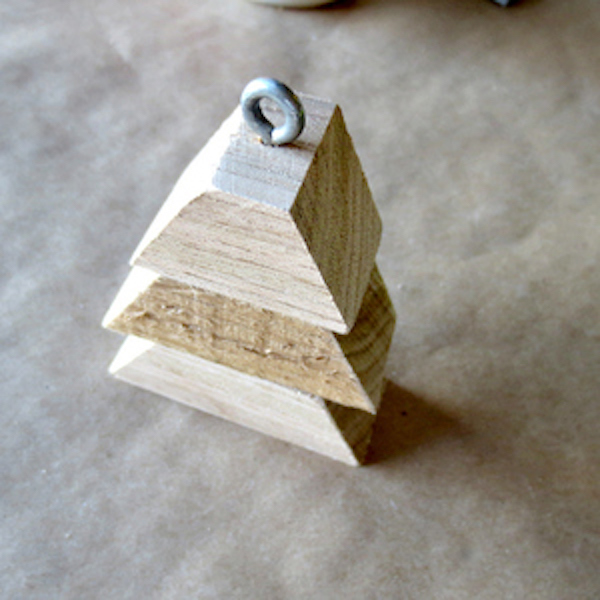
Now the piece is ready for the eye screw.
Tools
STEP 5
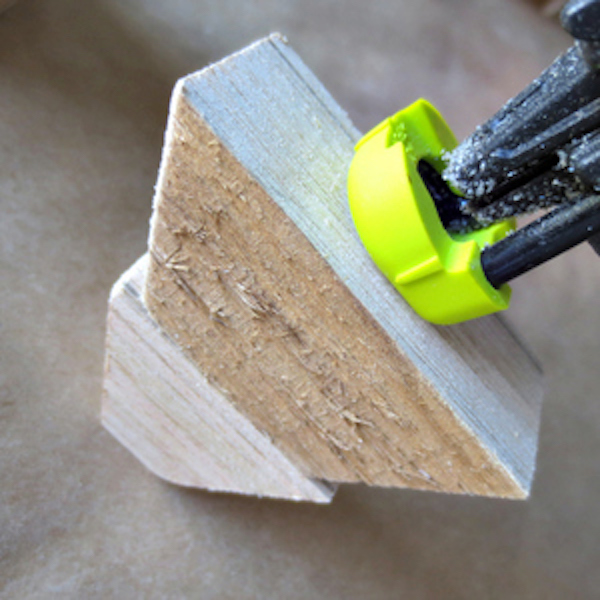
Drill a pilot hole and install a tiny eye screw.
Tools
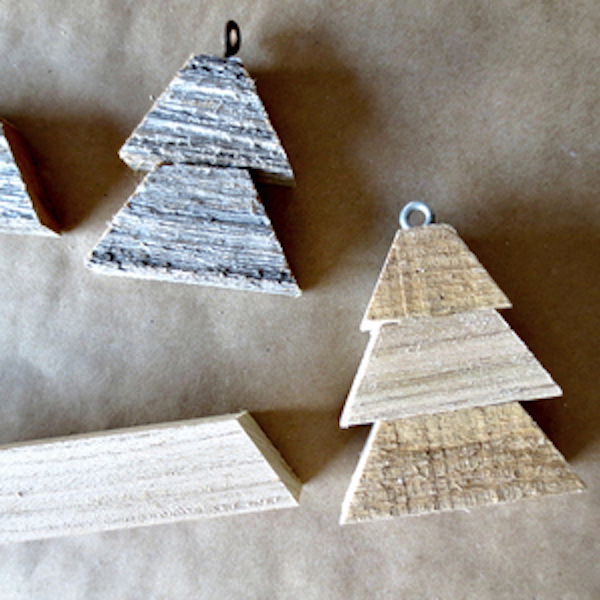
STEP 6
Use different types of wood, or make two-section trees. Add a hook or twine to the eye screw, and you're done. Now make some more, there's plenty of time!